2026-08-03 02:17:52
425
6
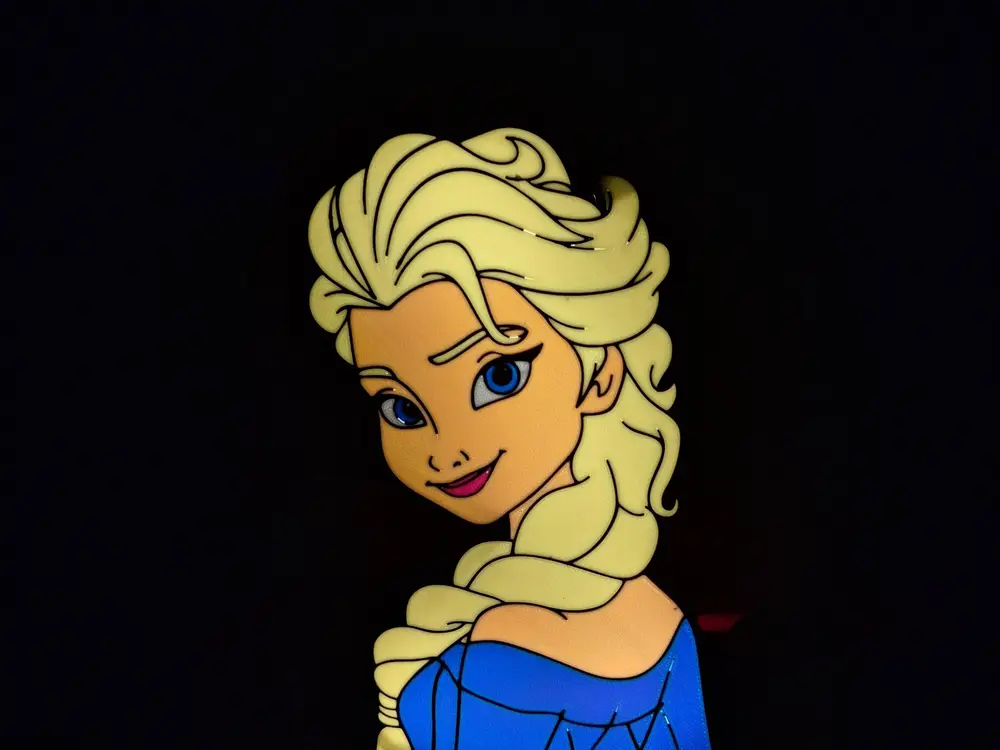
Elsa Frozen Lightbox

@Nick3d_5702763
Donate
Message
Follow
Recommended printing method
Add
Elsa b

Kobra X
Kobra 3
、
Kobra S1
、
Kobra 4
、
Kobra 3 V2
、
Kobra 3 Max
/ Plates:2
/ 5h5m
0
Share


Description
✨ Want to sell my designs? Subscribe to my Patreon to get a commercial license.
☕ Or, if you'd like, buy me a coffee to support my projects!

Bring the magic of Arendelle to life with this Elsa Lightbox Lamp! ❄️✨
This model is designed as a clean, vibrant 3D lightbox that works as a nightlight or desk decoration. The multi-colored front panel highlights Elsa's iconic braid and blue dress, creating a stunning glow when illuminated from behind.
💡 Features:
- Easy Multi-Color Printing: Optimized for AMS / multi-material systems (no manual color swap needed if using AMS).
- Crisp Lines & High Contrast: Black outlines separate the colors cleanly, preventing light bleed between sections.
- Custom LED Lighting: Designed to fit standard 12V or 5V LED strips inside the housing.
- Great Nightlight: Soft ambient lighting, perfect for kids' rooms, gaming setups, or Disney fans.
🛠️ Print Settings & Recommendations (Impostazioni di Stampa)
- Nozzle Size: 0.4 mm (0.2 mm nozzle recommended for crisp outline details if scaling down)
- Layer Height: 0.2 mm (first layer 0.2 mm)
- Infill: 100% on the colored front plate / 15-20% Grid or Gyroid on the back housing frame
- Supports: Not needed / None
- Brim: Not necessary but Recommended for the outer frame to prevent corner warping
- Wall Loops: 3 walls for the frame shell
🔌 Assembly & Wiring Guide (Guida al Montaggio e Cablaggio)
- Front Panel: Print face-down on a textured or smooth PEI sheet for the best surface finish.
- Back Housing: Print in black or opaque filament to prevent light leaks on the sides.
- LED Strip Installation: Cut a strip of LED (5V USB or 12V DC) to fit around the inner perimeter of the back box. Stick it firmly inside using the adhesive backing.
- Soldering & Wiring: Pass the power cable/USB wire through the designated cable hole at the bottom/back. Solder the positive (+) and negative (-) wires directly to the LED strip contact pads (or use quick-connect clips if you prefer). Secure the cable inside with a zip tie or drop of hot glue as a strain relief.
- Closing the Lightbox: Snap or glue the front panel onto the back housing frame.
Tags
License