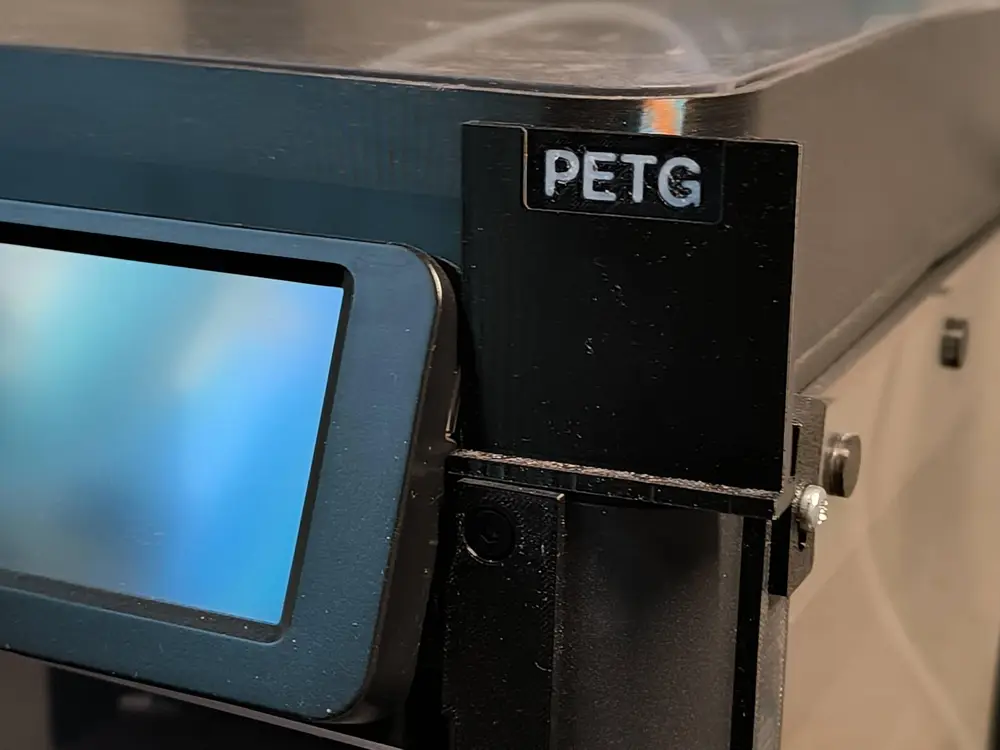
Filament display


Filament display - states what filament is loaded into the printer
On some printers, like the Bambulab printers and printers like Anycubic Kobra 3, you tell the printer which filament has been loaded, but for other printers (e.g. an Ender 3) this information is not visible. Also, if you have a number of printers without filament info in the printer, then these small filament bricks can be useful.
STL files
There are 4 stl files in this project:
- filament_text.stl is a display swatch with text on both sides
- holder.stl is a swatch holder that can stand on the table next to the printer
- holder-behind.stl is a swatch holder with a lot of holes for mounting magnets at one side of the holder
- holder-bottom.stl is a swatch holder with holes for mounting magnets in the bottom
Other material needed
You need two magnets for each holder - UNLESS you only use the table version (holder.stl). The magnets used is 4.7mm x 2.5mm (cheap China magnets - bought as 5mmx3mm) and these are meant to be press fitted into the magnet holes - but you can of cause use some glue if needed!
3mf file
The 3mf file has just contains a single swatch where the letters has already been colored!
Manual slicing the filament_text.stl
The filament_text.stl file has the text very very slightly offset from the swatch. When using the color paint, fill tool the text should become highlighted when the tool is moved into the letter to enable coloring by filling. In AnycubicSlicer (linux) I got the best result by using the color "Fill" for the bottom and the "Height range" for the top text.
Background
This project came together from having a couple of lesser used printers, typically loaded with some more technical (or at least, non-PLA) filaments. So when I had to use them, I often needed to remove the filament spool to see what filament was loaded now (e.g. the FlashForge AD5M in the last picture). By using this filament display, I can just look at the printer and quickly determine which printer to used, based on the filament type loaded. The idea for the multiple magnet holes is, that you can mount the magnets (typically 2 magnets) where it makes most sense for the particular printer. For my AD5M in picture 5, I use holder-bottom.stl with two magnets mounted to the 2 holes rightmost as there are a little room for securing the holder just this way. For the Kingroon KLP1 I use the holder-behind.stl with 2 magnet in the outer lower holes, as this enables the high mounting seen in picture 3.