2026-04-05 23:40:33
694
11
Furry tail belt panel converter - (with holder)

@NakUawita_3243508
Donate
Message
Follow
Recommended printing method
Add
TAILCLIP with holder
Kobra 3 Max
Kobra S1 Max
、
Kobra 3
、
Kobra 2
、
Kobra S1
、
Kobra 4
、
Kobra X
、
Kobra 3 V2
、
Kobra 2 Max
、
Kobra 2 Pro
、
Kobra 2 Neo
、
Kobra 2 Plus
/ Plates:1
/ 2h16m
8
Share


Description
The Tail Base Clip: DIY Guide
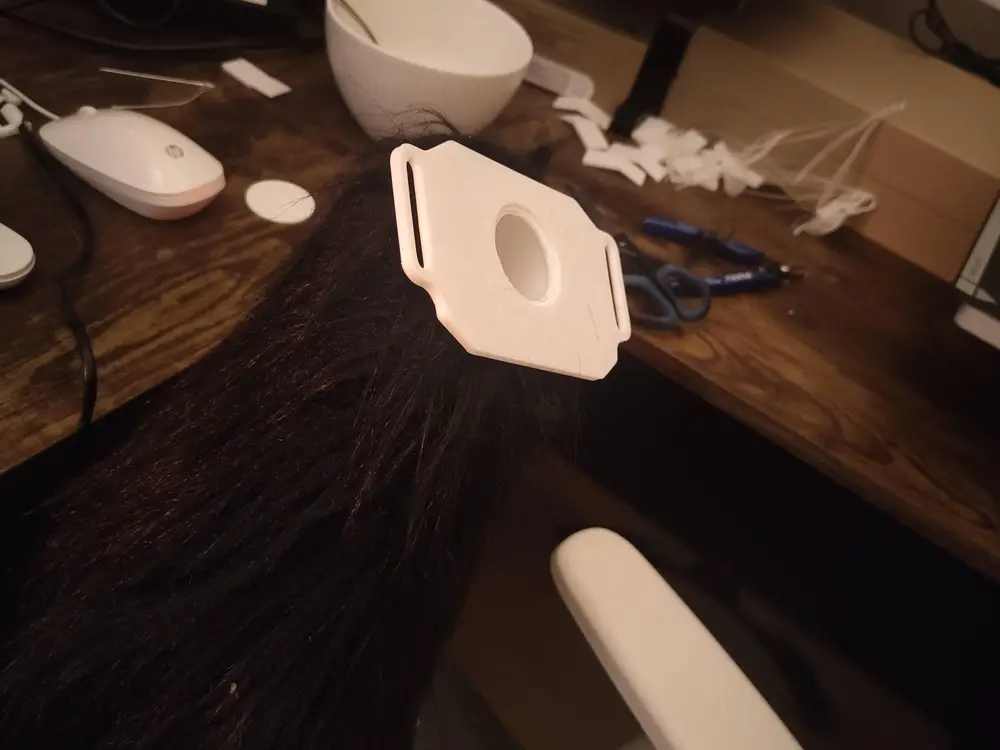
This 3D-printable clip turns a standard plush tail into a sturdy, belt-mounted "hard-base" tail. The central tube acts as a "plug" that anchors into the stuffing, preventing the tail from sagging or wobbling.
1. The 3D Model (The "Skeleton")
Keep it simple. You just need three parts merged into one:
- The Plate with tube: A rounded rectangle with two vertical slots on the sides for your belt and a tube for insertion.
- The Cap: A separate small disc or plug to seal the tube hole later.
2. The Conversion (The "Install")
- Prep the Tail: Cut a vertical slit at the top base of your tail. Pack the area with dense poly-fill so it’s firm.
- Insert the Plug: Force the tube part of your 3D print deep into the stuffing.
- Glue & Seal: Use a hot glue gun to bond the fur fabric directly to the flat plastic plate and the base of the tube.
- Final Stuff: Poke extra filling through the tube's center hole until the base feels solid.
- Cap it: Glue your plastic disc (or heavy-duty tape) over the center hole to seal the stuffing inside.
The result: A tail that slides onto your belt and stays exactly where you want it.
Tags
License