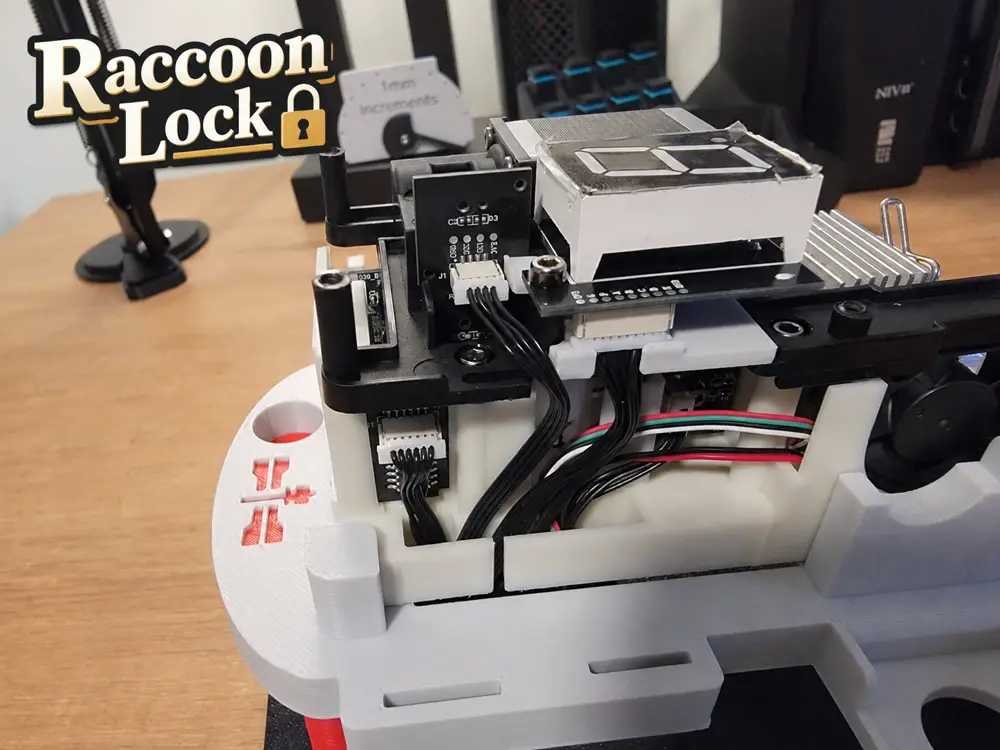
Kobra X Printhead Raccoon Lock


This part was created for those servicing their printhead while it’s still attached to the gantry.
There are slight variations between LED boards. They look identical, except one is marked “HTY.” Small differences in hole locations appear to add up to an overall difference of about 0.4 mm. That’s barely noticeable, but enough to cause issues with the LED cable. Thanks to Dennis B and Brian C for helping document this variation.
We’ve included both V1 and V2 versions in the download. They’re quick prints, so you can print both and see which fits best. If your board is marked “HTY,” V2 might be the better fit. But dont know for sure at this point.
At Raccoon Engineering, we strongly recommend BrianWorksOnStuff’s printhead service jig. Removing one plug and four screws to get the printhead into the jig is faster than wrestling with it while it’s still attached.
BrianWorksOnStuff's Awesome Jig can be downloaded for FREE here.
But we know some of you will service the printhead on the printer anyway. Why? We’re guessing you haven’t discovered Brian’s jig yet! Regardless, if you prefer to leave the printhead attached, we’ve created a little “widget” to help prevent the two most common reassembly issues we see in the groups:
- Gear Position Detector board alignment
- LED connector issues caused by the short cable
This part takes just a few minutes to print and can save you a lot of grief.
You are prohibited from sharing, sub-licensing, selling, renting, hosting, transferring, or distributing the digital file or 3D printed versions of this object, as well as any other derivative work in either digital or physical form (including remixes).You are not allowed to use the objects in any manner that involves charging money or collecting fees without permission.