2025-01-08 17:12:25
1.2k
23
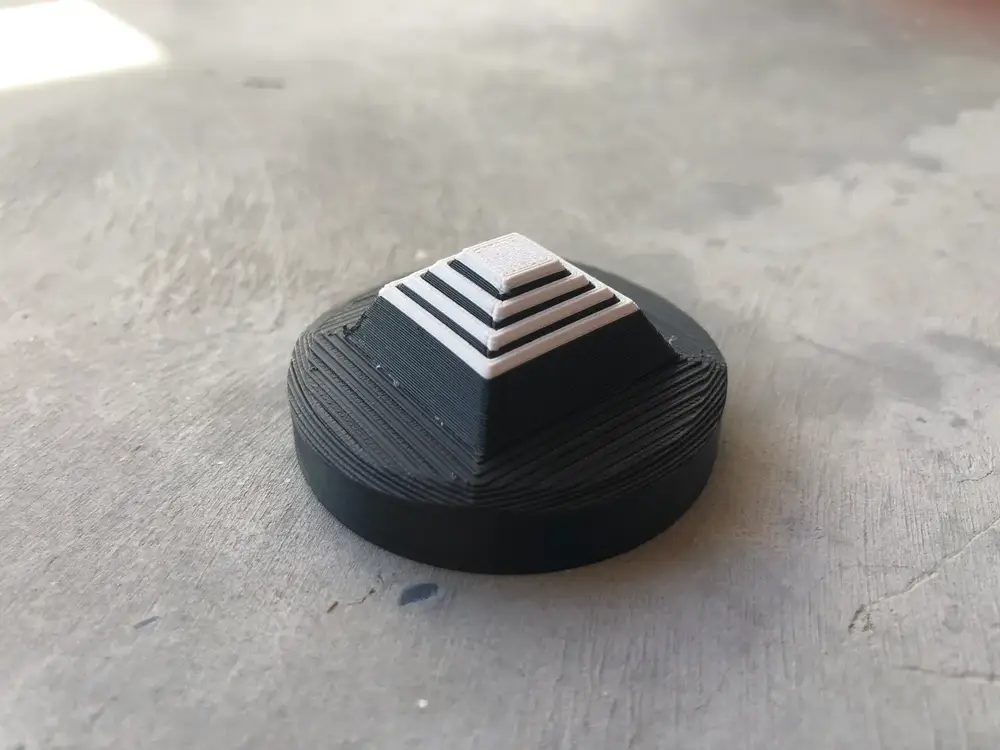
Magnetic magic Fidget toy

@Hannasgu_1885846
Donate
Message
Follow
Recommended printing method
+ Frequently Used Printer
10
Share


Description
Printing Guidelines:
- Layer Height: Use 0.2mm for optimal results.
- Infill: Any percentage works fine.
Steps to Follow:
- File: Fidget_Switch
- Pause printing just before the hole closes.
- Insert a magnet, then resume.
- File: Fidget_Bot
- Pause printing as the large hole with a square opening starts to close.
- Insert the completed Fidget_Switch (knob facing downward).
- Resume printing.
- Release the switch by pressing it downward.
- File: Fidget_Top
- Optionally pause a few layers in for a color change.
- Pause again after the small hole seals.
- Insert a magnet in the opposite orientation of the previous one (ensuring repelling polarity), then resume.
- Assembly:
- Attach the top piece to the bottom using glue.
Enjoy your completed project!
Key Notes:
- Ensure the magnets repel each other. Only one configuration works.
- Adding a small cube next to the main part can help with nozzle priming after pauses (manually feed filament for color changes).
- Magnets used: 5x5x5mm. A modifiable file is available for size adjustments.
Tags
License