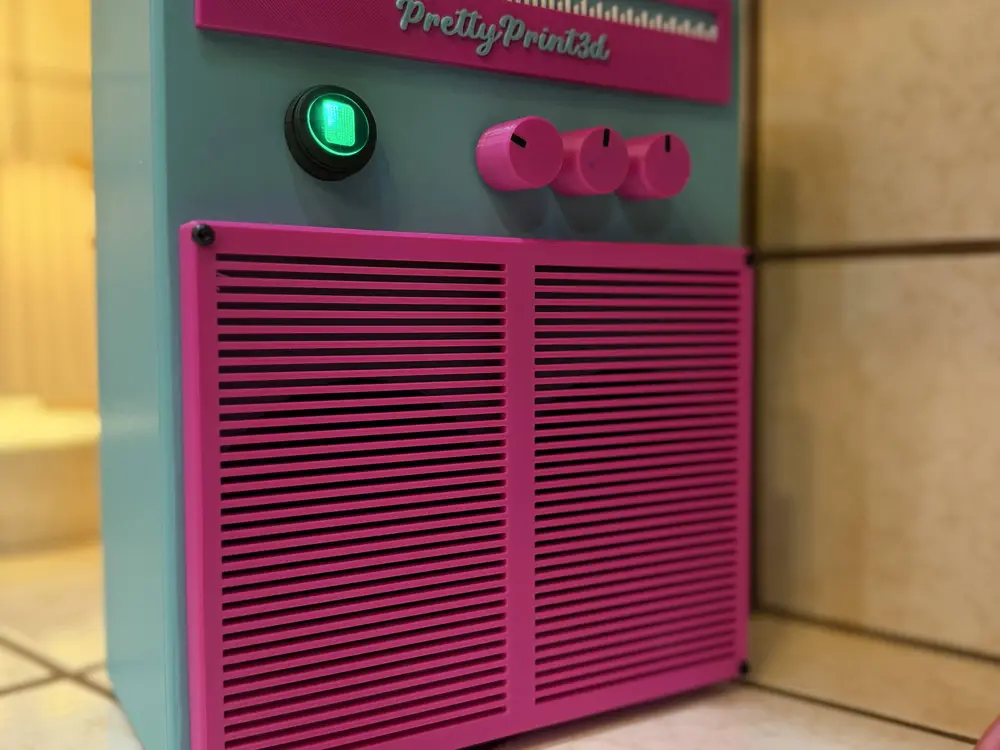
Retro Kitchen Radio


This is a new design we came up with that was inspired by the old radios we had in the kithen in the 90s/00s. Hope you like it!
Parts List
Amplifier https://a.co/d/awPDiGc
Speakers https://a.co/d/5UXhkJf
Power Switch https://a.co/d/76sZlTX
Female DC Plug Flush Mount https://a.co/d/duphTw7
24V Power Supply https://a.co/d/g0ZFgKI
You will need 16 M3 x 4mm heat sink nuts, 8 M3 x 8mm screws, 4 M3 x 12mm screws, 4 M2 x 3mm heat sinks & 4 M2 x 4mm or M2 x 6mm screws.
Step 1 is print each piece out & test fitment of parts. Next, install all heat sink nuts. There are 12 on the front & 4 on the back. Additionally there are 4 M2 heat sink nuts that need to be installed on the upper shelf inside the box. Install the ampllifier with the M2 screws. Stick the potentientometers in the 3 holes & use the supplied nuts & washers that came with the amplifier. Take speaker wire & use female spades or solder directly to the speakers. There are 2 4mm holes in the top area of the speaker enclosure to slip the speaker wire through. Install the power switch and refer to the instruction pamplet that came with the amplifer to see where the positive & negative connections go. The bottom red wire on the power switch should go to the amplifier positive connection port. Take a piece of black wire (about 6in long) & hook it up to the negative connection port on the amp. Connect the ground wire from the power switch to the ground wire you just intalled on the amp. Hook up the speaker wires referencing the amp instructions. Take the back plate & install the female connection port & conect the red wire to the red wire that is still loose coming off of the switch. Hook the 3 ground wires together from the female connector you just installed. Screw on the back plate & the grill. Install the printed knobs or the knobs supplied with the amp. Plug it in and test it out! If you have any questions feel free to message me on tiktok!