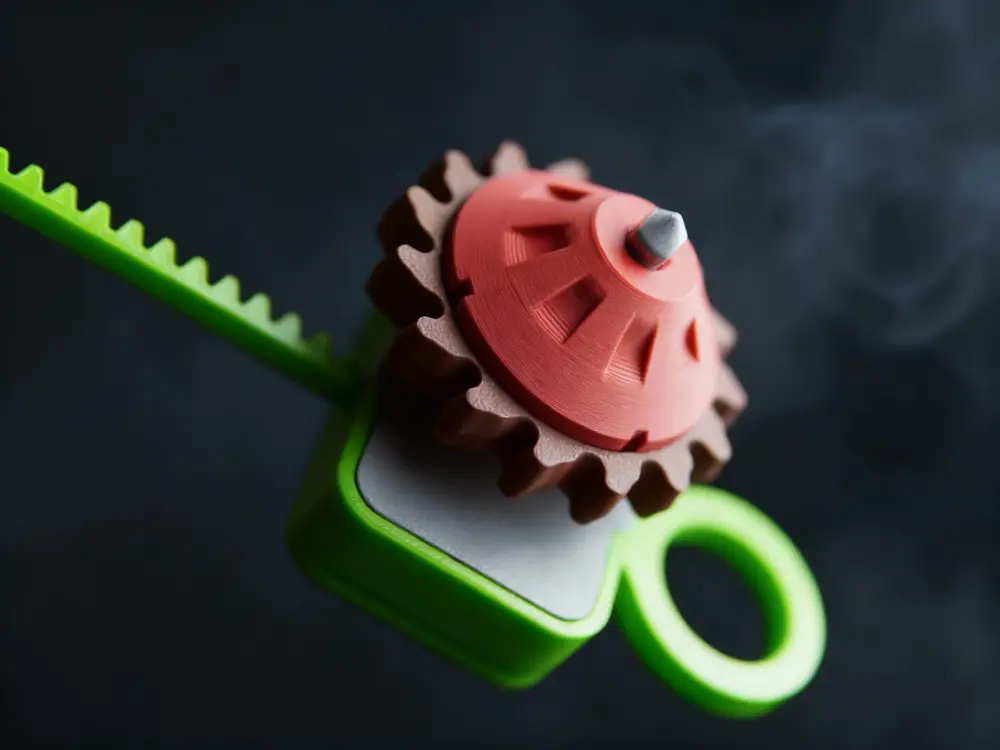
Spinblade – Battle Spinner V2 Bayblade Style Toy


🌀 Spinblade – Modular BattleSpiner
A mechanical fidget designed around the realities of 3D printing
Spinblade is my take on a Beyblade-style spinning toy — but designed specifically with FDM 3D printing in mind.
From the beginning, the goal was to create a fully printable mechanical system that works reliably despite the limitations of layer adhesion, surface finish, and dimensional tolerances. Every part was shaped to respect how FDM actually behaves — not how it should behave in theory.
It’s both a mechanical project and a fidget-style battle spinner.
🔩 Modular Disk Architecture
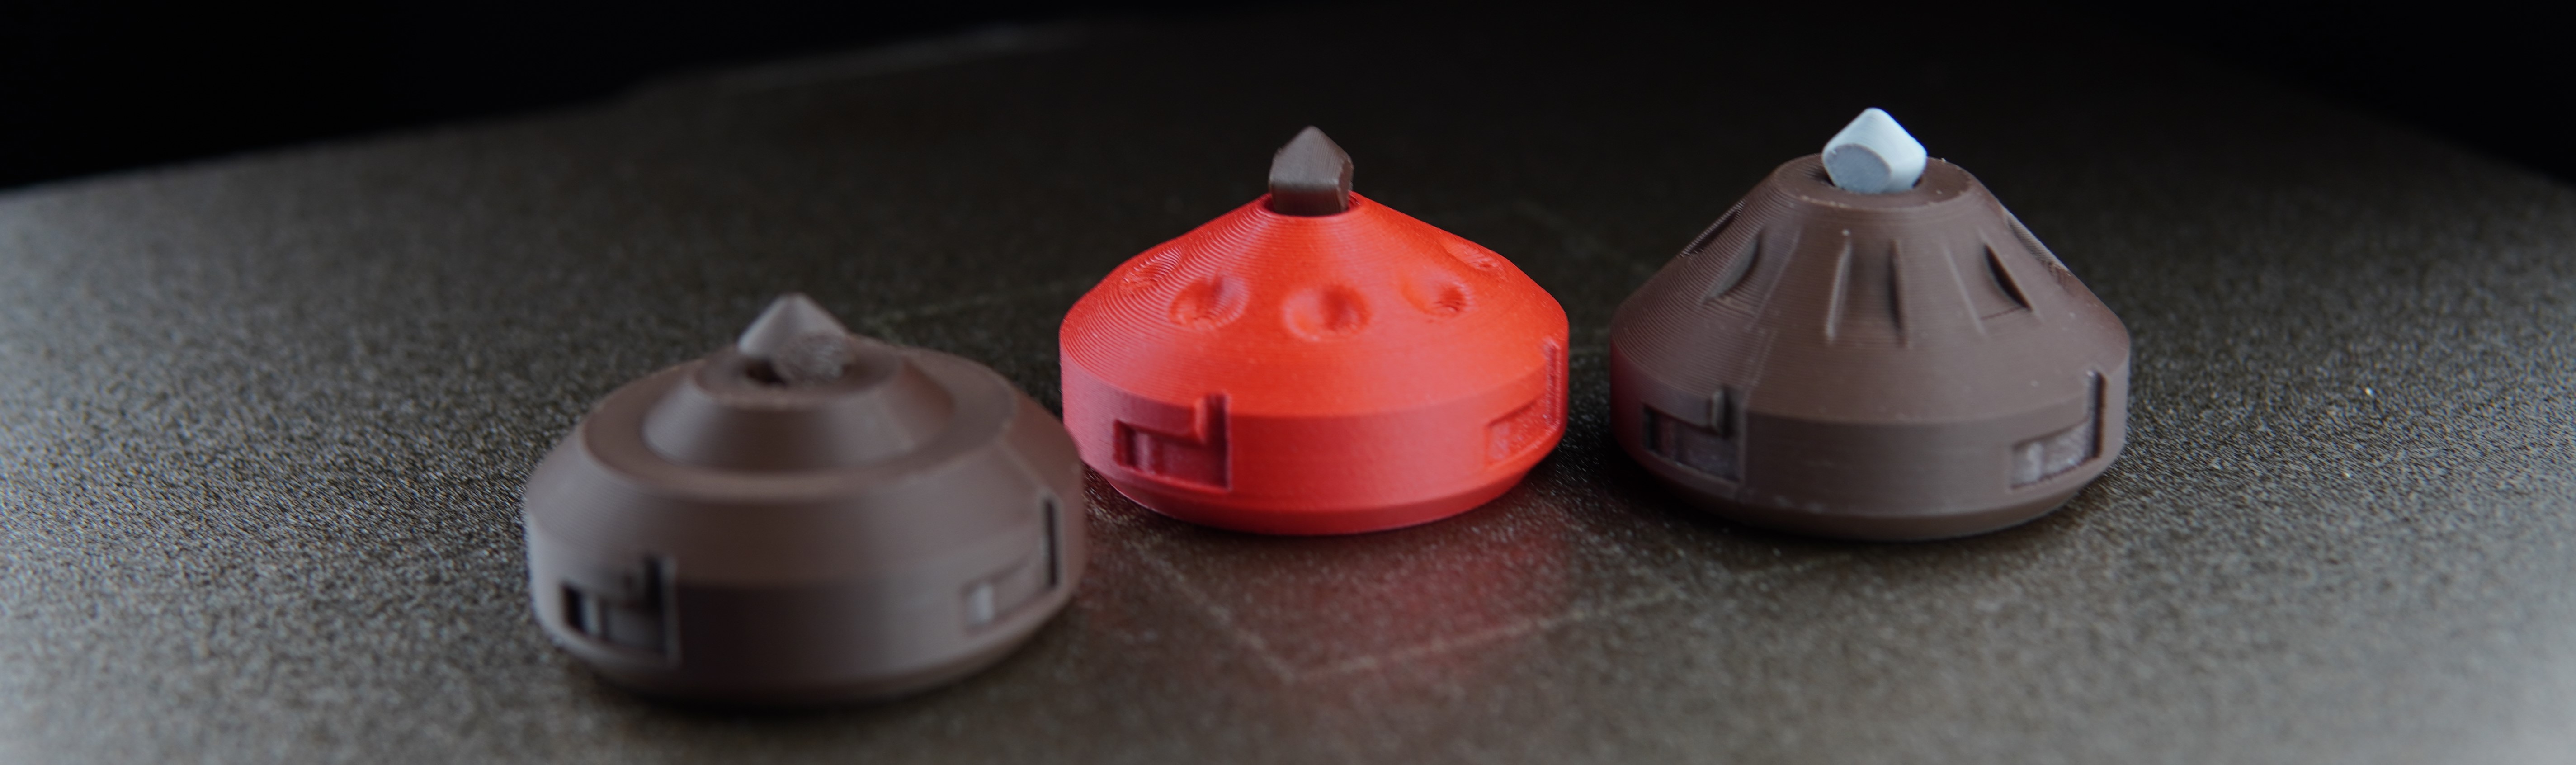
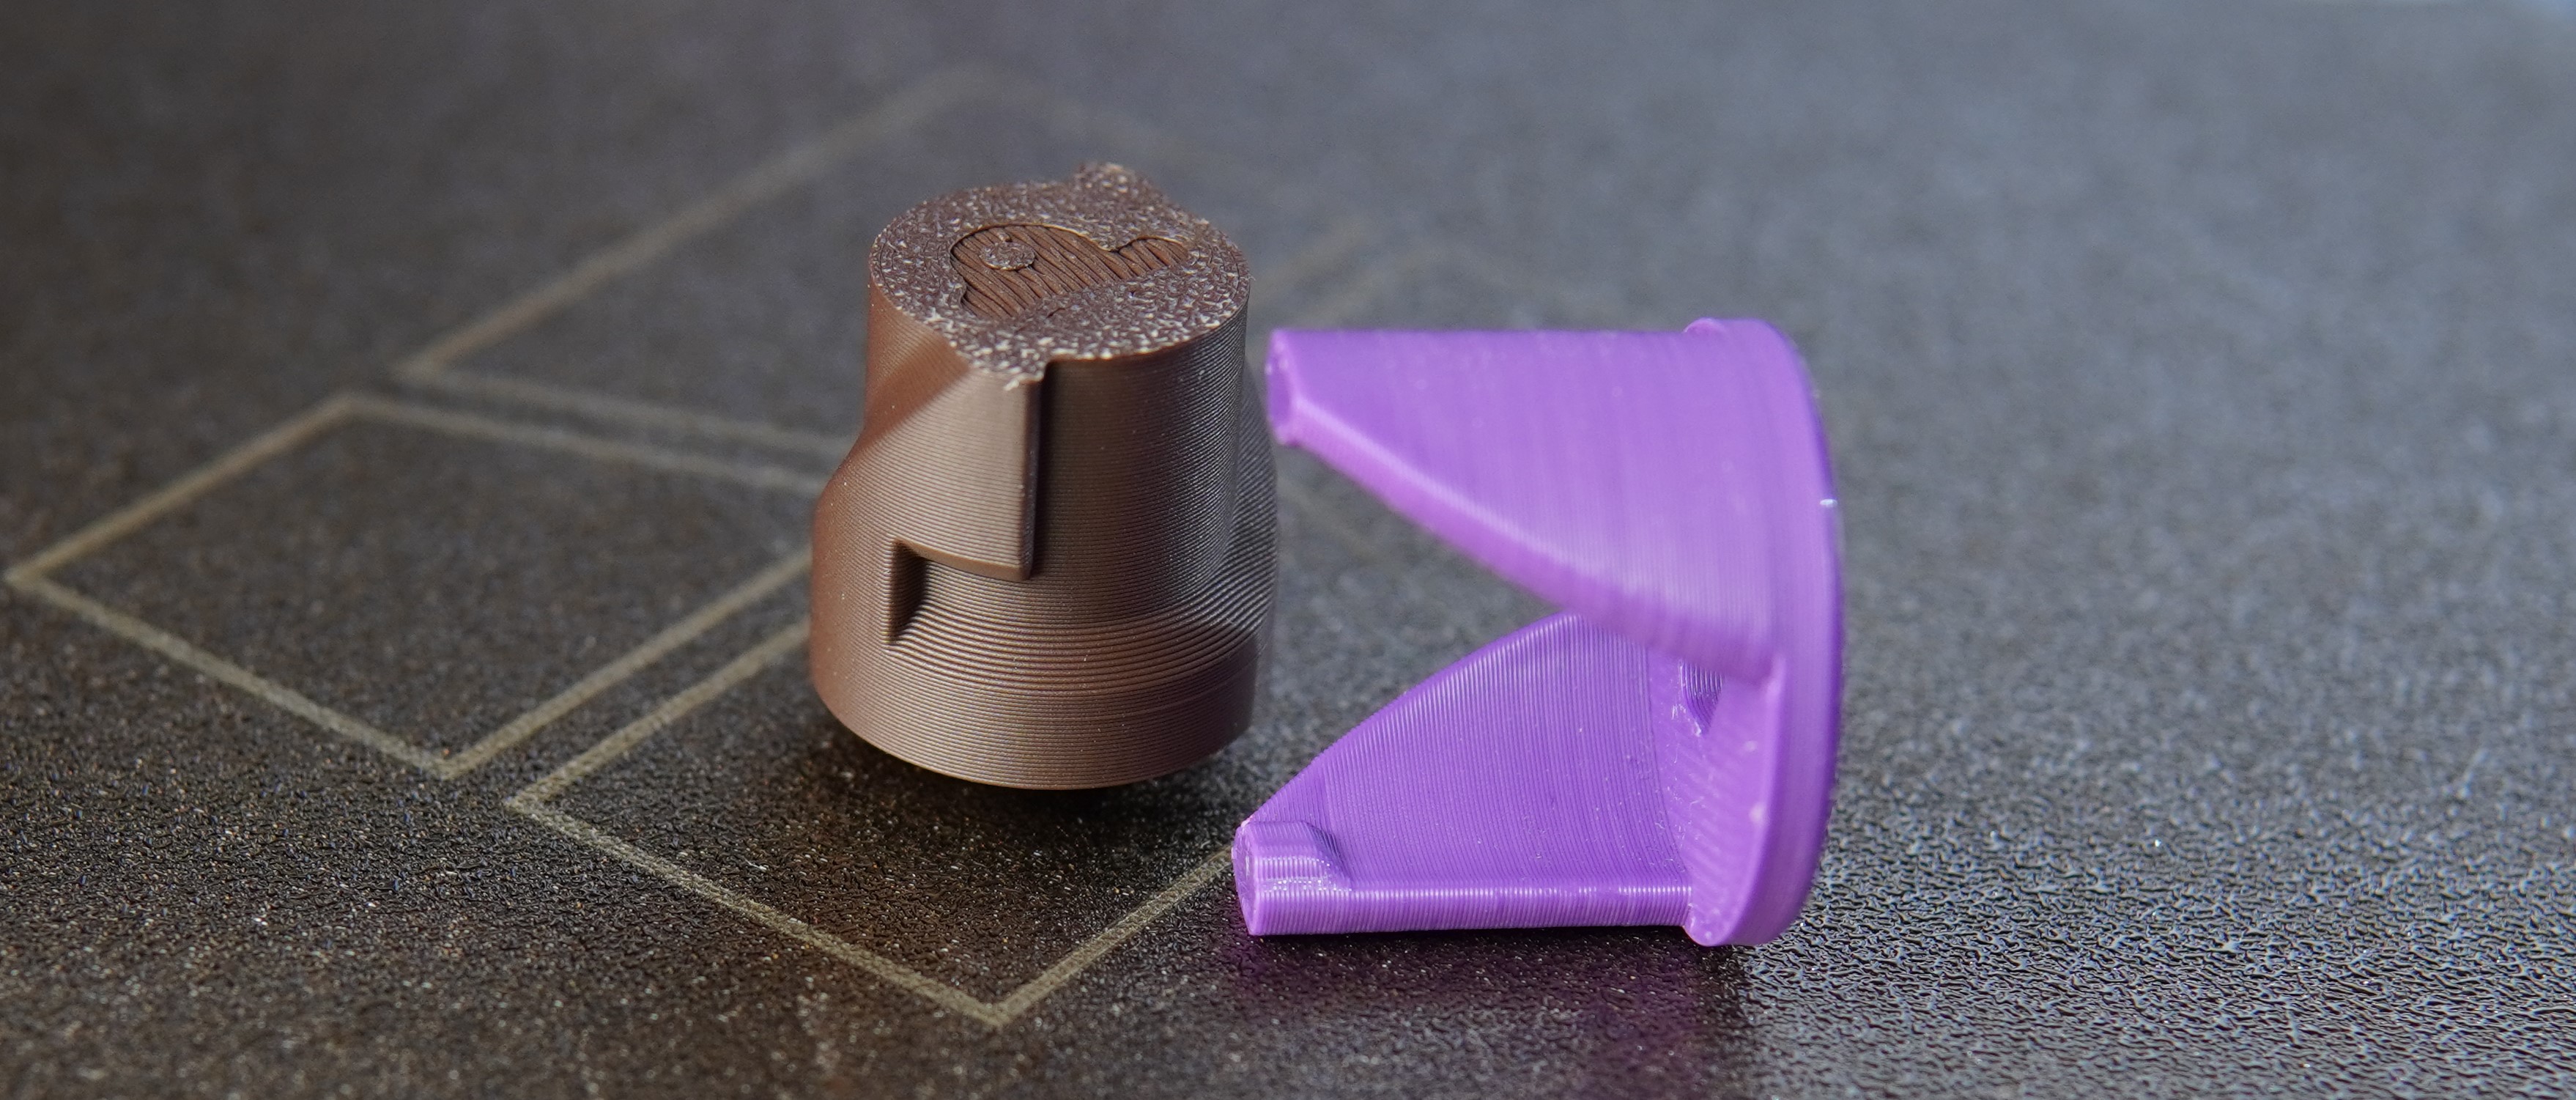
The disk is built from three main components:
a central base
interchangeable outer rings
central pin
The rings mainly differ visually, featuring different tooth patterns, but they also subtly influence contact and spin behavior.
The locking system uses a flexible snap-over protrusion.
It can be assembled and disassembled repeatedly without damage. Both PLA and PETG work well, although PETG handles repeated stress more comfortably.
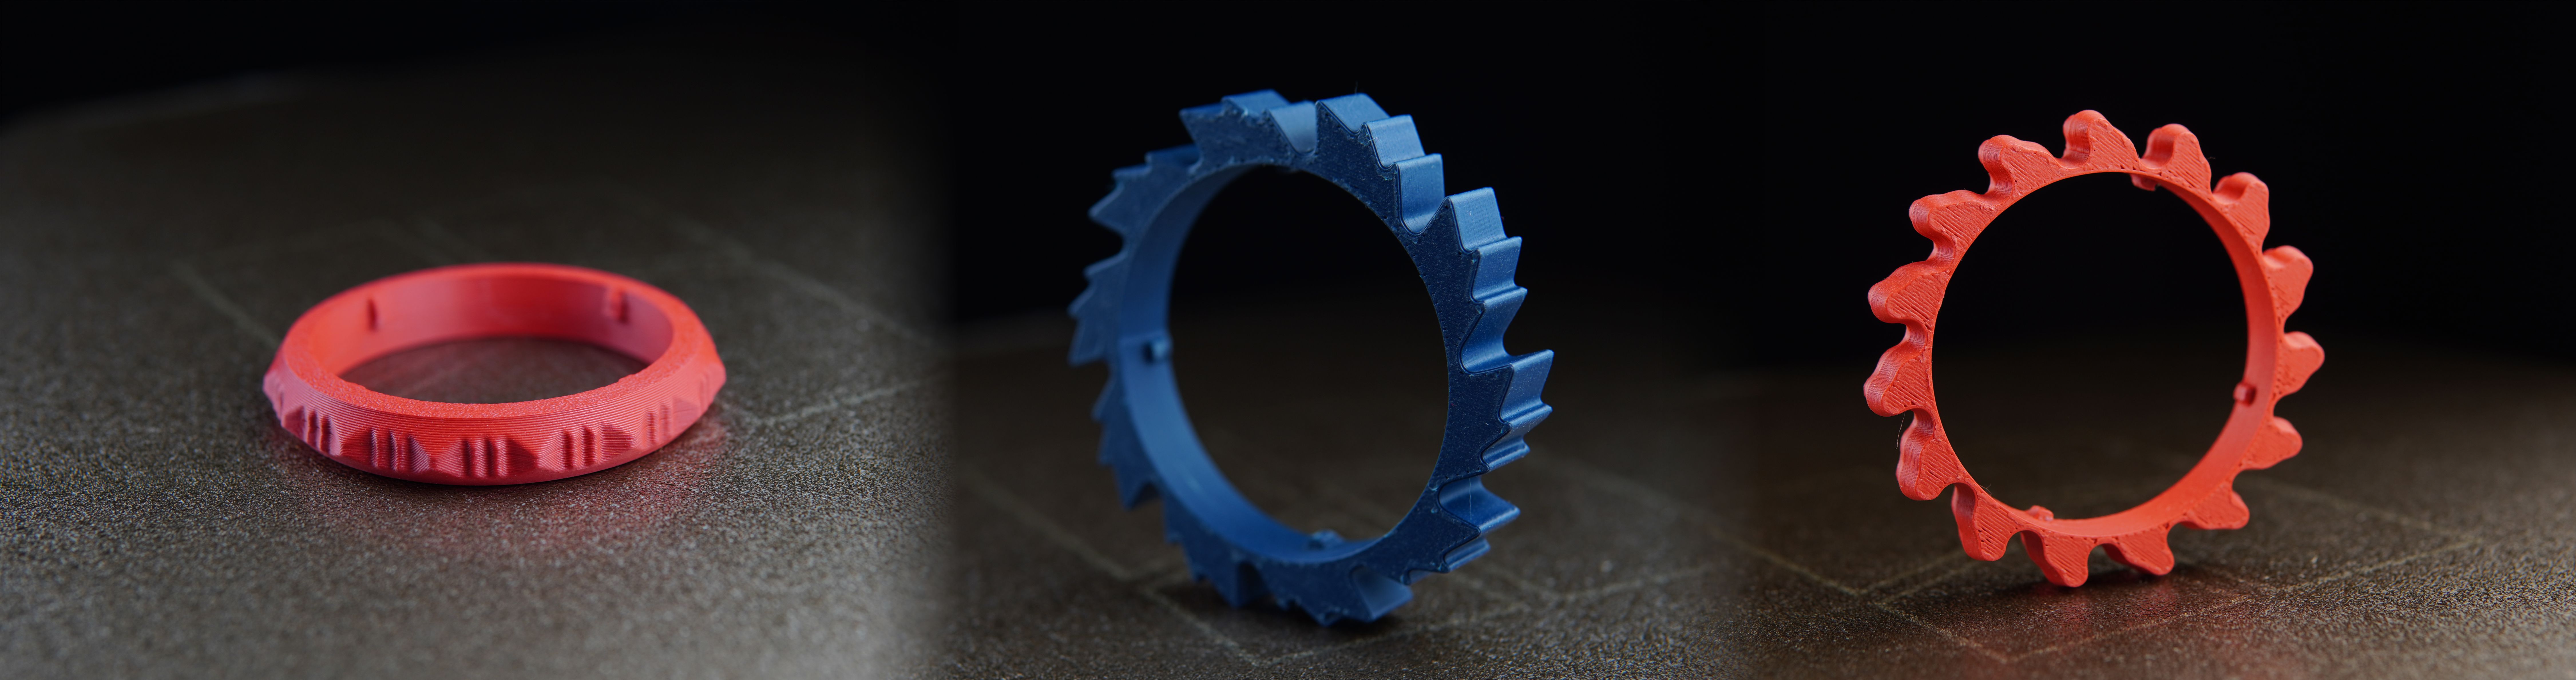
Tolerances are intentional and relatively tight.
A poorly calibrated printer may result in either a loose snap or a ring that feels too tight. With a properly tuned machine, the engagement feels clean and controlled.
⚙️ Launcher Mechanics
The launcher is based on a 1:1 rack-and-pinion system using a 12-tooth printed drive gear.
A toothed rod converts linear motion into rotational force.
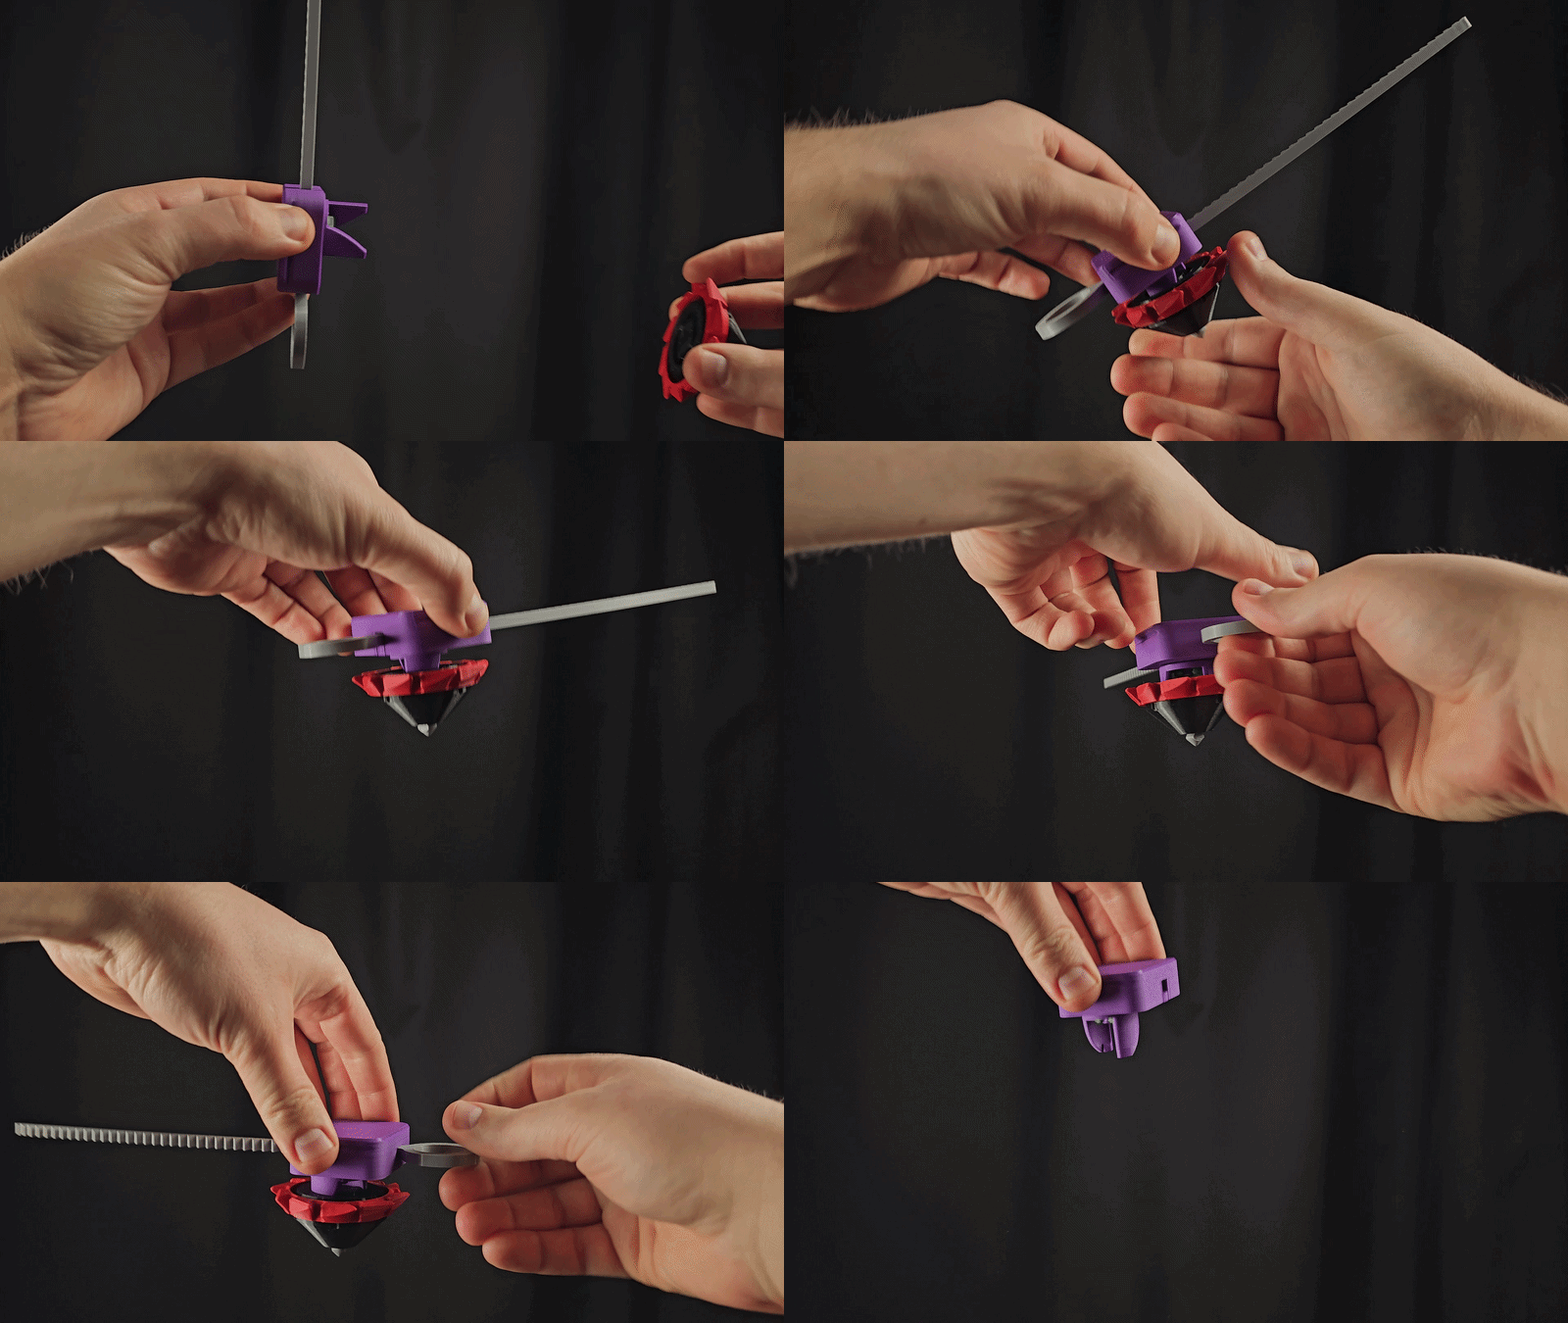
The drive gear is fully printed. The goal was to keep the system accessible and fully printable without additional hardware.
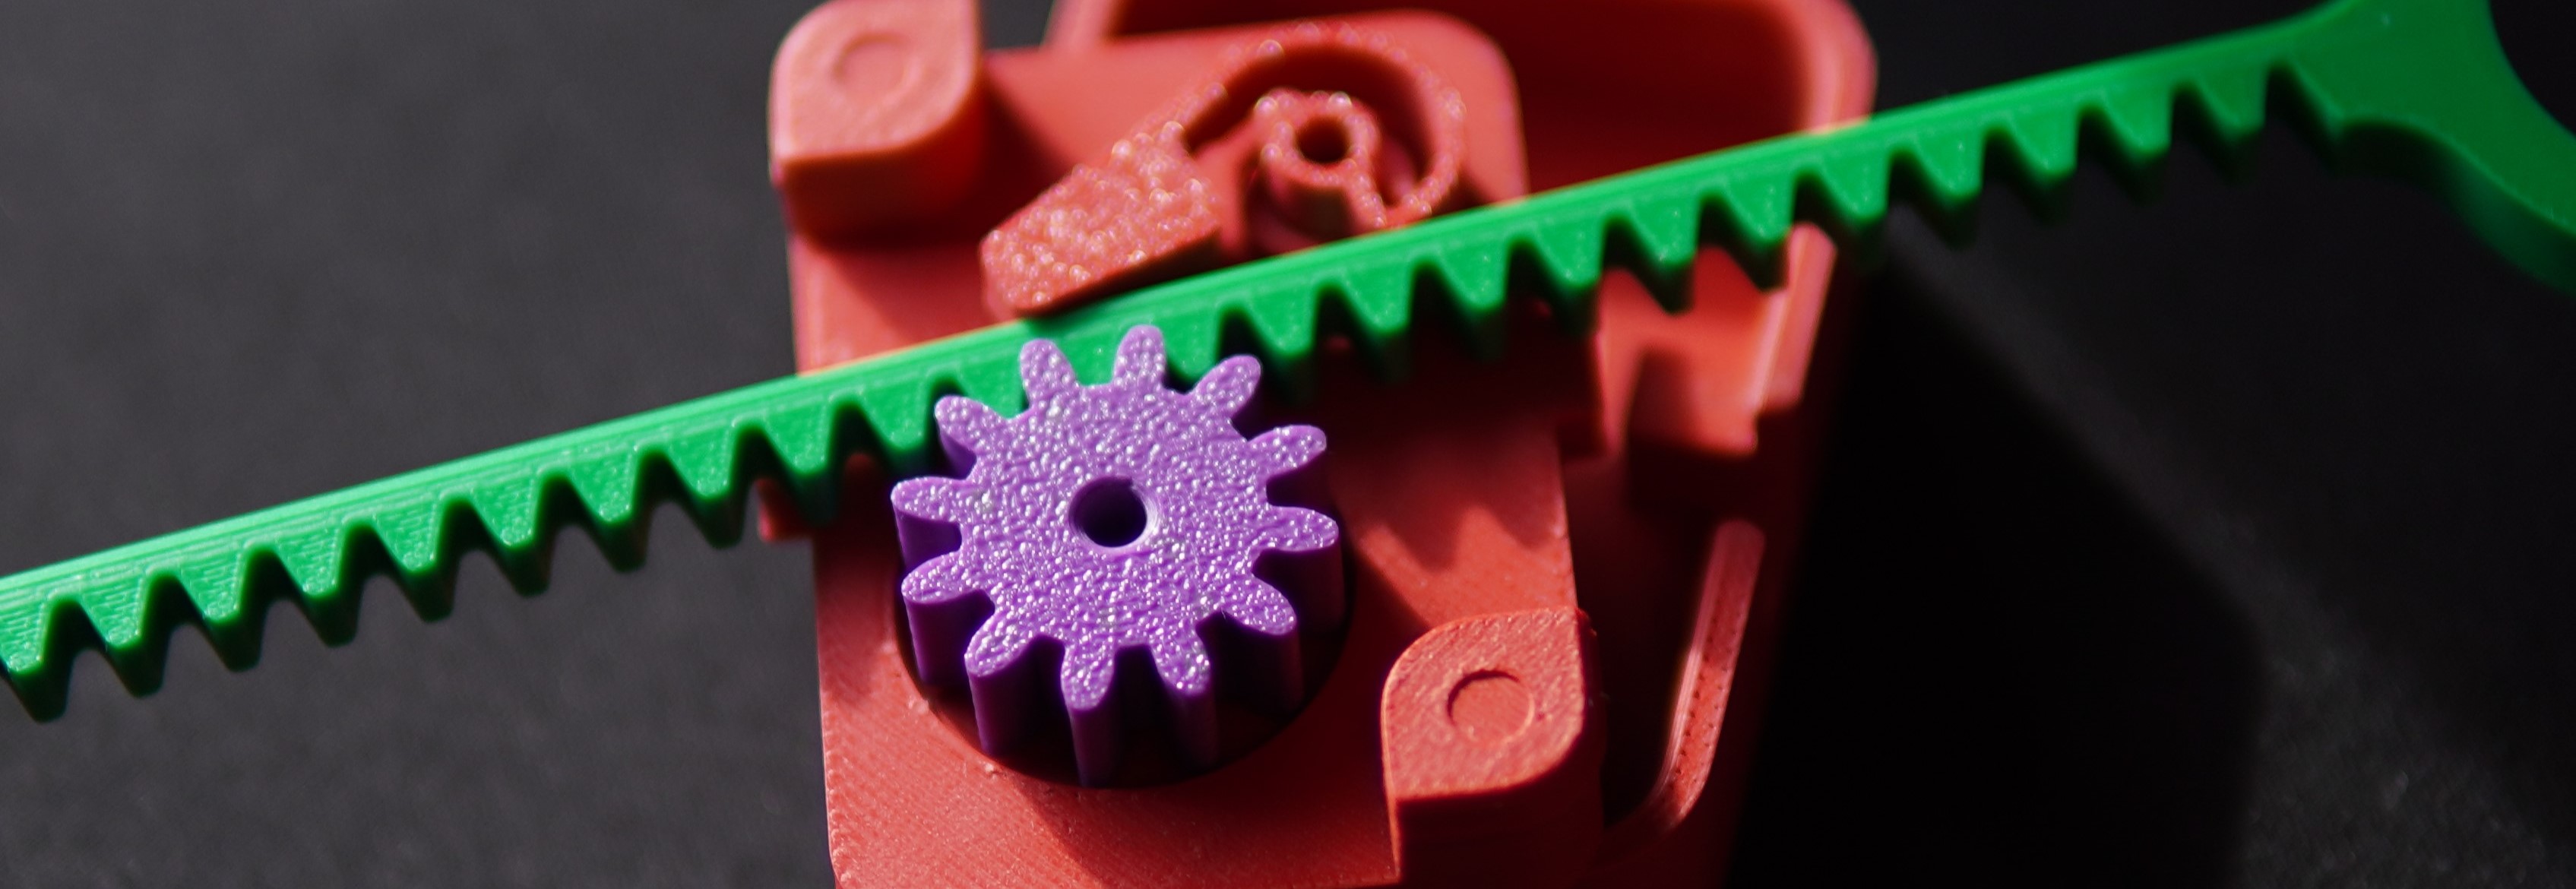
Retention & Release System
The disk holder includes symmetrical retaining protrusions that hold the disk during acceleration. As the launcher spins up, centrifugal force helps keep the disk engaged.
When the toothed rod is fully pulled out, a flexible locking pawl springs into place and stops the drive gear abruptly.
The sudden stop, combined with the disk’s inertia, causes it to disengage cleanly from the holder.
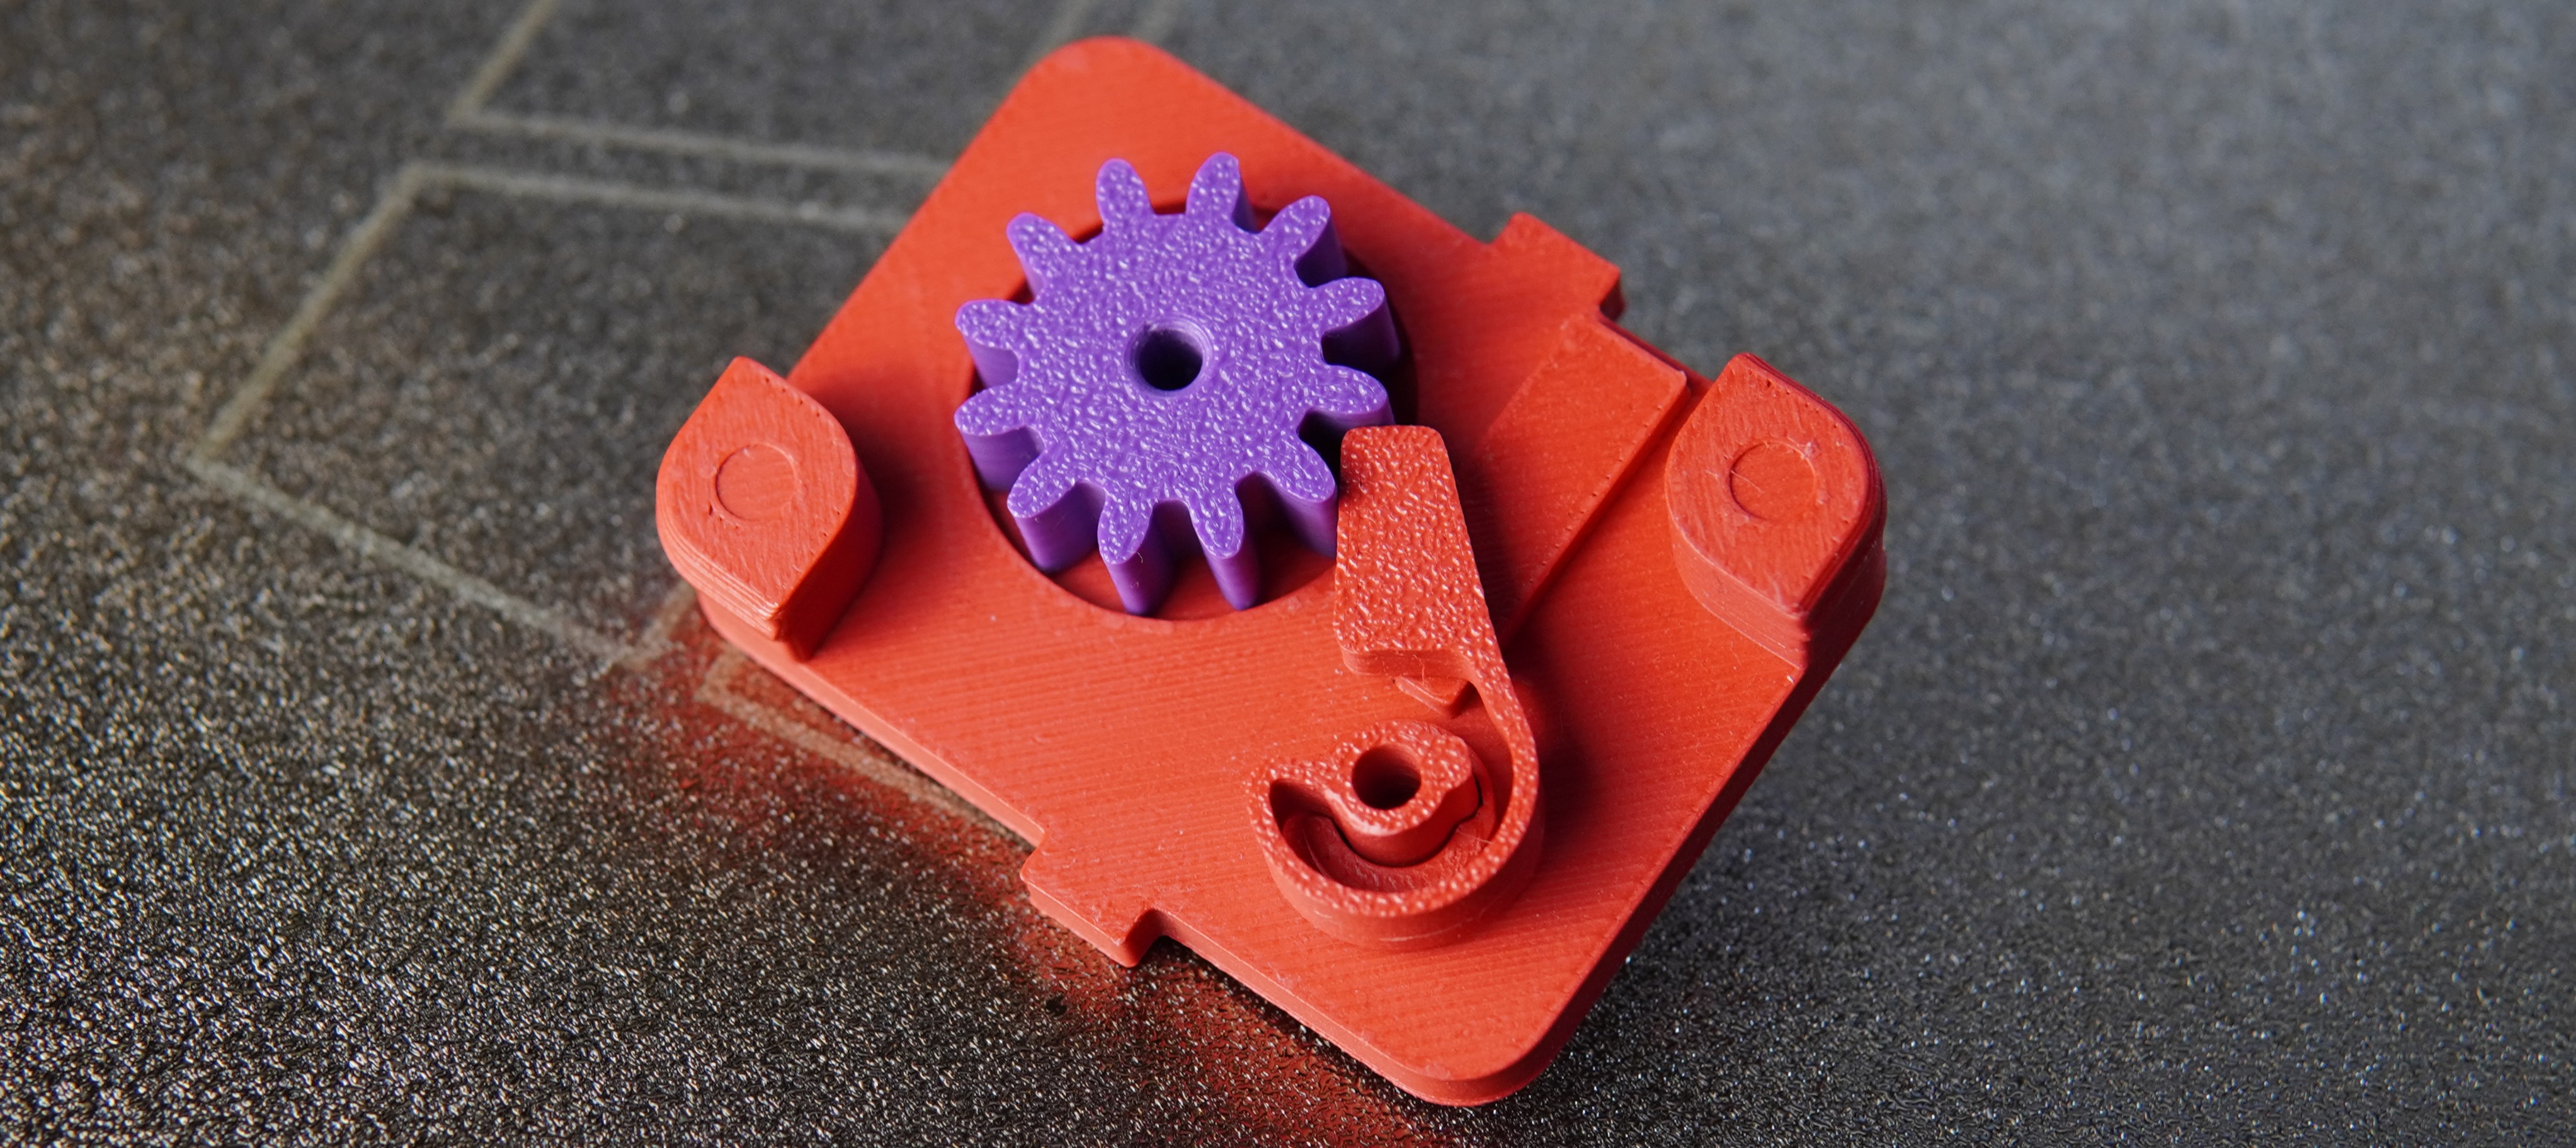
Tests showed that inertia alone can sometimes release the disk, but without the locking pawl the gear may continue rotating, causing inconsistent release. The pawl ensures a predictable launch cycle and avoids frustration.
The project has been tested on:
-Bambu A1 mini
-Bambu P1S
-Prusa MK3S
-Ender 3 V2
-Custom-built printer
🧾 Printing and assembly
- Assembly guide in PDF
- No supports required 🙌
- Tight tolerances in some areas — a well-calibrated printer is recommended
🧾Part list
Drive Gear (12T)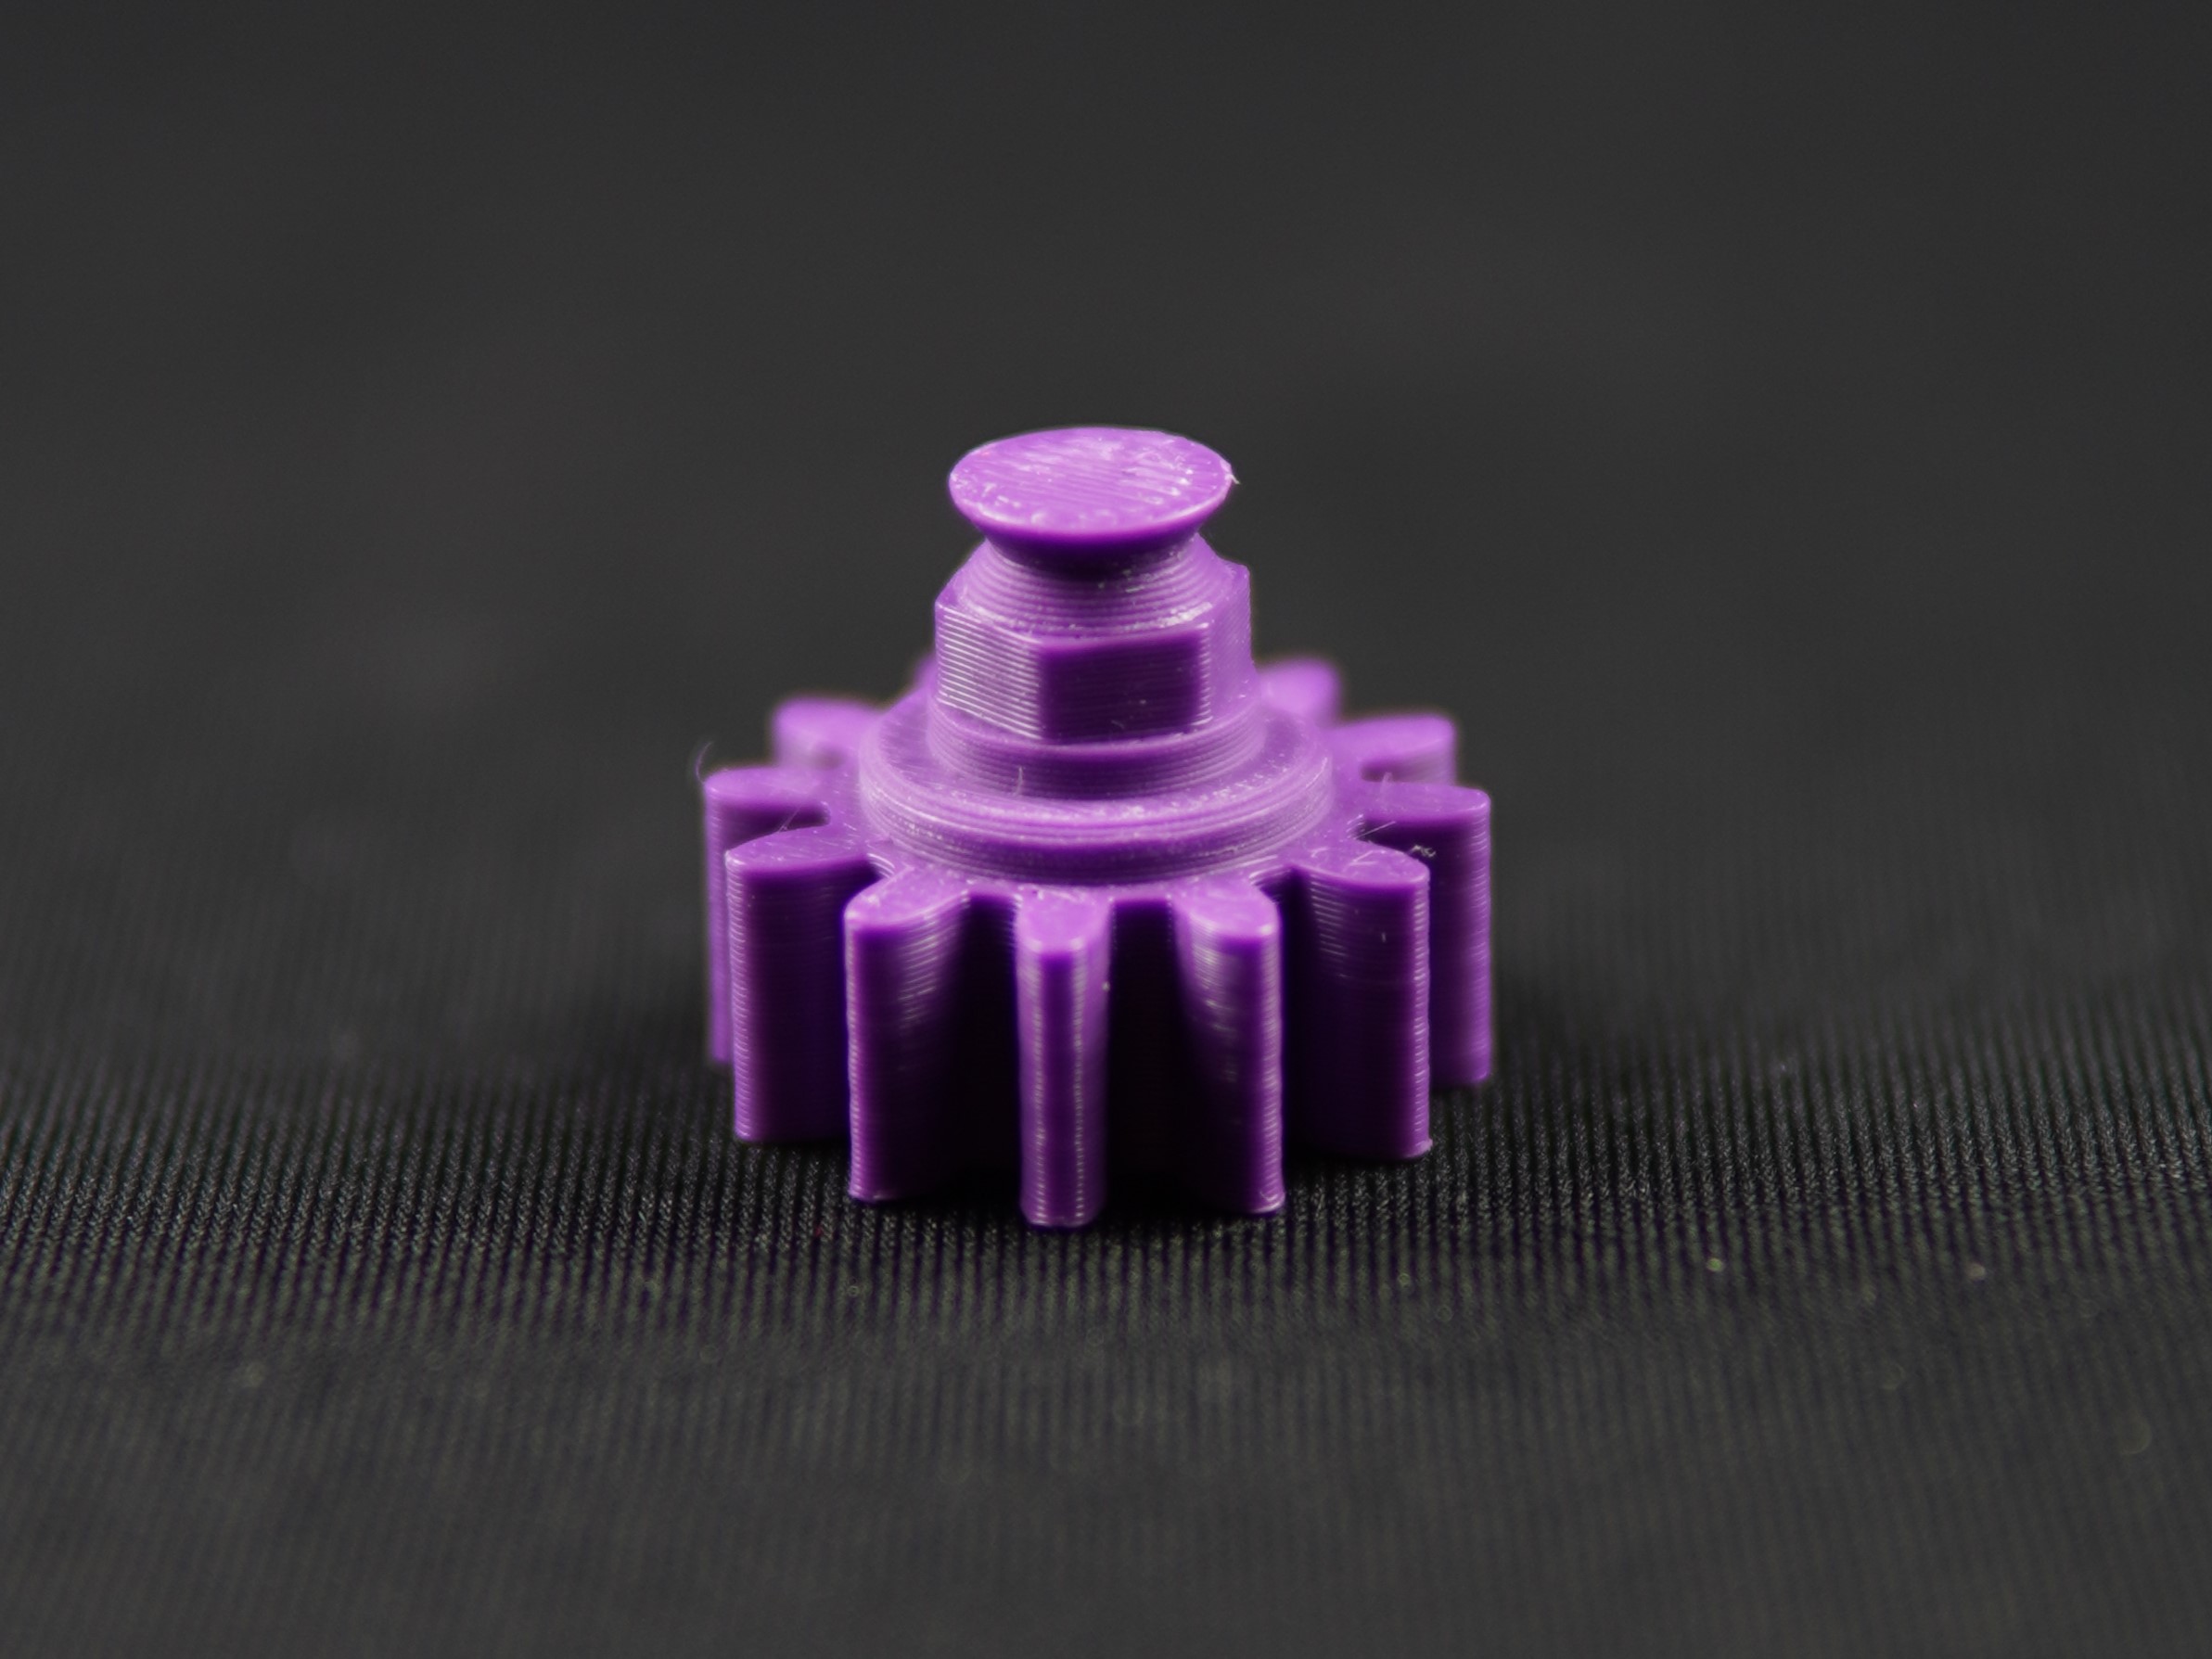
Disk Holder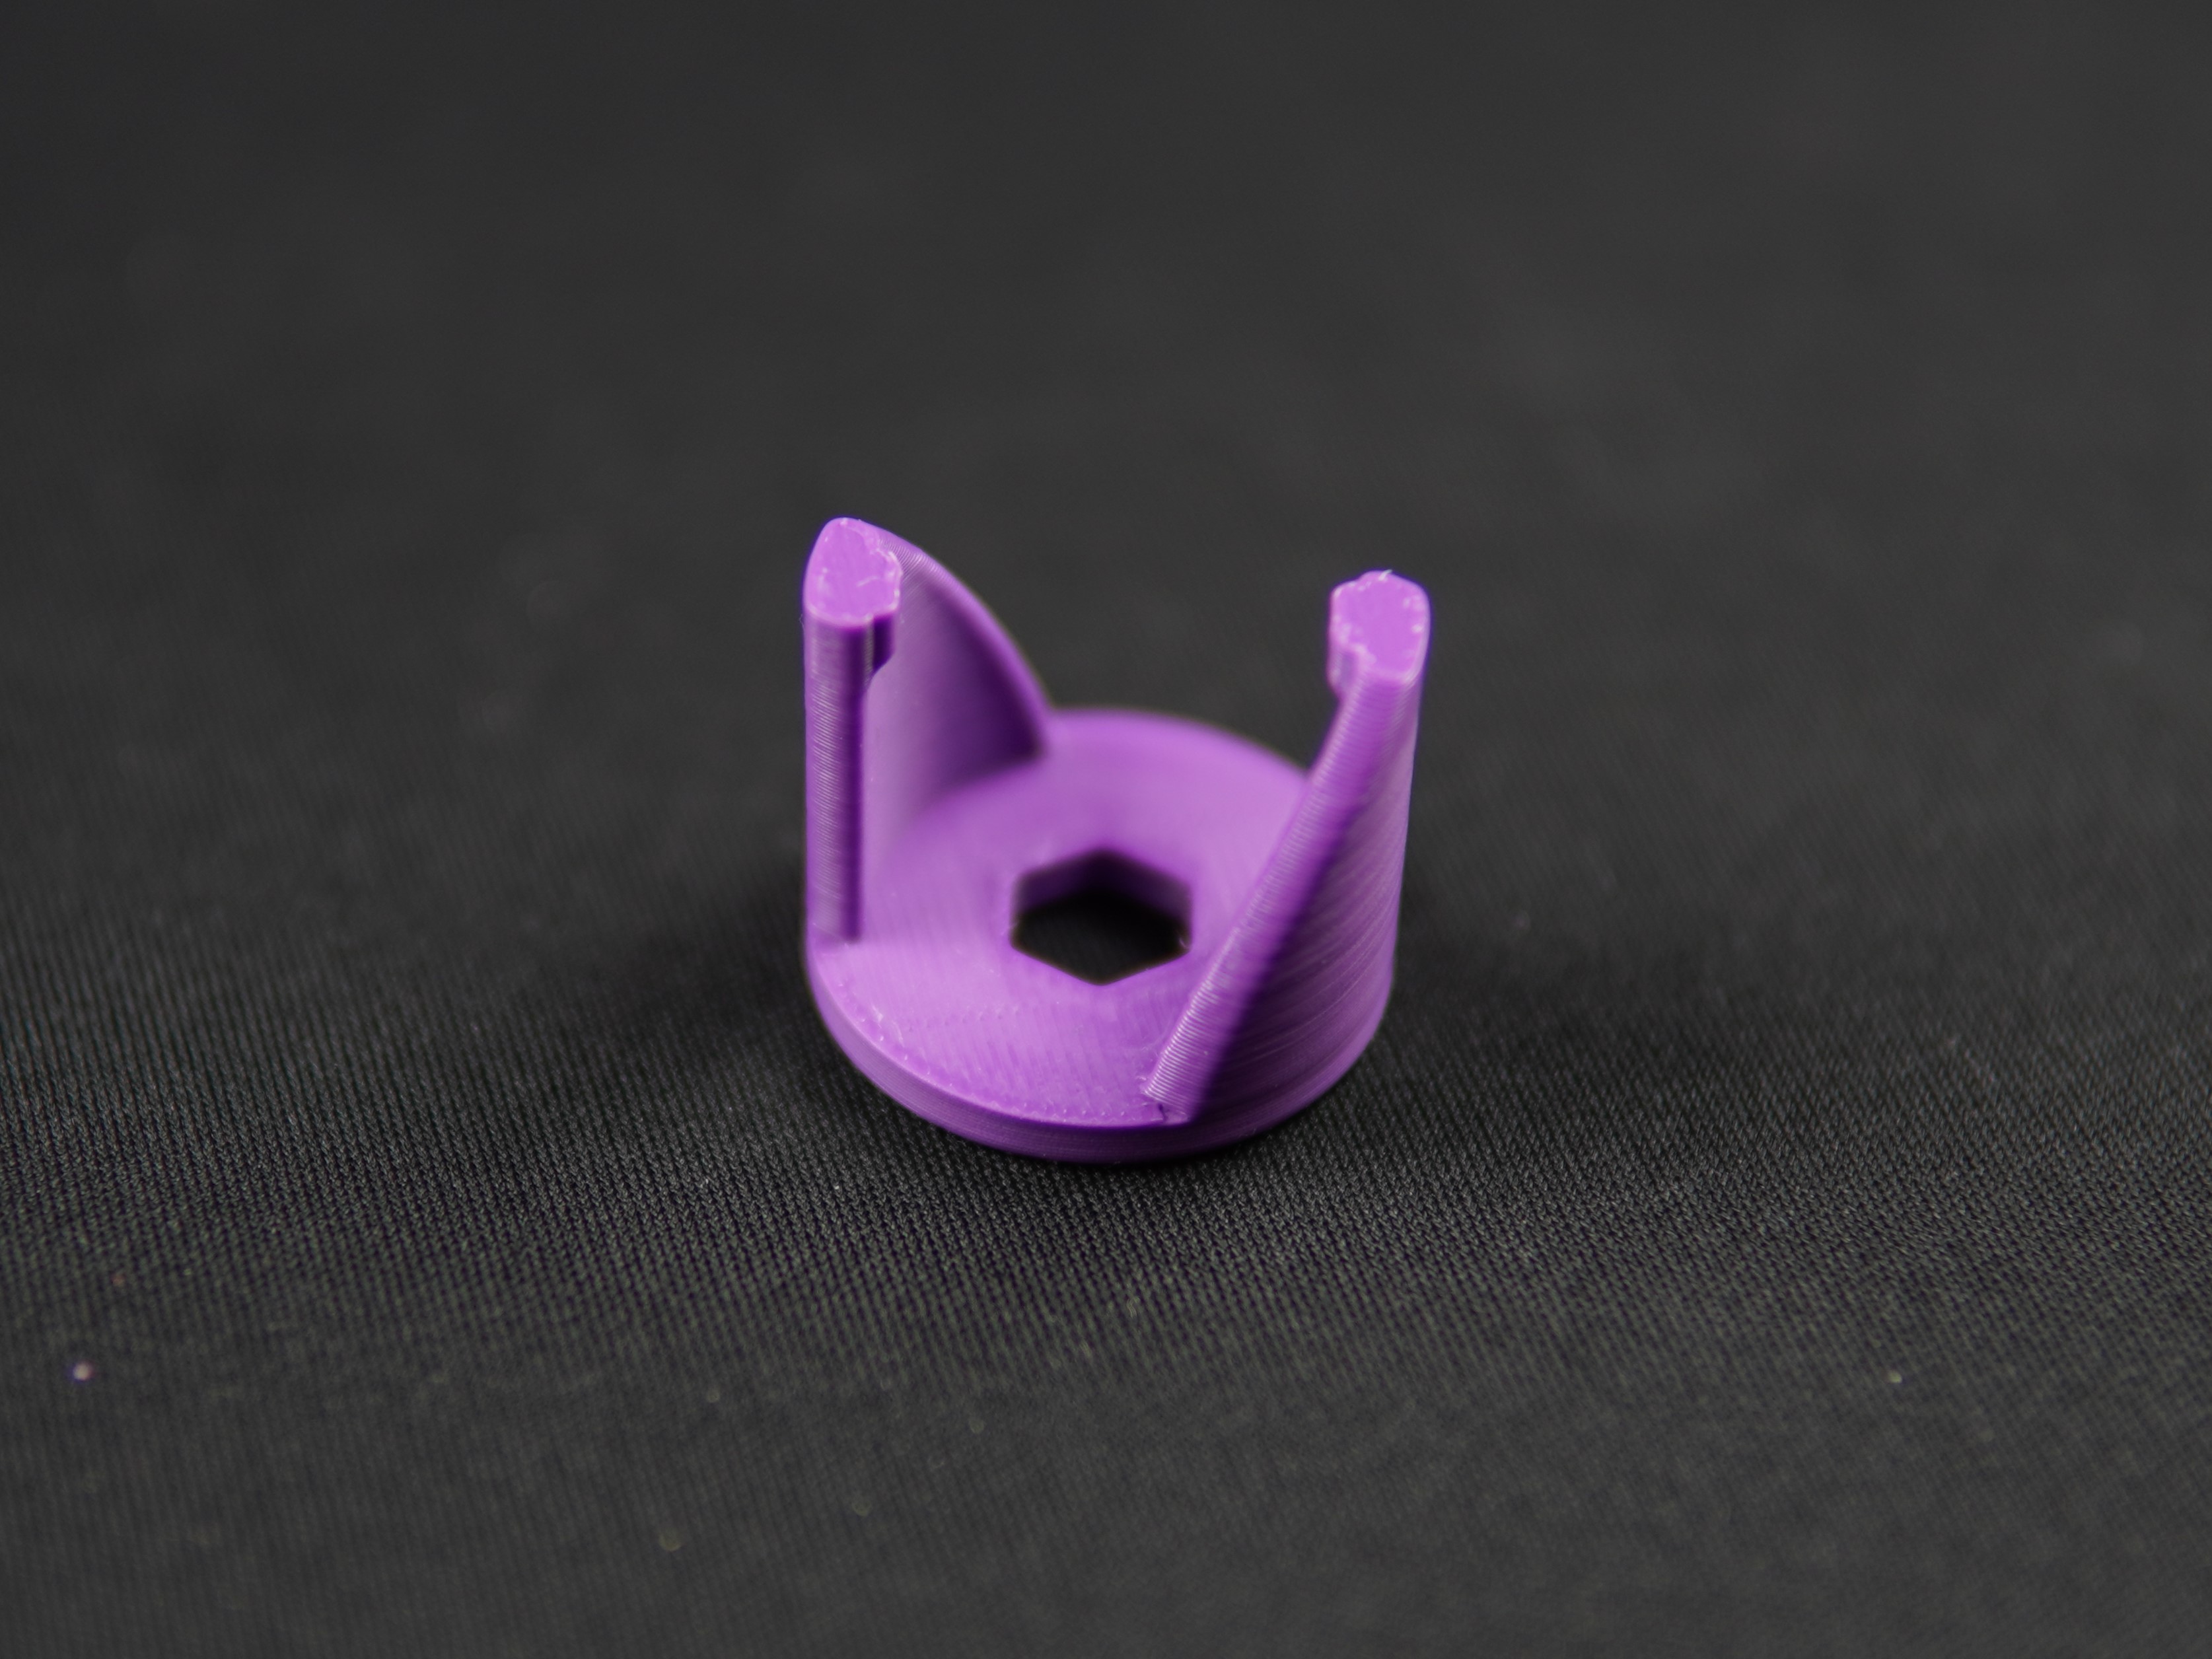
Locking Pawl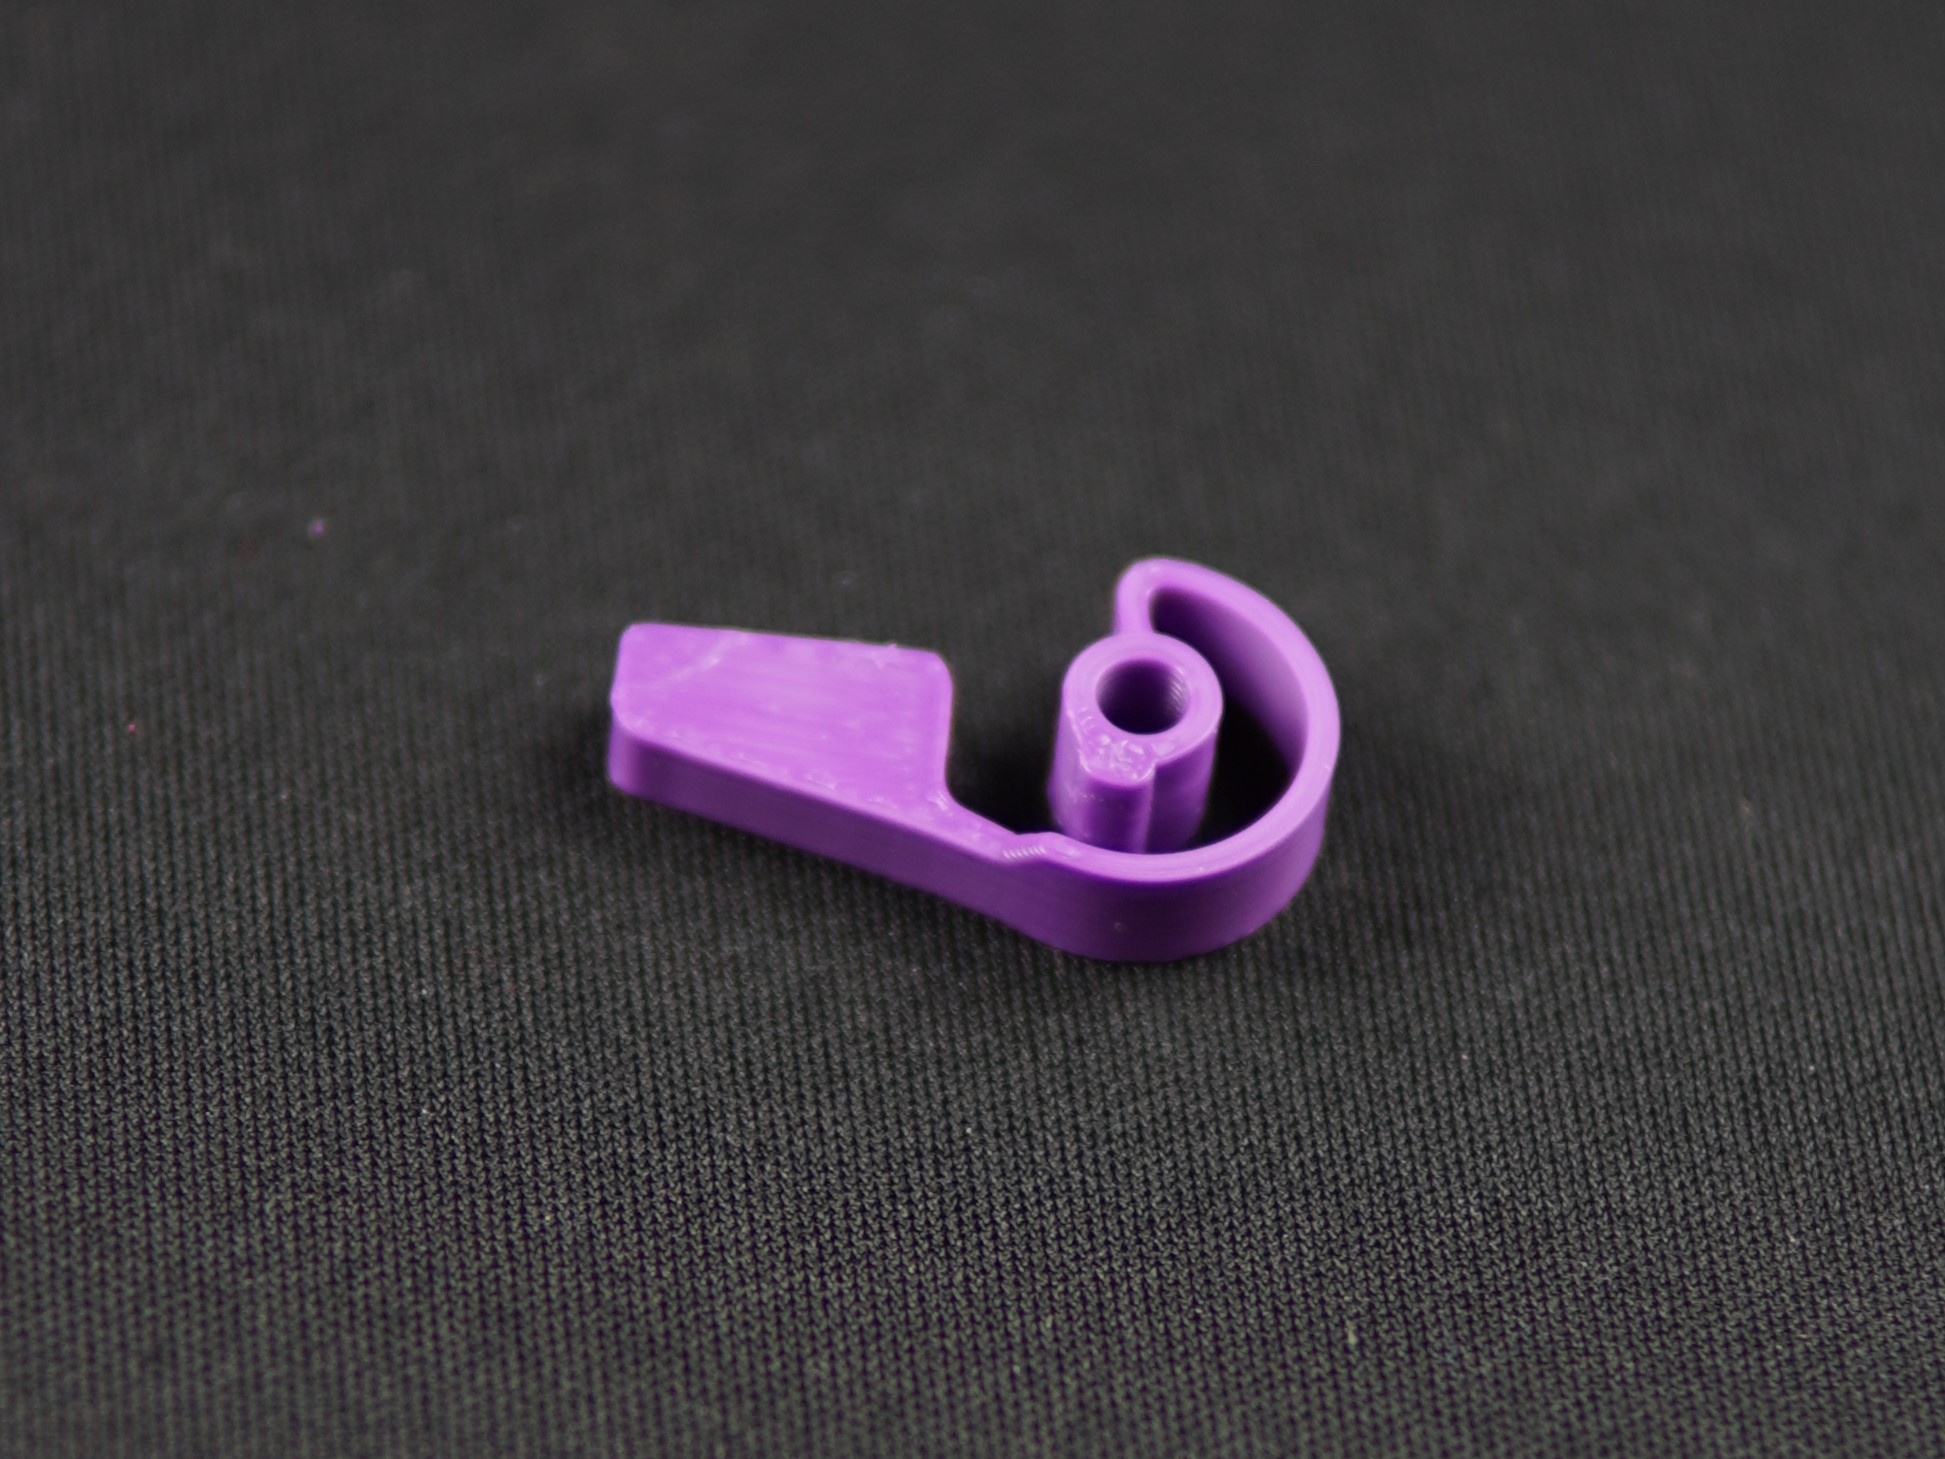
Retaining Ring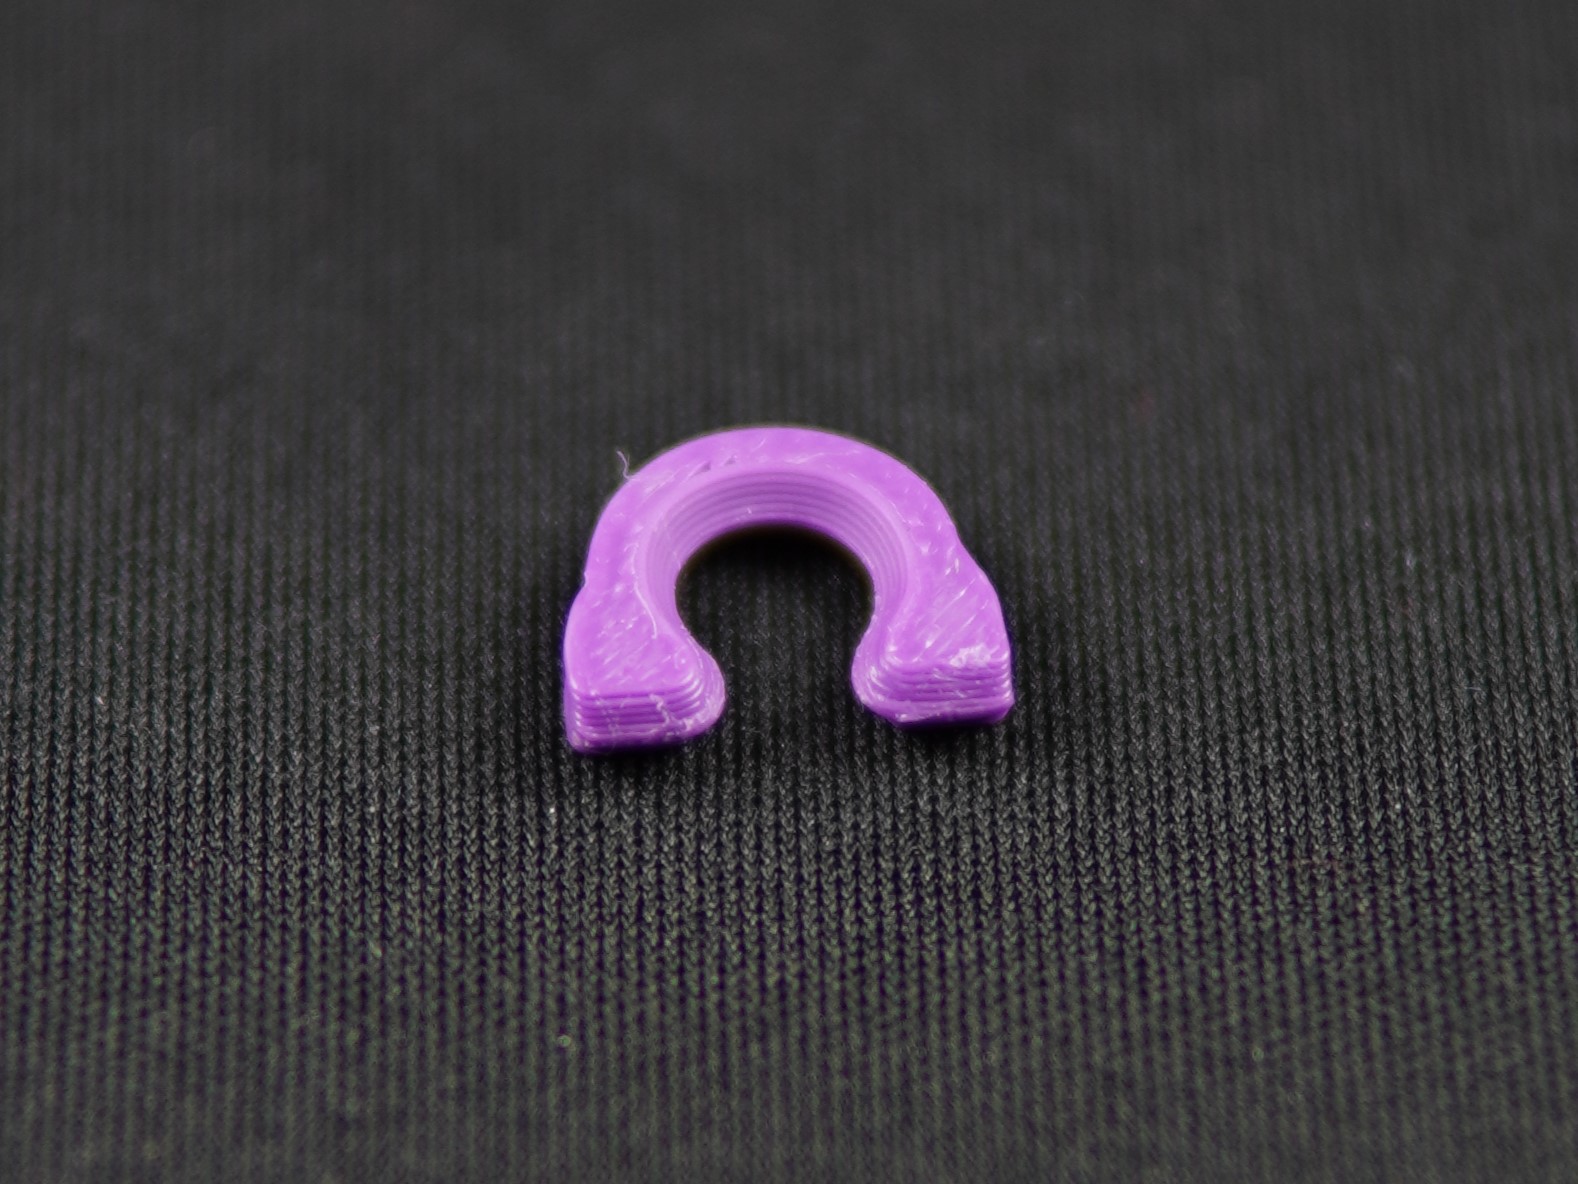
Top Shell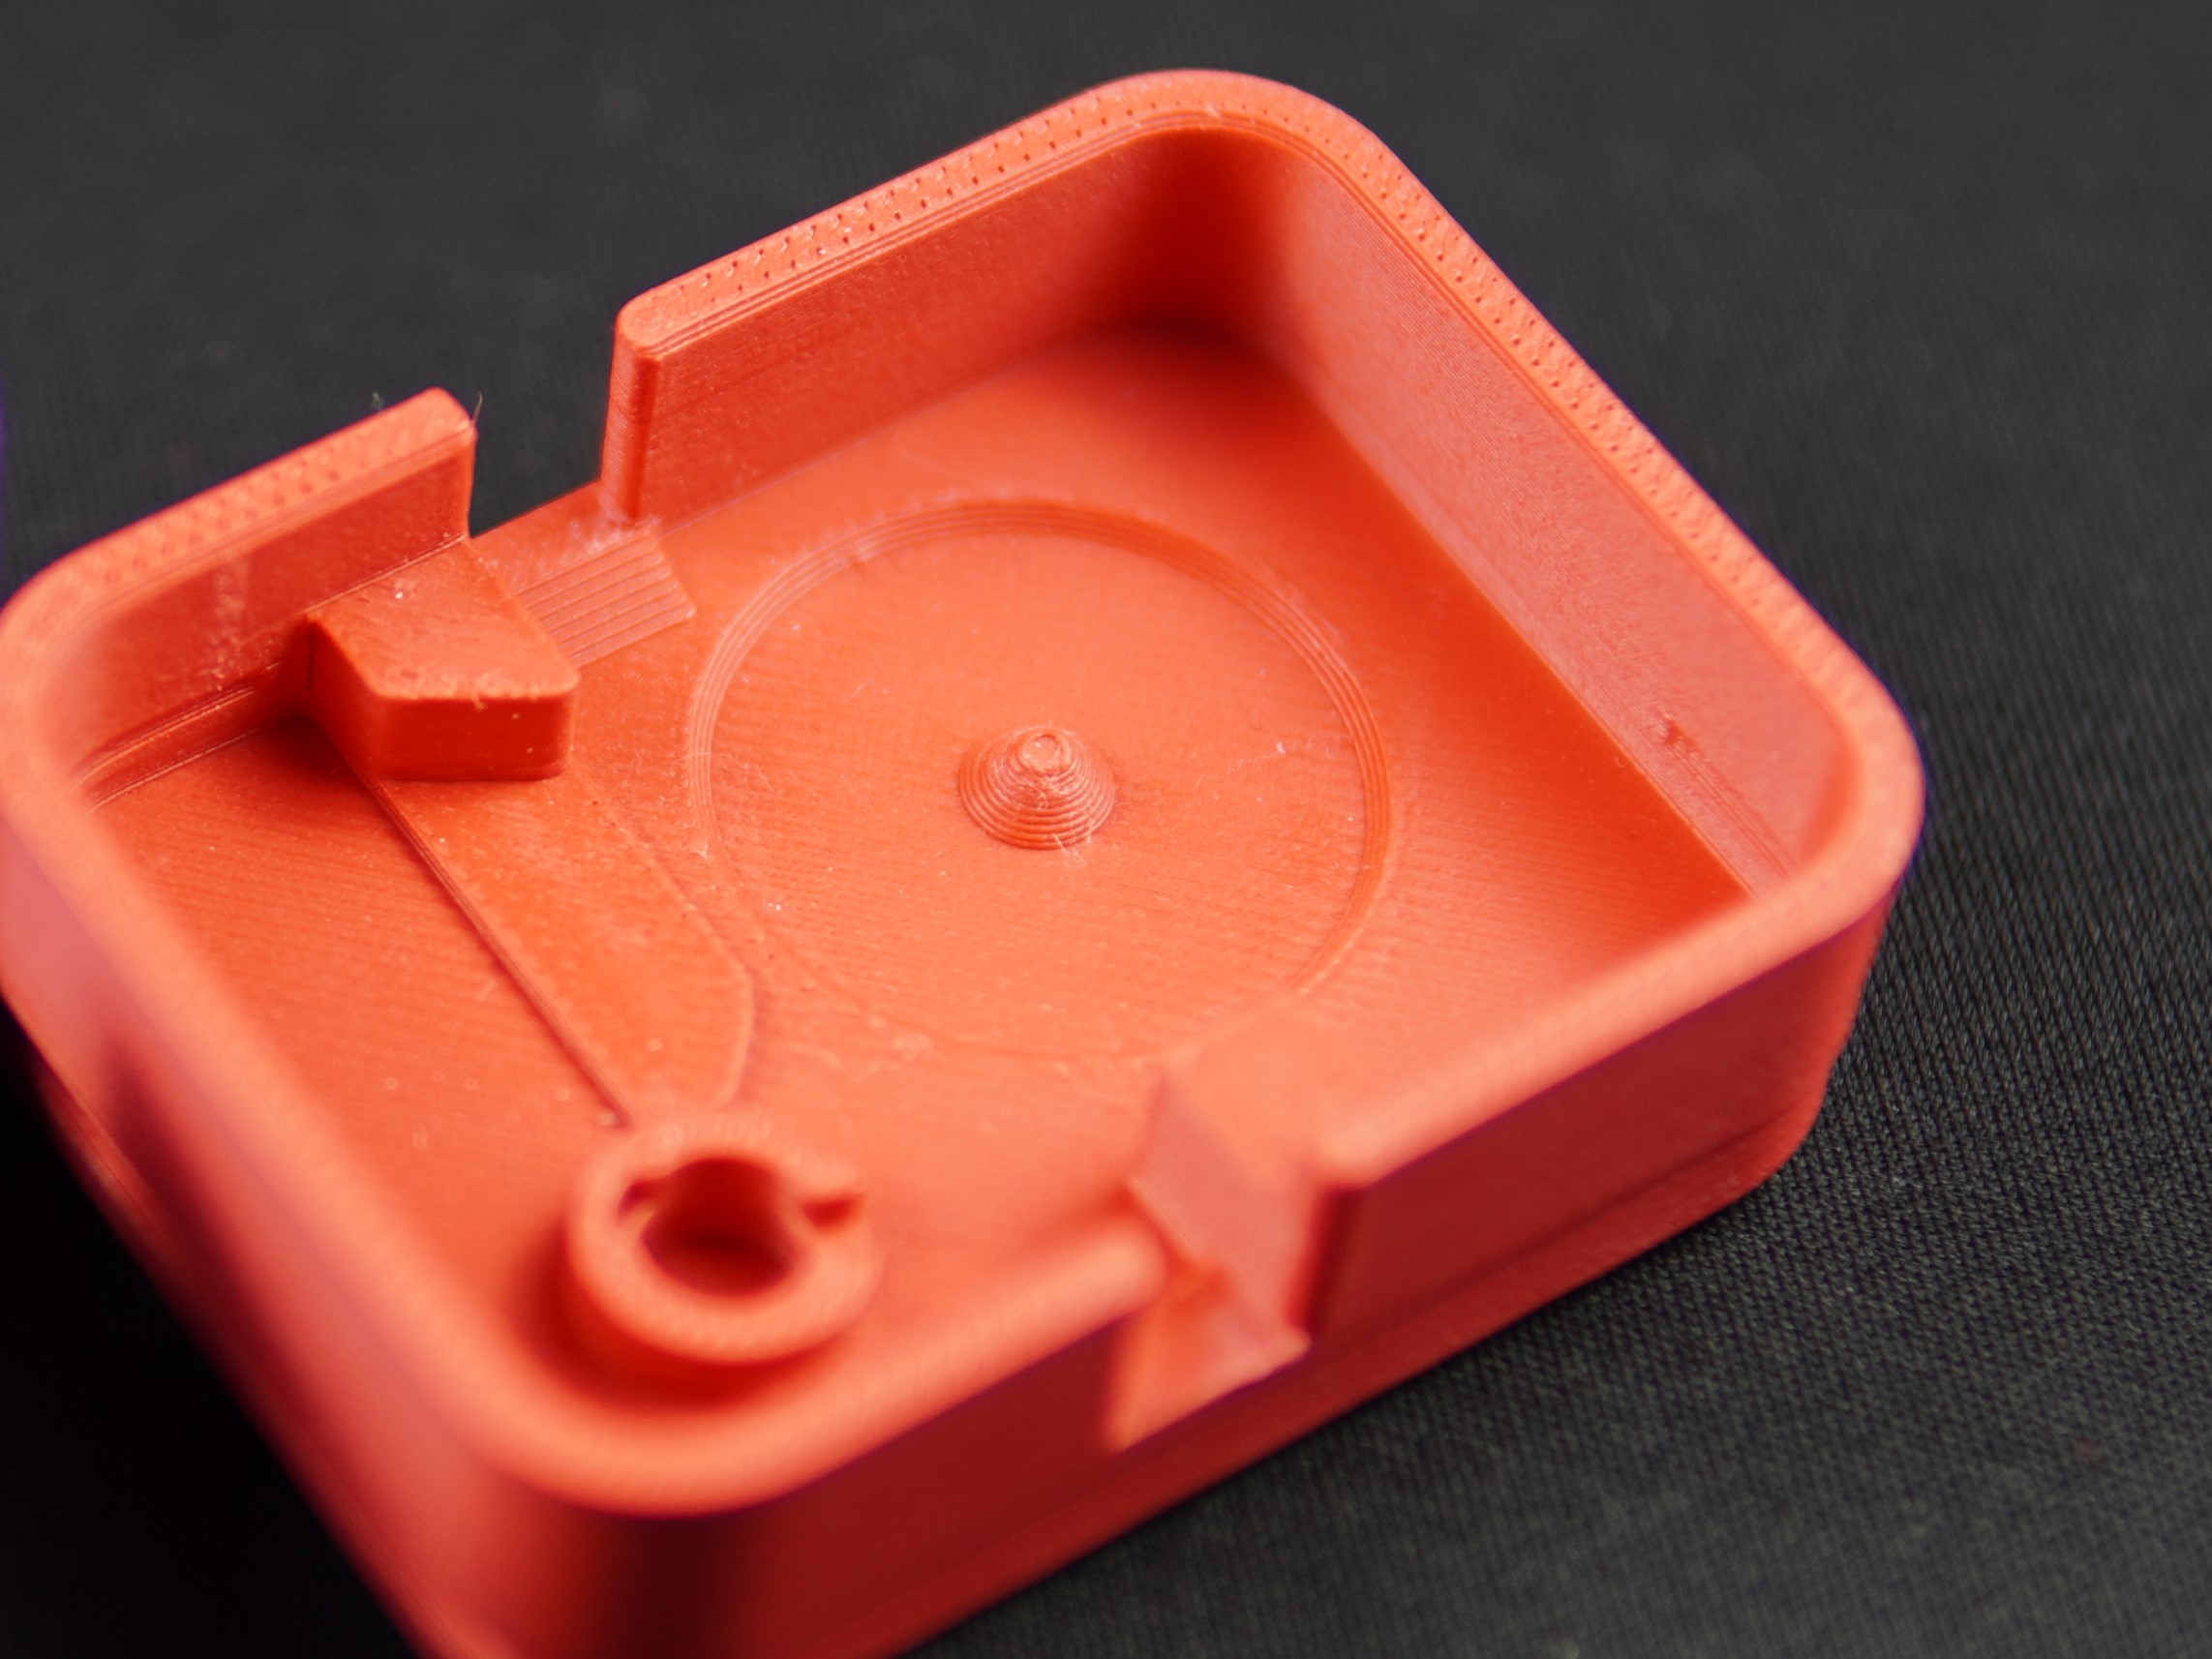
Bottom Shell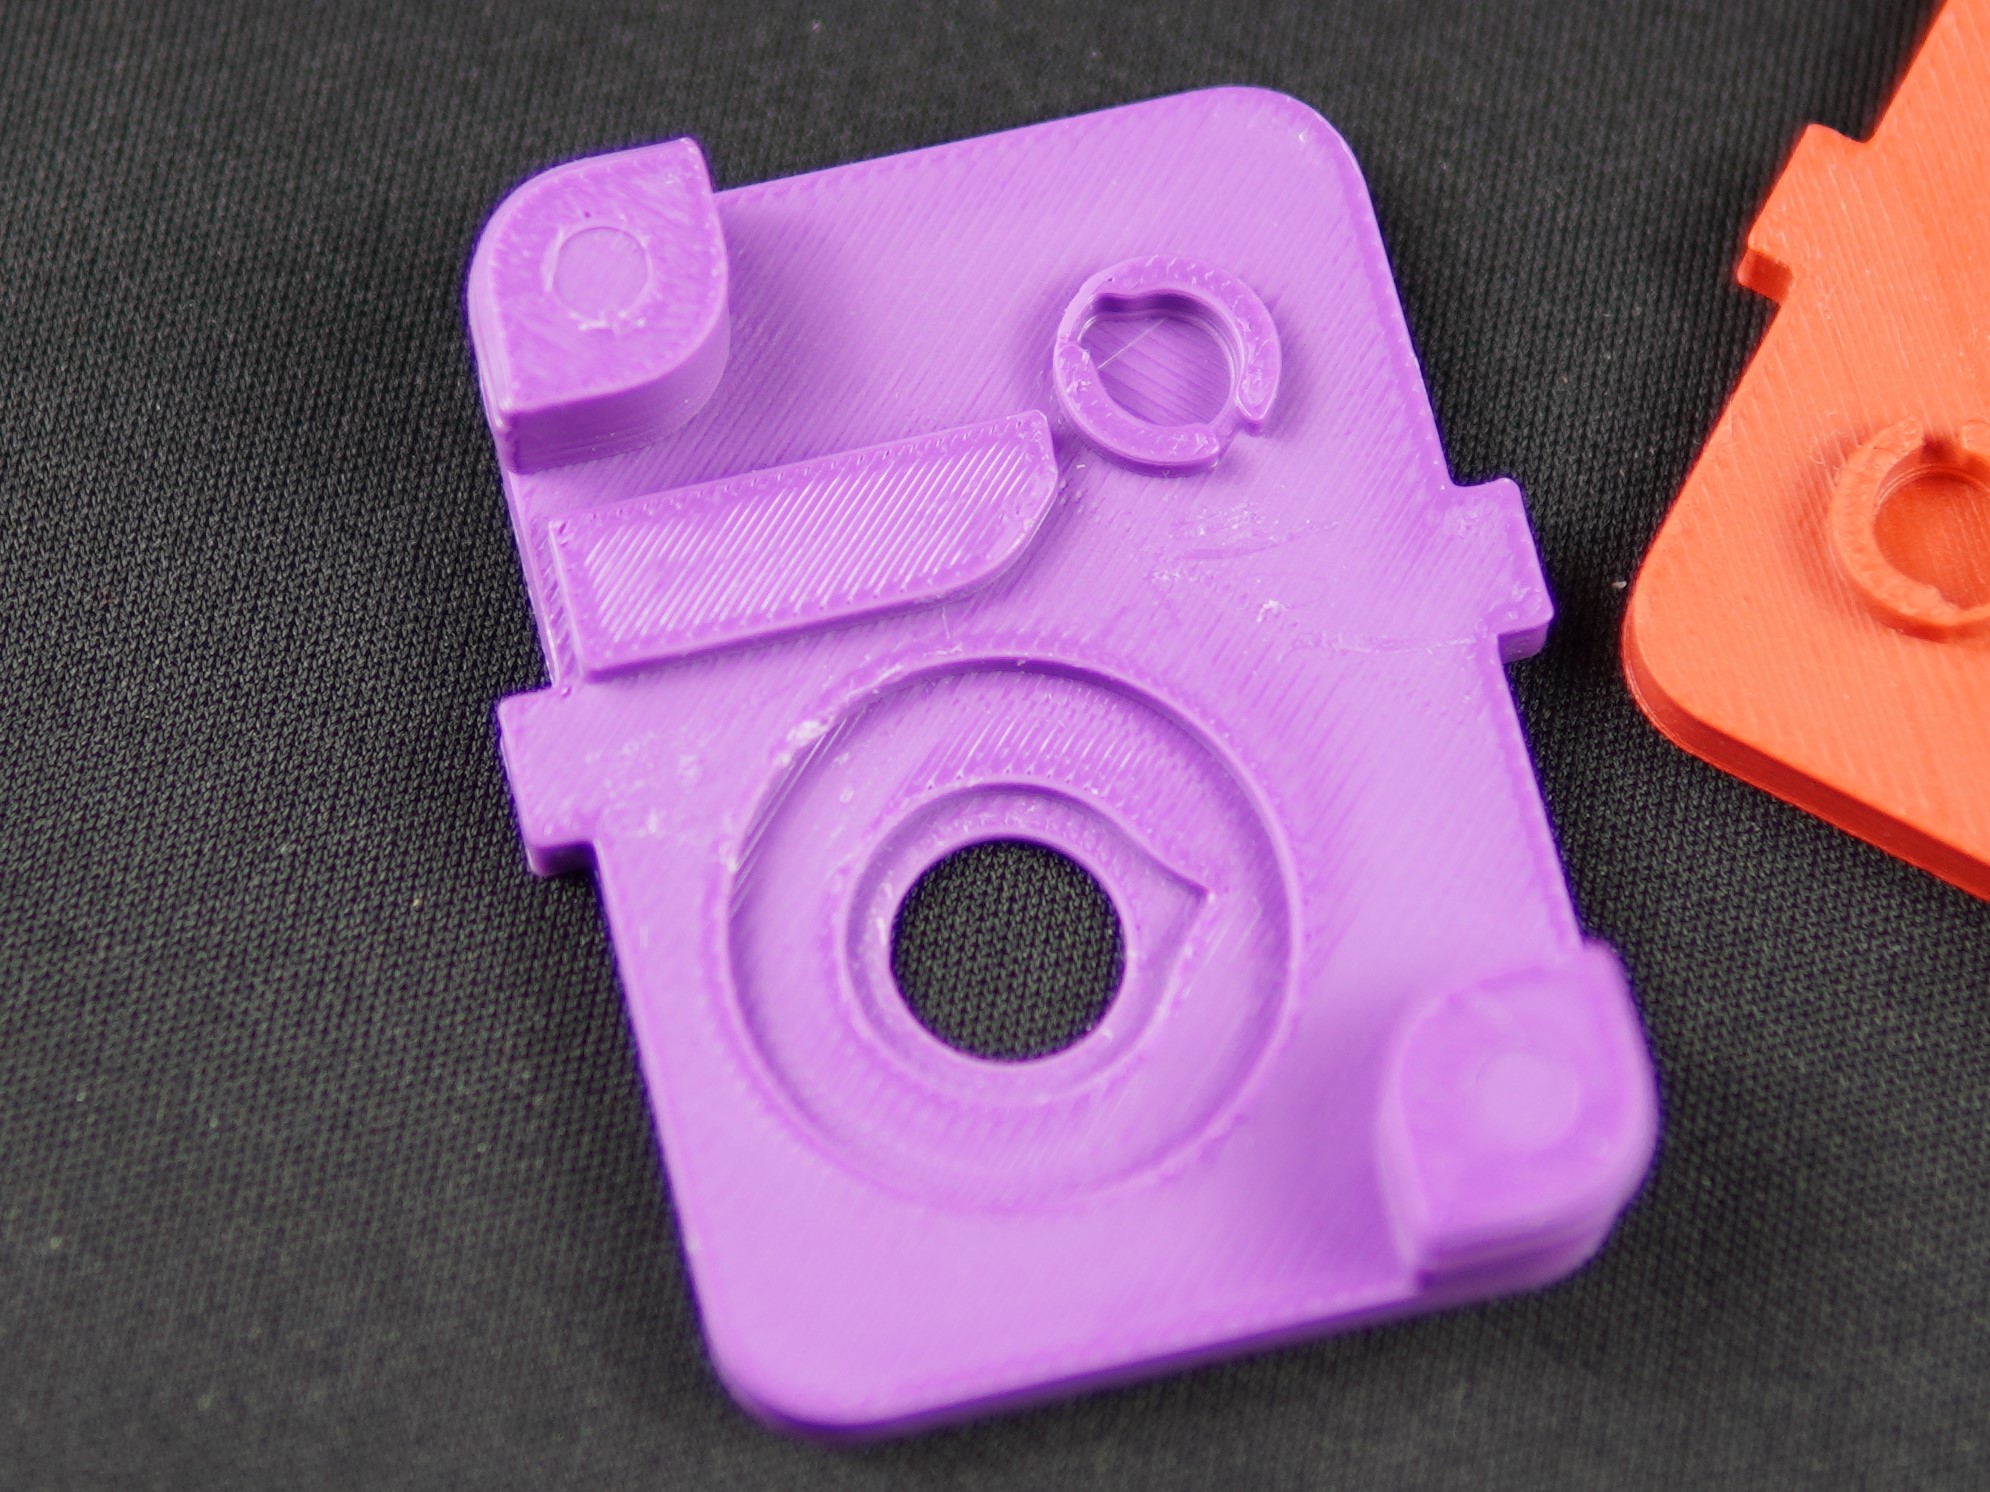
Launch Rod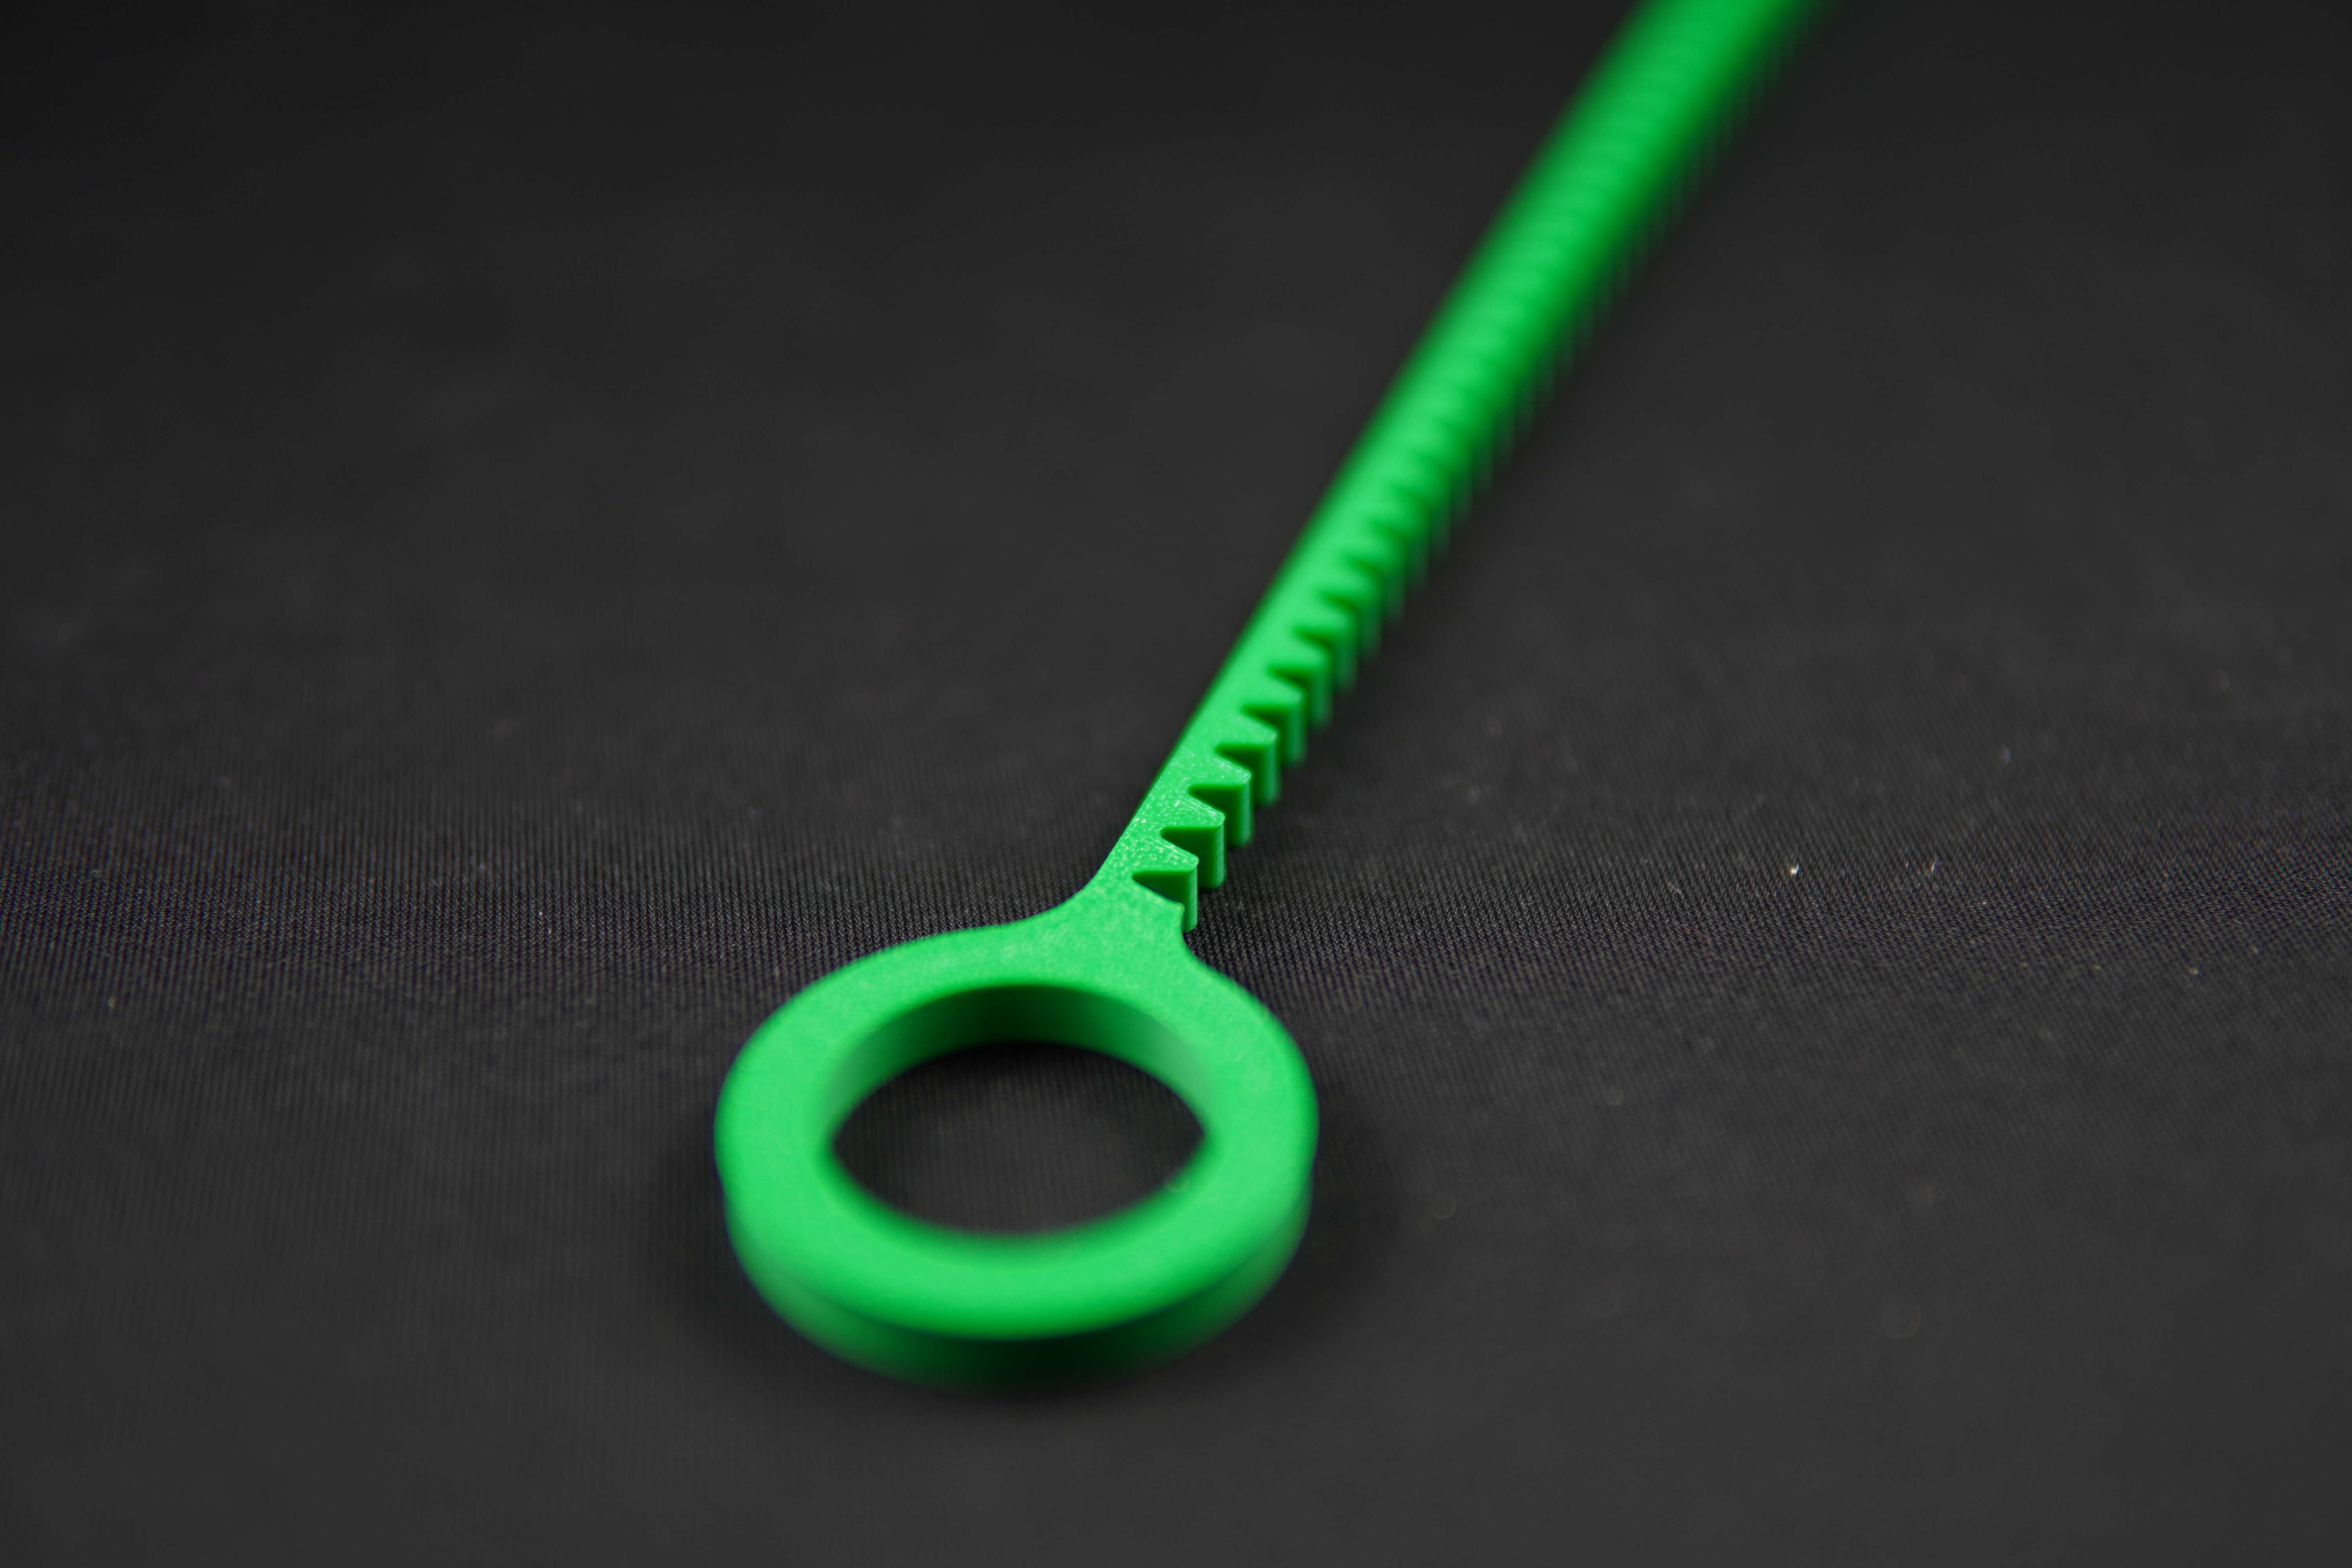
For more details, download the PDF file.
⚠️ WARNING – please read before printing
I always try to test my designs on different printers and filaments to make them as reliable as possible.
That said, print quality still depends heavily on bed leveling, extrusion accuracy, and overall printer calibration.
This project includes a few areas with tight tolerances, so for the best experience it’s important that your printer is properly set up. A well-calibrated machine will make the difference between a smooth assembly and unnecessary frustration.
If your printer is dialed in, everything should fit and work as intended.
You are prohibited from sharing, sub-licensing, selling, renting, hosting, transferring, or distributing the digital file or 3D printed versions of this object, as well as any other derivative work in either digital or physical form (including remixes).You are not allowed to use the objects in any manner that involves charging money or collecting fees without permission.