
AMS Stacking Stand - optional plate holder - remix

 7
7


Building on the shoulders of giants, I've made some changes to further improve the changes that 3DMonMaker made to MihaiDesigns design.
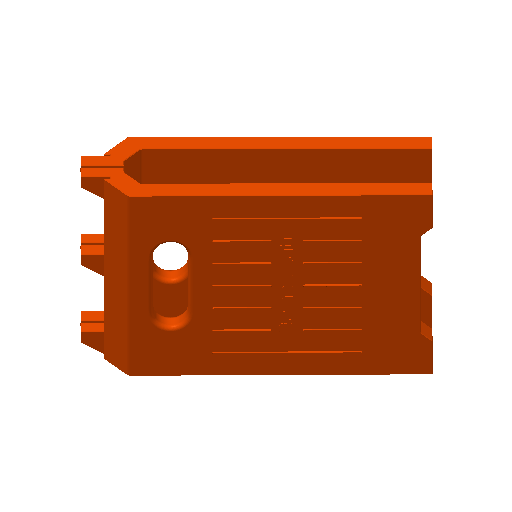
This build allows you to stack your AMS - including the latest 2024 AMS design - in a safe, stable, and useful way, that is also easy to print and put together. You can choose to have a plate holder for either the left or right, and chose to have bracing that is extended further back or flush.
I have significantly tweaked the layouts and sizes to ensure that this model is easy to build, with choice to pick what only you want to print - nobody like printing out parts only to throw them away! Printing times have been significantly adjusted and improved using adaptive layer heights to optimise this print.
This model has been tweaked to use Bambu's latest and strongest crosshatch infill, which saves filament and makes the part even stronger. All of the benefits of gyroid, with extra strength and no risk of overlaps like grid! Pins have been strengthened, resized, and checked to print and fit easily without the annoyance of brims - while still maintaining a strong and sturdy hold.
I have used Bambu's new PETG-HF filament for this due to it's brilliant strength, speed, and quality - but you can do it in PLA or standard PETG if you wish. I've included profiles for each.
The first profiles (in PETG-HF and PLA) is for a riser only, with no extensions or braces. You'll have to pull out the bottom AMS to swap out rolls, but that works for some people - it's a one plate print that will get you up and going fast.
The second profiles (in PETG-HF and PLA) includes the same riser, with all of the options for extensions, plate holders, and braces. You can pick and choose what works best for you - or add on to the riser only if you've printed that! Plate details are as follows:
- Plate 1 - Riser, left and right (same as the riser-only profiles).
- Plate 2 - Extensions, with required securing pins. Note: you only need to print one of plate 2, 3, or 4!
- Plate 3 - Extensions, with left-side build plate holder and required securing pins.
- Plate 4 - Extensions, with right-side build plate holder and required securing pins.
- Plate 5 - Braces, and locking pins. You can print either one or two of these for stronger bracing if you wish.
- Plate 6 - Brace pins to attach to riser side walls, with a spacer to allow the bottom AMS to sit back further. Note: You only need to print either plate 6 or 7!
- Plate 7 - Brace pins to attach to riser side walls, flush.

