
Ring Lamp with Halloween Panels

 17
17


Overview
This is my second version of the Ring Lamp. First version is available here: https://www.makeronline.com/en/model/Ring%20Lamp/37169.html
Halloween panels are fit also to previous version of Ring Lamp.
Electric parts you need.
The easiest way is to use electrical parts designed specific for this kind of lamp. The kit provides easy installation without the need for soldering.
It is available on Amazon
(Dimmer version) https://amzn.to/4iJ3zHt
(On-Off switch version) https://amzn.to/3ZNb0q4
You can also search for each part separately. You will need
- led stripe - best are LED COB 8 mm, 12V
- charger for LED strip
- dc connector - I used 2.1/5,5 mm , the diameter of the mounting hole is 12 mm
- On-Off switch
- alternatively you can use dimmer instead of typical on-off switch
WARNINGS
Led strips can emits some heat depends on what type of LED and voltage you use.
If you use LED strip from the kit you you can print everything in PLA as it achieve only about 40 °C.
If you will use your own LED strip with more power it may achieve more temperatures (in my case 58 °C and Main Frame can a little bend overtime. If you have such strong LED strip I recommend use ASA instead of PLA. Specifically you have to print out with ASA the Main Frame and Panels. Everything else can be printed with PLA.
Printing
Printed with PLA or ASA, nozzle 0,4 mm, layer 0,2 mm height
IMPORTANT
Part: Shade55 - use 0,16 mm layer height as it has quite steep (55 degree) and thin( 0,6mm) walls
If you have problem with that part then print “Shade45”
Instruction
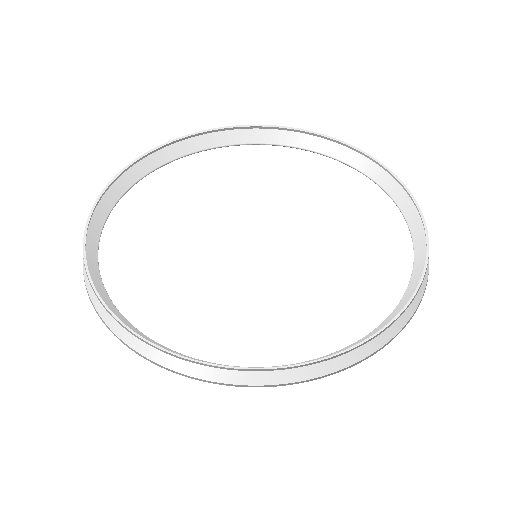
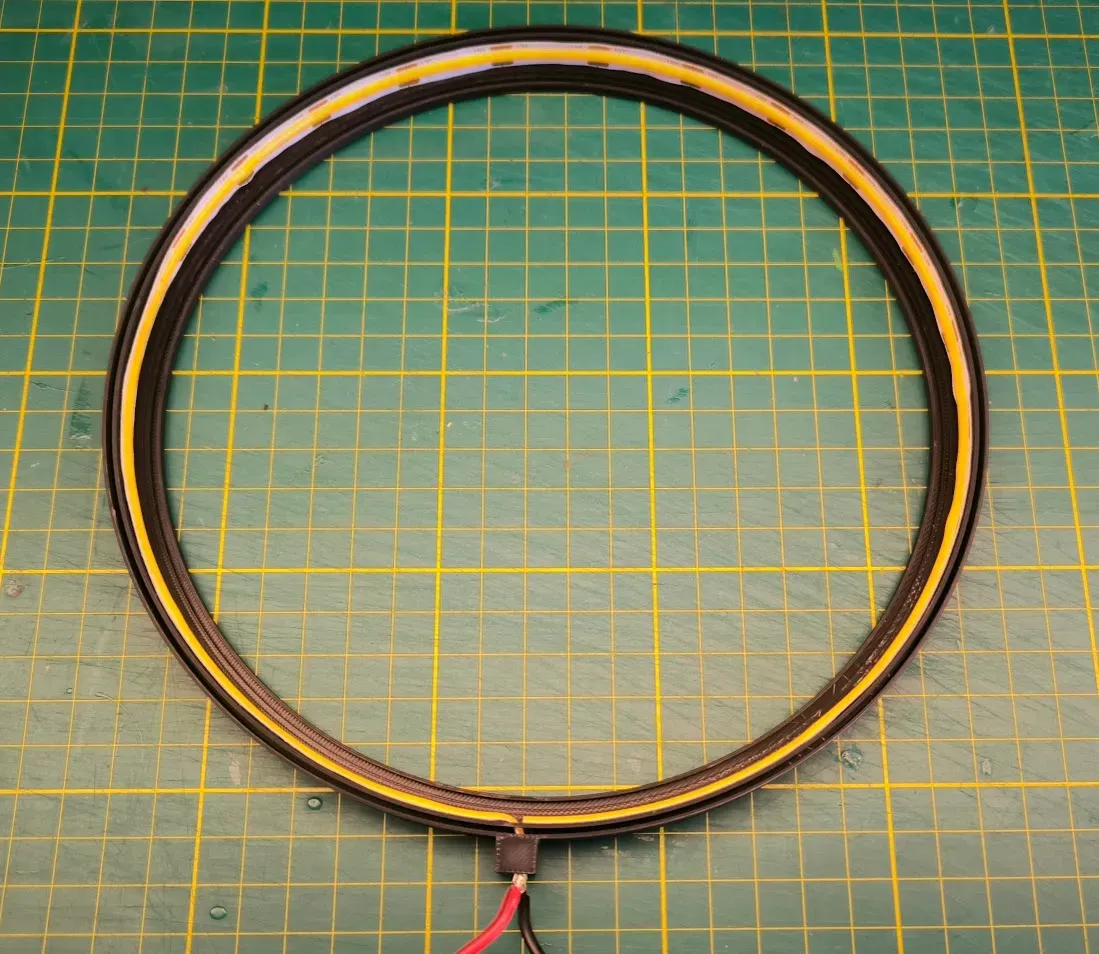
Glue led strip to inner side of Main Frame
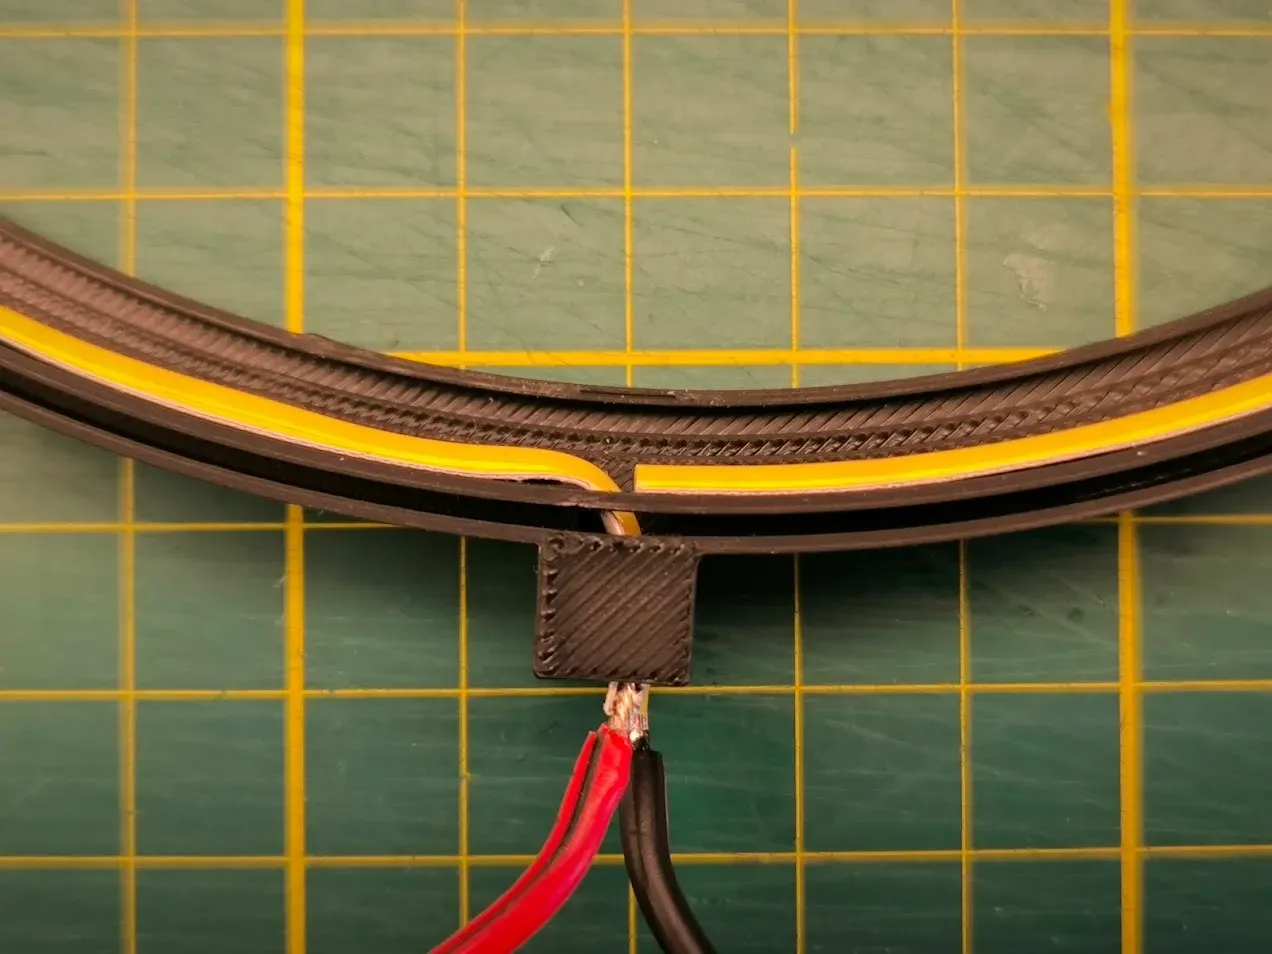
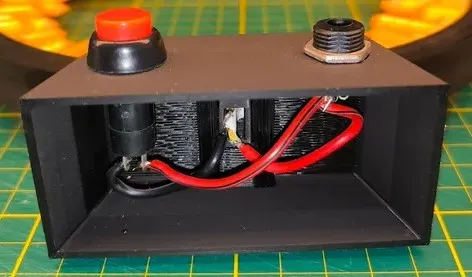
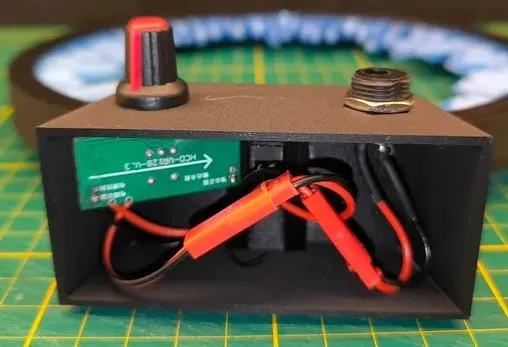
Insert the electric part into the base and connect them.
There is two type of base. One is holes place for dimmer and AC/DC connector. Second is with holes for on-off switch and AC/DC connector. I also add base in step format so you can cutout holes like you want for electric parts you have.
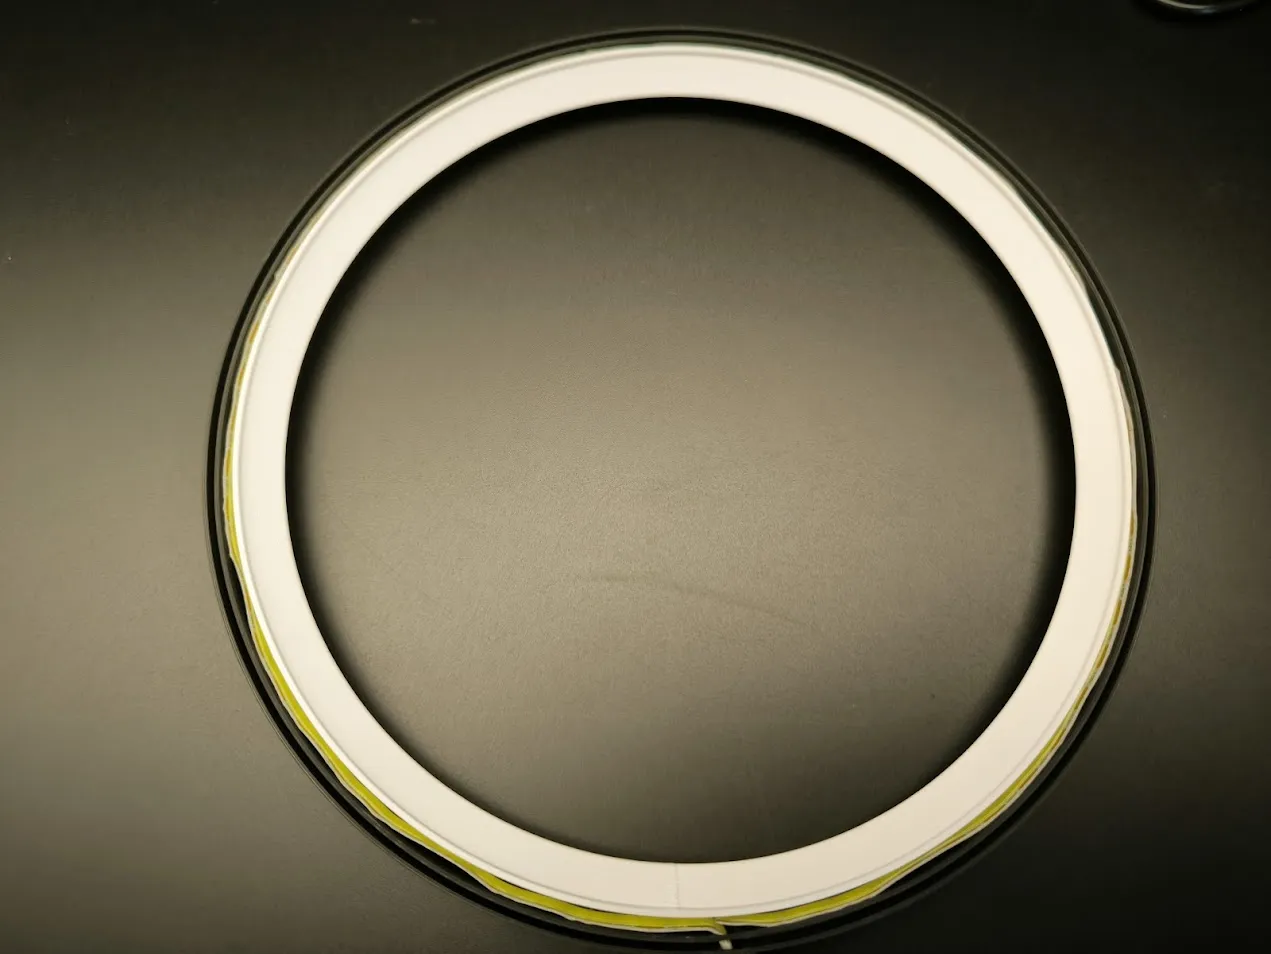
Put Shade Panel into Main Frame.
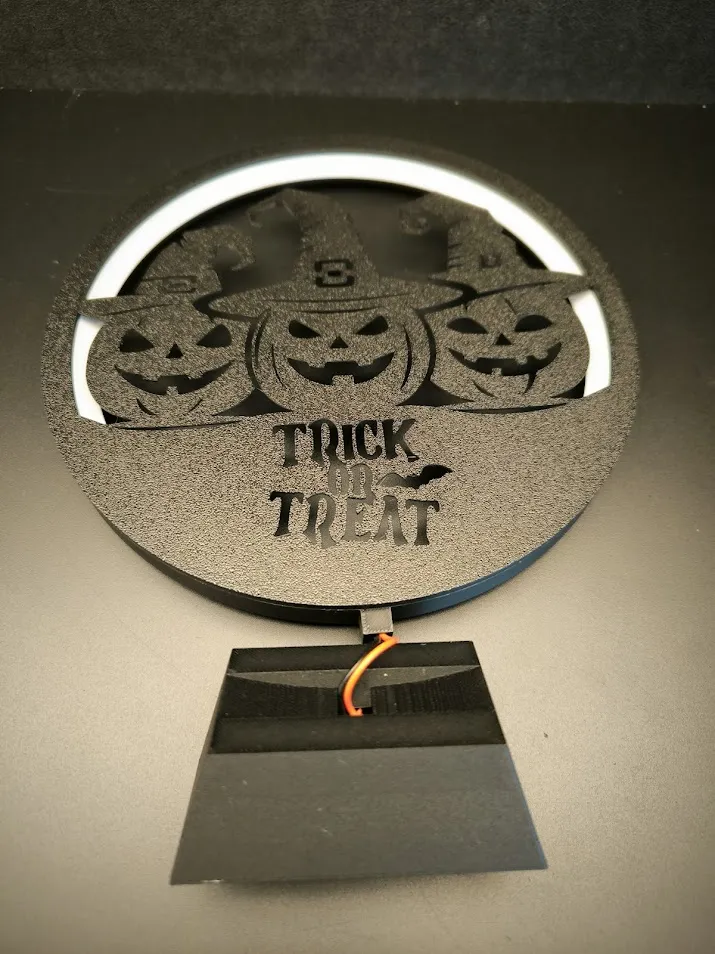
Connect Frame with Base
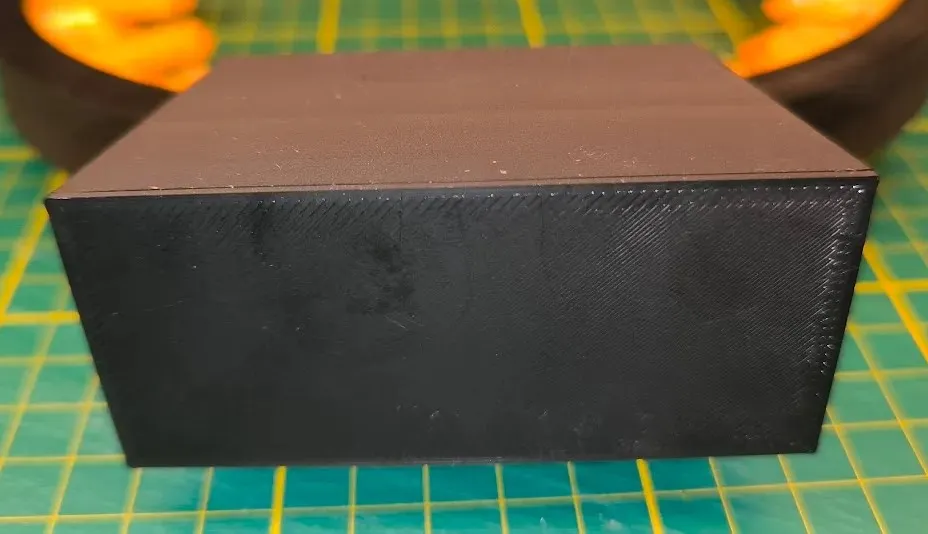
You can also close base with cover. It fit tightly
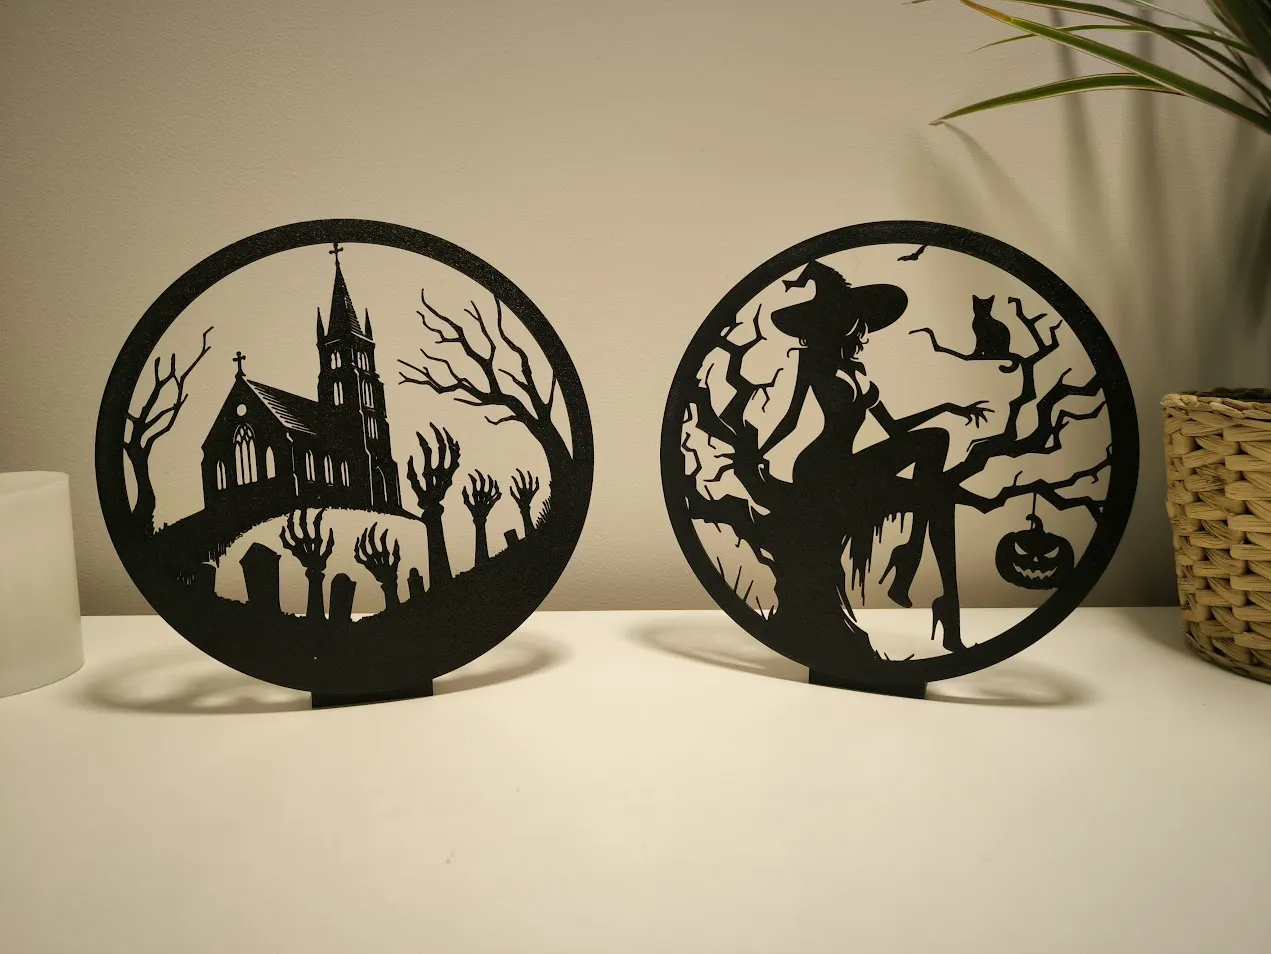
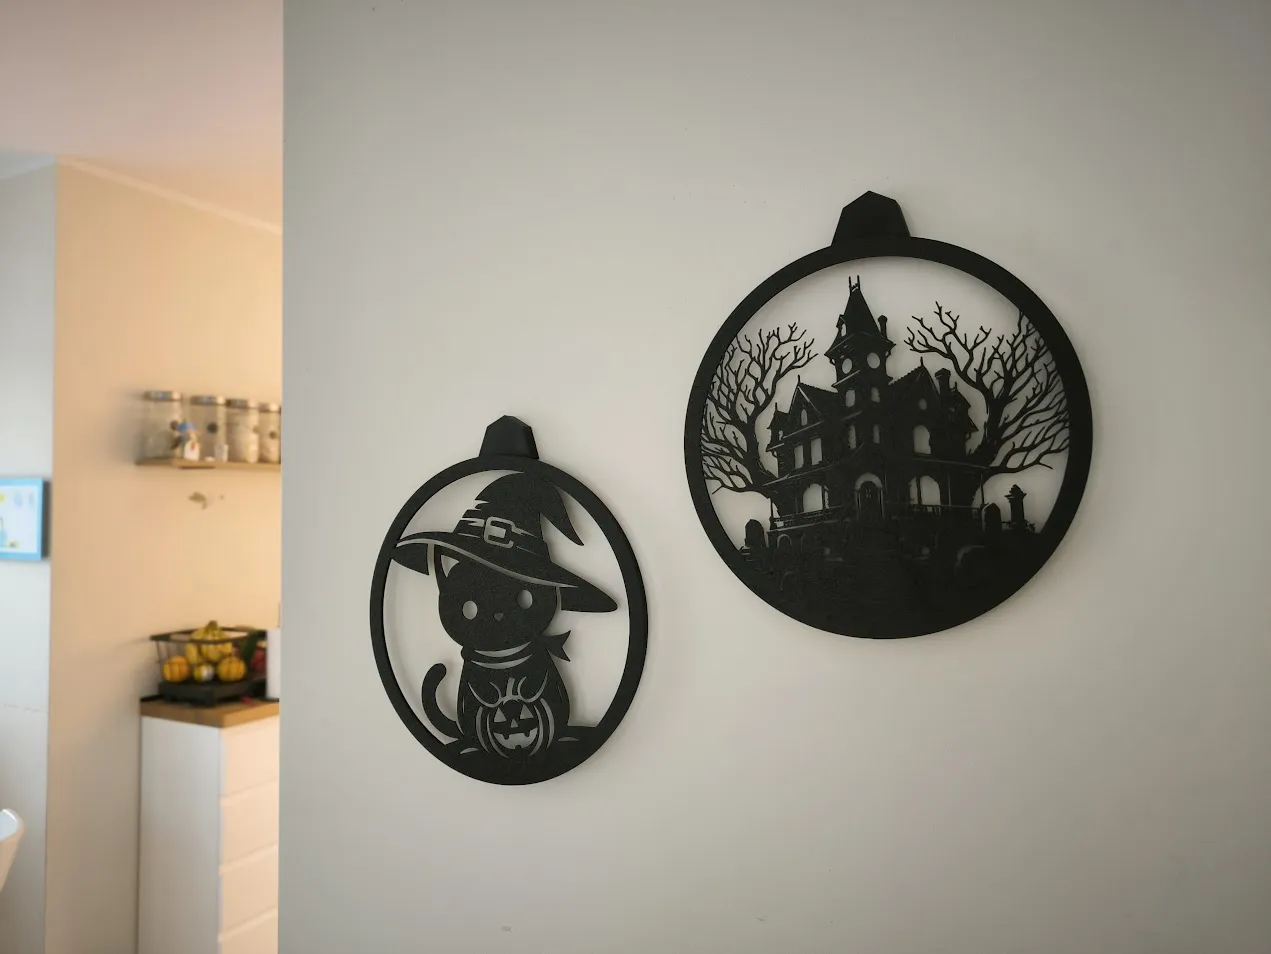
I created also stand for panels and hanger on the wall. So if you want utilize panels as Halloween decoration you have option for this.
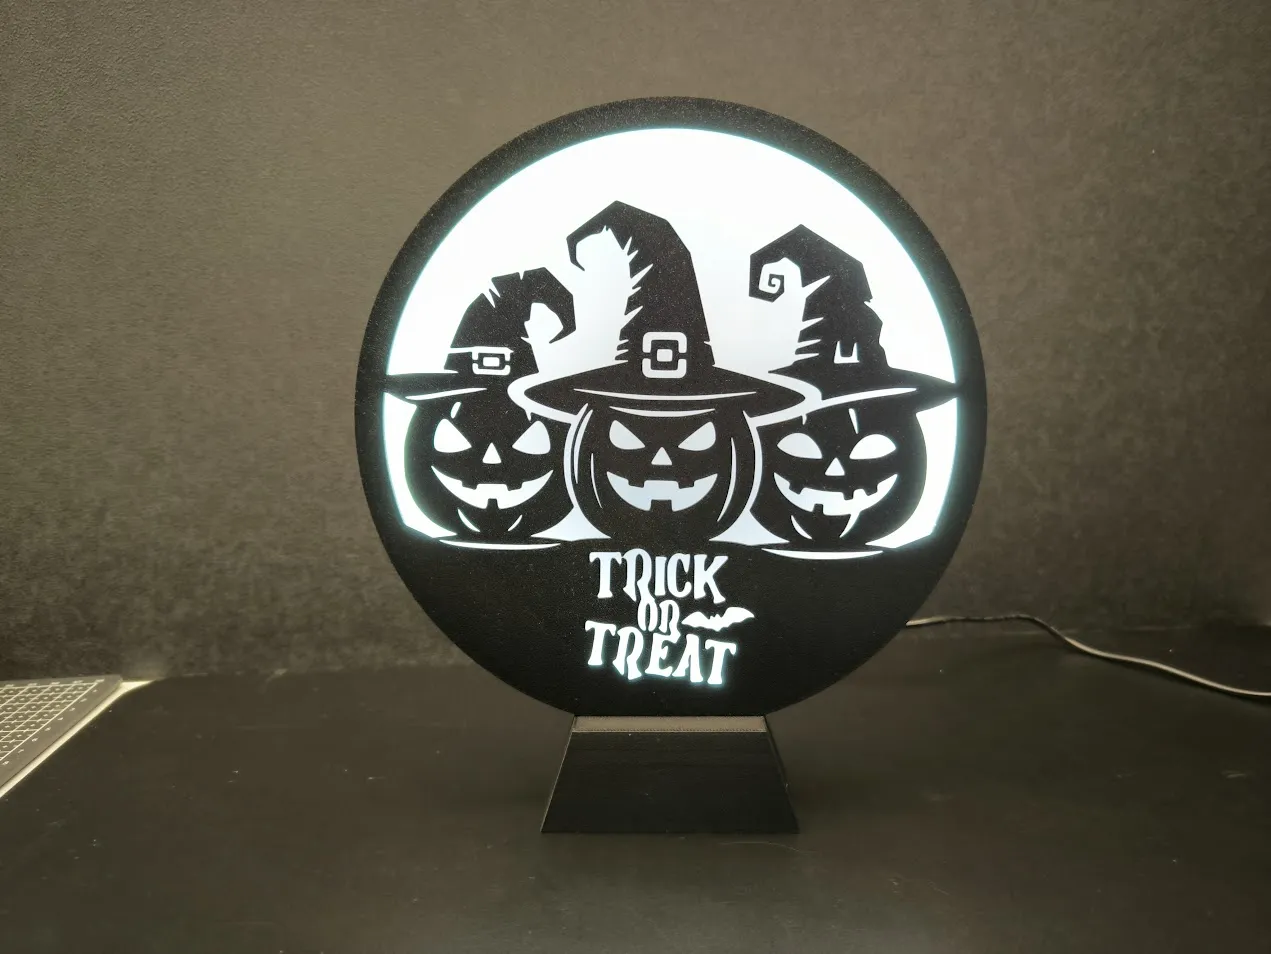
If you have dark background you can use Back Panel for Lamp. It provides better visibility for black panels.
Have Fun :)
You are prohibited from sharing, sub-licensing, selling, renting, hosting, transferring, or distributing the digital file or 3D printed versions of this object, as well as any other derivative work in either digital or physical form (including remixes).You are not allowed to use the objects in any manner that involves charging money or collecting fees without permission.

