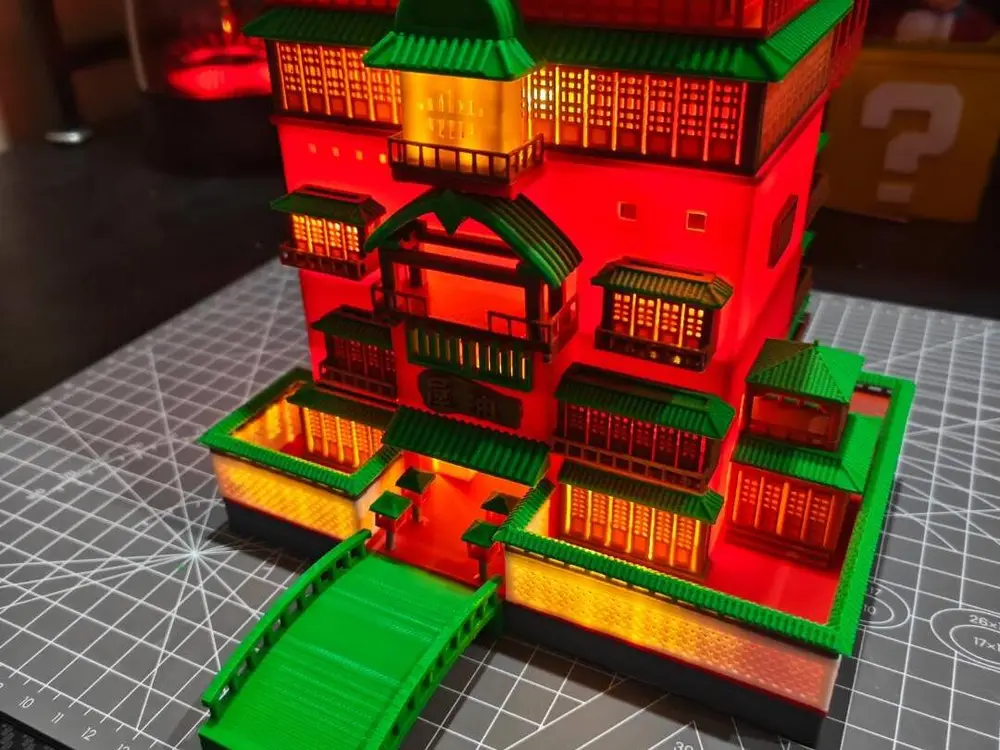
千与千寻-油屋(Spirited Away - Yubaba's Bathhouse)


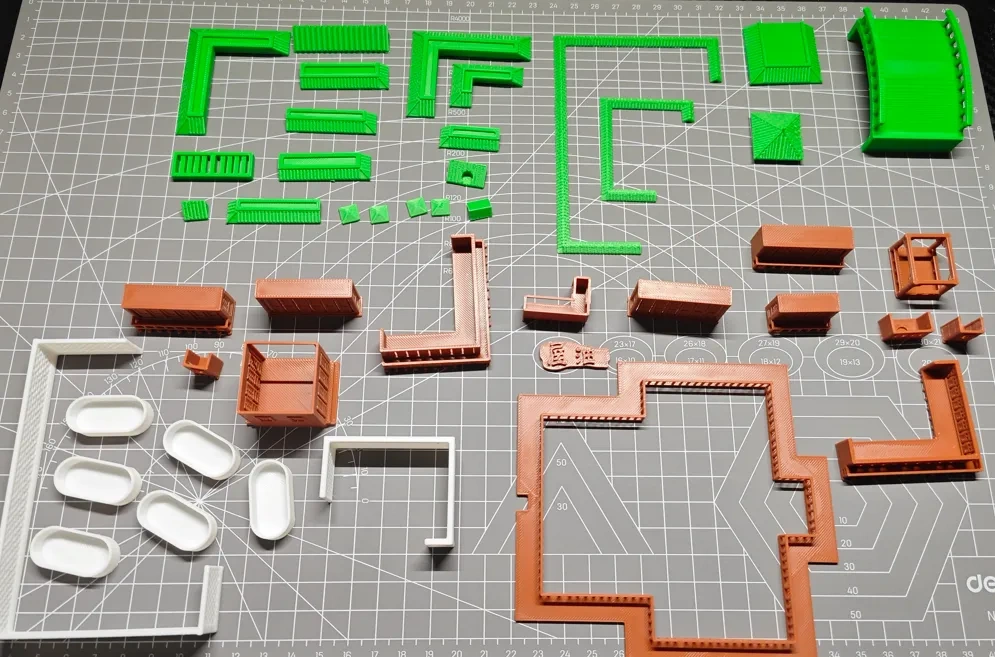
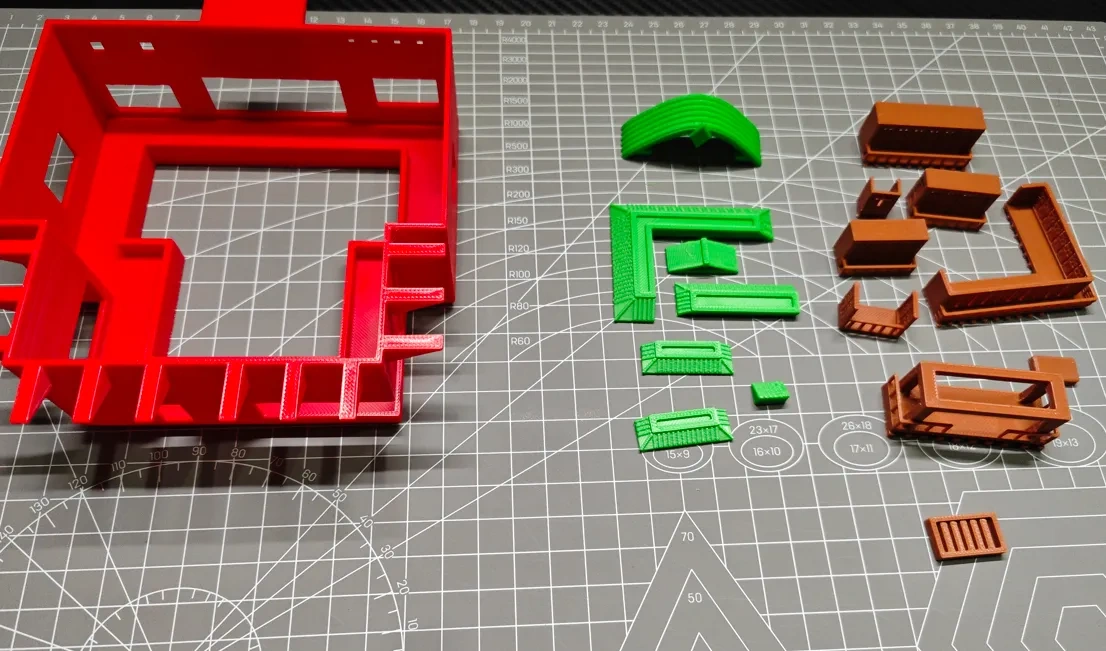
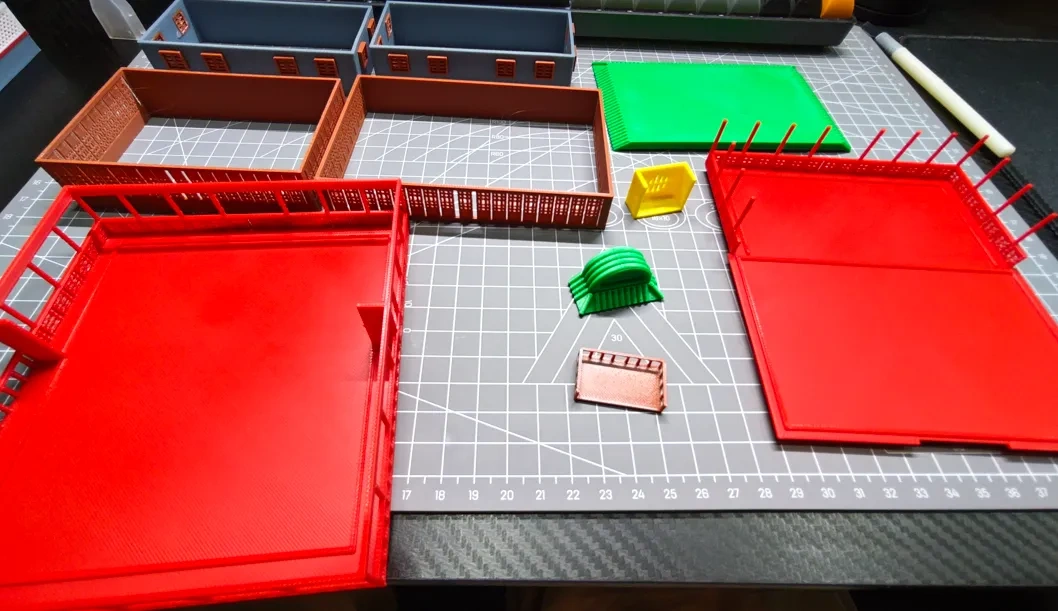
1.组成部分:由于零件过多,一些小件虽然做了分类,但是还是会有些杂乱,拼装的时候会无从下手,所以我分成了4个部分,每一个部分都分别分盘和标色,最好就使打印好一部分后拼装,之后再打印下一部分,这样就不会把零件分散。第一次上传的是第一部分,后面会马上添加接下来的部分。
2.用到的颜色:这一次是根据动漫的颜色还原,用的都是PLA的基础色,每一盘的分盘都做了标注,分别用到灰色,白色,杏色(这个可以灵活变动,是内部的用料色,外面看不出),绿色,红色,棕色和黄色。其中绿色,红色和棕色用料较多。
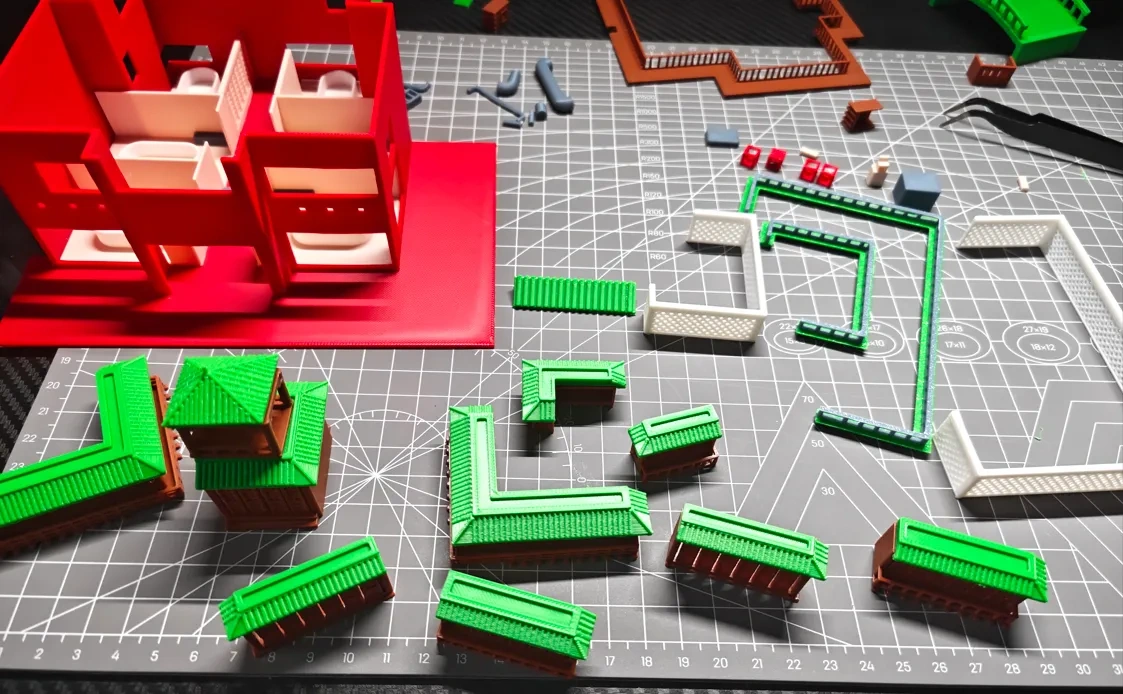
3.拼装的方式:每一个部分专门设计了一些卡扣和卡槽,方便拼装,卡住后最好还是用胶水固定一下,除了某一些需要时常开合的地方不要粘死,一些窗户部分可能不太好插入卡洞,需要稍微打磨一下,如果有些粘贴的时候零件不太好固定,都可以稍微打磨一下会更加的丝滑。
- Components: Due to the large number of parts, although some small components have been sorted, they may still be a bit messy, making it difficult to know where to start during assembly. Therefore, I have divided the model into 4 parts. Each part is printed on a separate tray and marked with its corresponding color. It is best to assemble one part after printing it before moving on to print the next part—this way, the components won’t get scattered. The first part is uploaded initially, and the subsequent parts will be added soon after.
- Colors Used: This time, the colors are 还原 based on the anime, using basic PLA colors. Each printing tray is marked with its color. The colors used include gray, white, apricot (this color is flexible, as it is used for internal parts and not visible from the outside), green, red, brown, and yellow. Among these, green, red, and brown are used in larger quantities.
- Assembly Method: Each part is specially designed with snaps and card slots for easy assembly. After snapping them into place, it is still recommended to secure them with glue—except for certain parts that need to be opened and closed frequently, which should not be fully glued shut. Some window parts may be difficult to insert into the card holes and need slight sanding. If some parts are hard to fix in place during gluing, a little sanding on them will make the process much smoother.
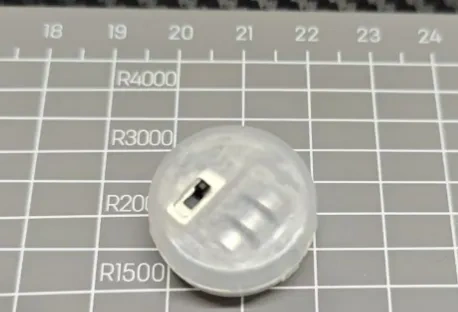
4.灯光的部分:我用的是网上买的一些放置的小灯圈,直接可以放再房间里,每个小灯都是单独开关,就是图片这样,这样就能油图片里的效果,当然也可以用模型用的那种小灯泡用线连接后再每个房间粘贴灯泡,然后连到开关可以直接控制开关灯,不过需要各位自己研究一下,需要费些手工;
5.关于内部的空间:由于精力有限,就稍微做了一下第一层和第二层的内部,也是稍微自己设计一下简化了一下,也算是一个小小特色和不一样的沉浸感;
4.Lighting Part: The lighting I used are small detachable light rings bought online, which can be directly placed inside the rooms. Each small light has an independent switch—just like what’s shown in the picture—and this setup achieves the effect seen in the images. Of course, you can also use model-specific small light bulbs: connect them with wires, stick each bulb inside the rooms, and then link them to a switch for centralized control of turning the lights on and off. However, this method requires you to figure it out on your own and involves some manual work.
5.Regarding the Internal Space: Due to limited time and energy, I only added a simple interior design for the first and second floors. I also simplified the design with some of my own ideas. This can be considered a small unique feature, adding a different sense of immersion to the model.
补充说明:
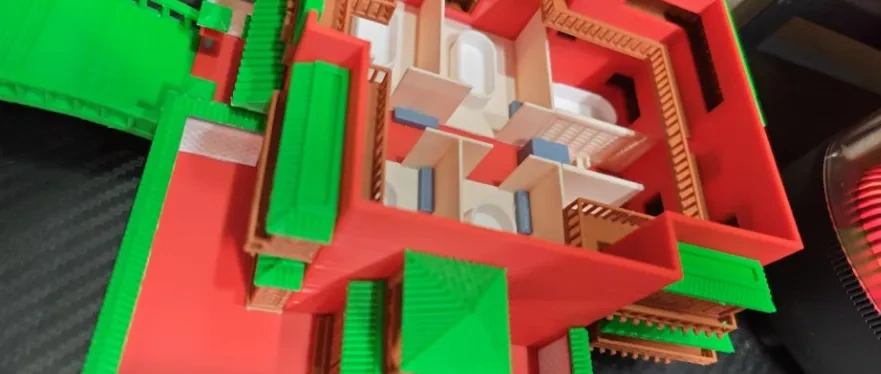
大家粘贴拼装的时候,一定要细心,整体的模型包括打印和拼装都需要花费不少的时间,也算是我目前做过的最大的也是最复杂的,自己拼装和粘贴没有发现什么问题,如果再拼装的时候有些零件多了或者是拼错了,不要着急,可以看看我的图做一下对比。
Please be careful when gluing and assembling. The entire model, including both printing and assembly, requires a lot of time and effort. This is by far the largest and most complex model I have ever made. I didn’t encounter any issues during my own assembly and gluing process, but if you end up with extra parts or make a mistake while assembling, please don’t panic—you can compare your work with my reference pictures to fix it.
希望大家喜欢~谢谢
还有打印小的零件的时候,记得加Brim,其他的就简单的支撑就可以了~
Hope you all like it~ Thank you!
Also, when printing small parts, remember to add a Brim. For the rest of the parts, simple supports will be sufficient.