
Functional TPU Pipette Set with Stand & Microplate


A fun addition to your at-home play lab with functional pipettes, drying stands, and a microplate.
Includes:
- A regular size TPU bulb pipette for big volumes
- A small bult TPU pipette for precision volumes
- A TPU bulb pipette with two PLA tip attachments, long and short, for easy swapping between liquids without having to flush the nozzle
- A PLA drying rack for the whole set of pipettes and tips
- Individual drying racks for each pipette type if you only want one
- A PLA microplate with 6 number labeled columns and 4 alphabet labeled rows that fit four drops of liquid. It is water-tight and can be rinsed under water after use to clean, but for true waterproofing over long periods of time I recommend splaying it with a sealant. If you're doing the experiment with a small child, I recommend the scaled up microplate (to 200%) for easier mixing (and more room for error). Everything was created parametrically from scratch in Onshape and thus is fully scalable!
Tips for printing with TPU:
- Use the Engineering plate for best adhesion, or use glue to on the smooth plate so you don't ruin it!
- Because the bulbs have long skinny parts, you must DROP THE NOZZLE TEMPERATURE for layer adhesion to work! For my TPU (95A) I had to go down to 215 C, but for even lower ones (85/90) you may need to drop it even further down. You must change the settings yourself - they are not automatically set! Instructions are in the following image:
SAFETY DISCLAIMER: This is only for simple experiments with non-toxic liquids. If you're not a scientist who knows how TPU/PLA reacts with other substances, a good rule of thumb is, if you shouldn't drink it, don't use it with this set (and don't drink anything you do use).
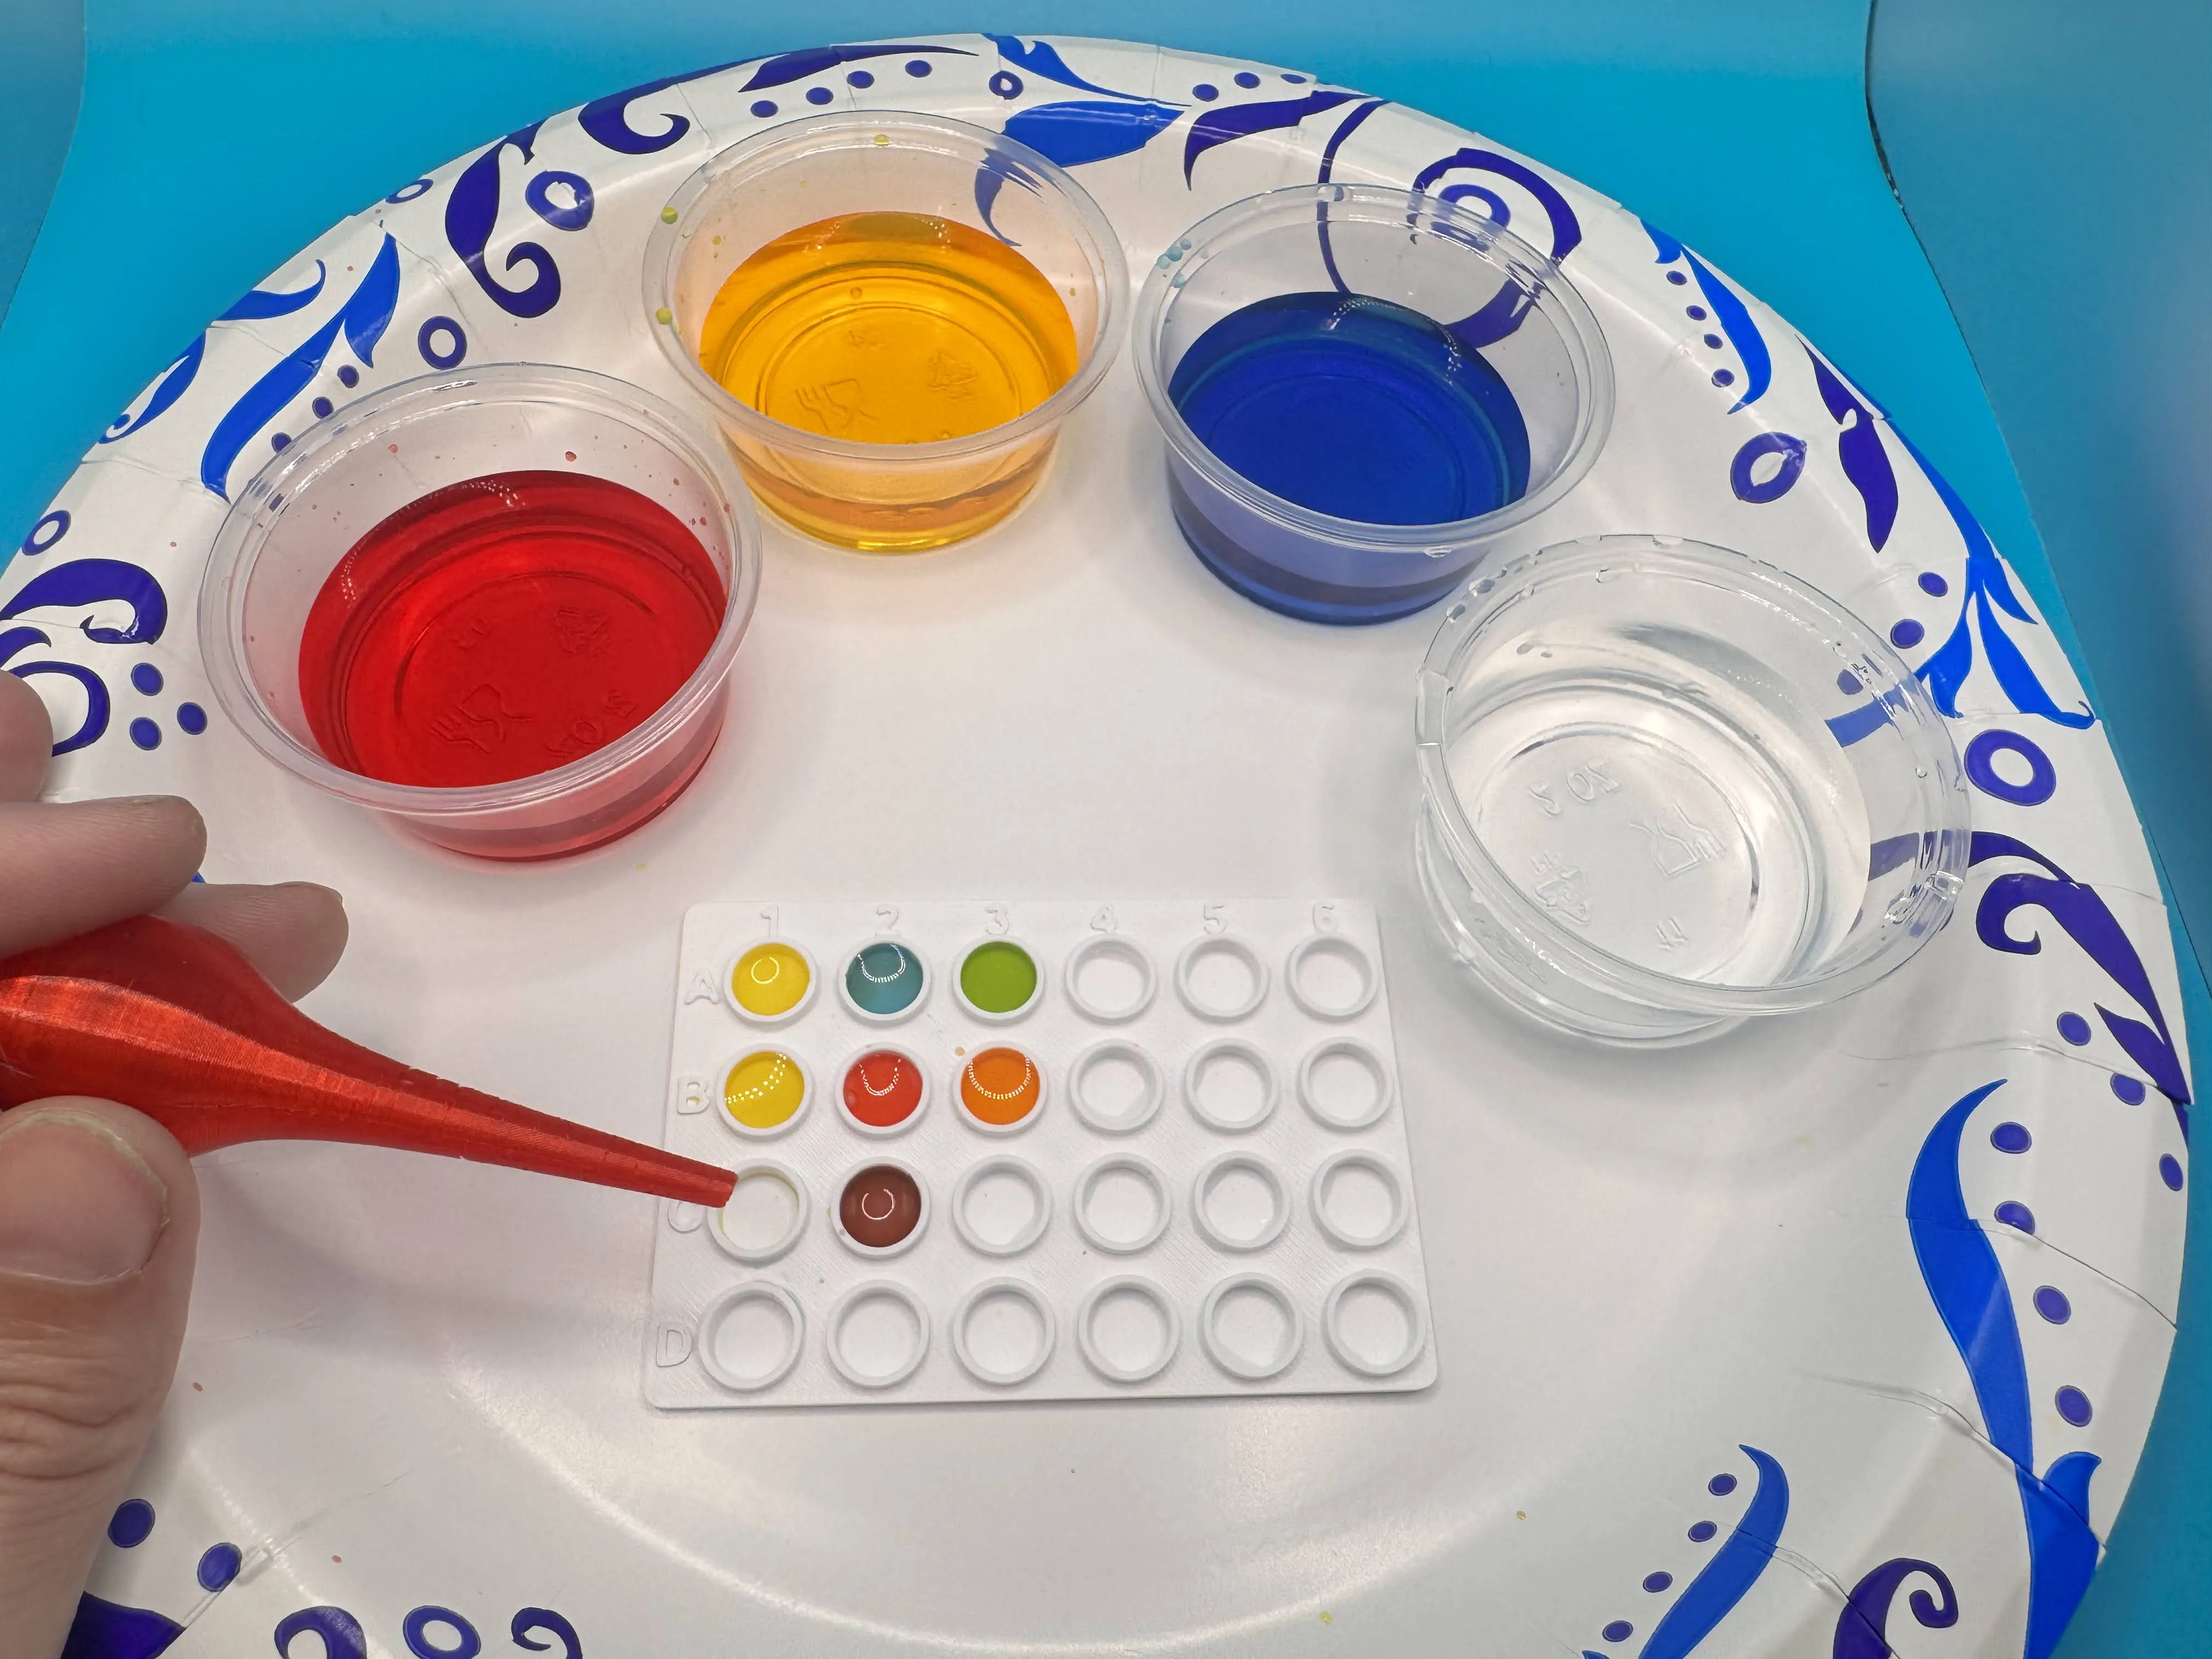
Here's a fun experiment to do using this set!
Materials:
Red, yellow, and blue food coloring
4 small cups
Water
Pipette and microplate (for smaller children use the scaled up version!)
Instructions:
Put 2 tablespoons of water in each cup.
Add 1-2 drops of food coloring in individual cups to make red, yellow, and blue water. Don't add too much or the colors will be too dark (but you can always add more water to dissolve). Leave the last cup just clear water to flush the pipette.
Use the pipette to place 2 drops of each color mix into individual wells. Flush out the leftover colored water in the pipette with the clear water cup in between changing colors.
Now mix the colors with 2 drops of one color and 2 drops of another color in one well.
Write down what colors they become! How many different colors can you make?
Want more ideas with pipette activities? Check out this link: https://earlyimpactlearning.com/pipette-activities/
You are prohibited from sharing, sub-licensing, selling, renting, hosting, transferring, or distributing the digital file or 3D printed versions of this object, as well as any other derivative work in either digital or physical form (including remixes).You are not allowed to use the objects in any manner that involves charging money or collecting fees without permission.

