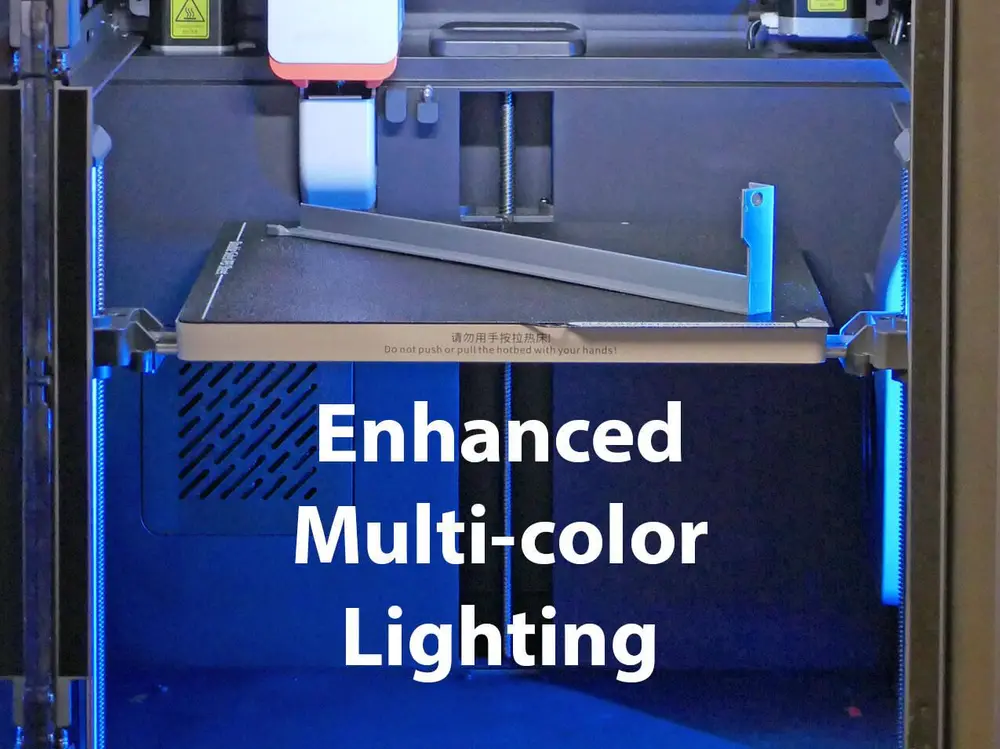
Kobra S1 Lighting Upgrade - Multicolor


While it’s nice that the S1 includes a built-in light, it’s not ideal. The major weakness is that the positioning of the current top LED leaves lots of shadows and makes it difficult to see what is printing near the hotend. Printing small parts are especially difficult to see. The existing cool white LED color leaves a lot to be desired, too, although there is camera compensation to improve the color.
Basic Upgrade
You can use any white LED strip, ideally with a color temperature of 3500K, CRI >90, and 24v. I used about 240mm or 8” attached to the printed bracket. The bracket is mounted to the right side near the threaded rod so the camera gets the least shadows. The holder is designed to block the bright light when you look in from the front and snap into place. Optionally, a screw can be inserted to lock it in place, but I don’t think it is necessary.
Basic LED advantages
• Easiest installation
• Improved color accuracy
• Greatly reduced shadows
• Shields LED from front glare
• Improved camera clarity
• The area below the bed becomes visible
• Improved AI spaghetti detection (maybe)
I power the LED strip from the 24v power supply. To get access, you need to remove all the screws from the rear, then remove the grey protective power cover (2 screws), and flip up the clear protector on the 24V power supply. Connect to the two unused terminals, +V and -V. You can feed the wires through the hole used by the right-side auxiliary fan. It’s easier to feed the wires from the build plate side. When reassembling, it’s important that the grey cover be reinstalled (I left it off, and I had to remove the back a second time!).
Advanced Color Upgrade
I used an RGB WW CW LED strip so I could have two modes. When the printer is on standby, the LED strip is one color (I chose cyan), and then when actively printing, it changes to white. With this method, you can choose (via hard wiring) the color: Blue, Green, Red, Cyan, Yellow, or Magenta.
Advanced LED advantages
• All the features of basic
• Status with color change
• Perhaps brighter with RGBW all lit up when printing
The wiring is slightly more complex. For the main LED, I connected the color (blue and green for cyan) to the 24v power supply. The LED strip common goes to +V, and the colors go to -V. I connect the warm white and red colors to the controller fan's black lead (not red). Note that four colors will be active – RGB and Warm White, when printing. I don’t use the cool white LEDs. I also connectorized it, making it easier to work on.
Parts List
24V Cob strip light, 16W/m, 12mm wide, RGB+2700K+6500K, CRI >90
Noctua NA-SEC3 – 3x60cm extension cables (cut as needed)
Low Voltage T-Tap wire connector splice, 2 Pins, 20-24 AWG
Black tie wrap
Printer bracket in PETG. I don’t recommend PLA as it may deform under heating.
Notes
You should be comfortable opening your printer, doing some simple mechanical work, and soldering.
See our other project “Kobra S1 Poop Chute Light” which may be handy to do at the same time also using a light strip and some of the same electrical connections.
If you short out the 24V, the power supply likely has overcurrent protection, but your wires going to the supply might melt. If you accidentally shorted the fan connection, that might damage the power transistor on the controller board. Best to avoid shorting connections! Test if possible, before connecting!
The strip I used takes very little power. When on standby (using blue and green), it takes about 50 mA. When four colors are active, the additional 2 colors also use 50 mA for a total of about 100 mA. While the power supply has excess power available, it’s not unlimited. I would not go beyond the 60mA additional on the fan circuit (50ma + 10 ma for the optional chute LEDs). The fan takes about 70 mA for a total of 130 mA, which I feel is safe.
Links
- RGBW LED Strip: https://www.amazon.com/dp/B0CNGFVY47 (a bit overkill as it is far longer than needed, but I used some of it for another project).
- Here is the link for the extension cable I used: https://www.amazon.com/dp/B09RPLPBQH (It is 4-wire, but you only need 2 wires if using basic - white, or 3 wires for the multi-color option).
- The T-connector I used: https://www.amazon.com/Wire-Connectors-Solderless-Stripping-Connection/dp/B07114RK67 (again, I had these for another project)
- Disassembly guide (stop at Step 3-1): https://wiki.anycubic.com/en/fdm-3d-printer/kobra-s1-combo/power-supply-replace-guide
- Kobra S1 Poop Chute Light: https://www.makeronline.com/en/model/Kobra%20S1%20Poop%20Chute%20Light/161404.html
- ACE Pro LED Reel Lighting: https://www.makeronline.com/en/model/ACE%20Pro%20LED%20Reel%20Lighting/165308.html