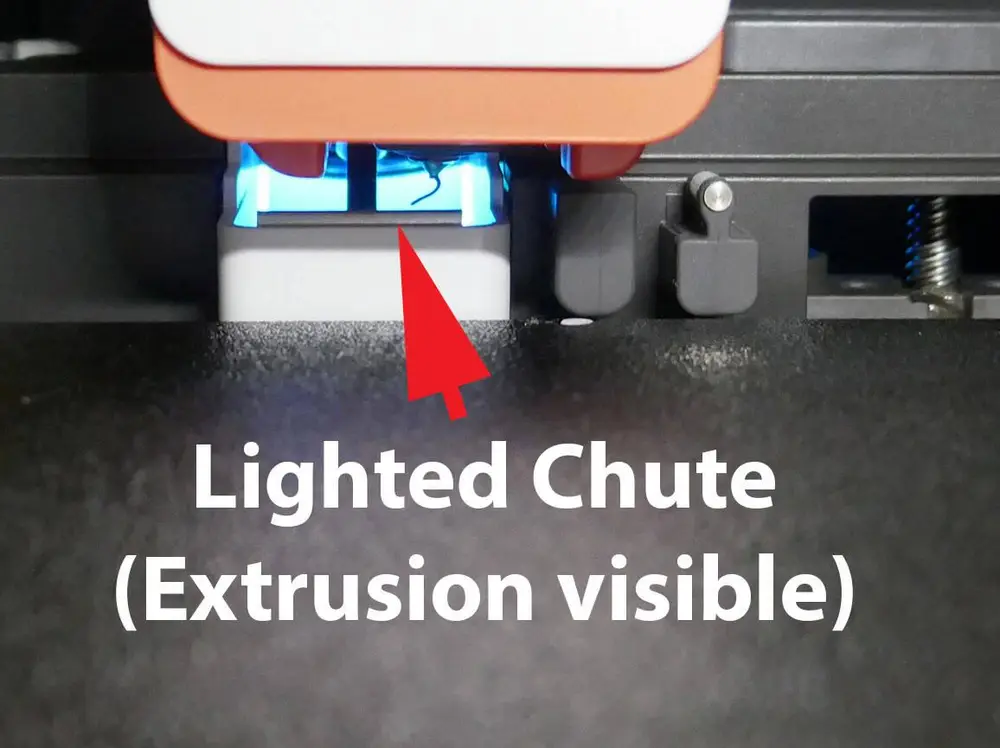
Kobra S1 Poop Chute Light


You can add a small LED strip in the extrude chute that only lights up when printing is active. This allows you to see the filament extrusion, which is normally invisible. I used a short 42mm section of the LED strip (one segment) and hard-wired it as cyan (blue and green). You can fix any 6 colors or white. It is positioned at the top back of the chute. You want the LED to be partly blocked by the wires on top of the chute so that you get indirect illumination. While I mounted the strip using the LED adhesive tape, you can alternatively use the printed brackets to hold the LED strip in place - one on each side of the strip.
Option 1
Connect the LED strip to the controller fan that resides next to the controller board. It turns on when printing starts and turns off when the printing is done. Do not use the filter fan connection, as it does not run depending on the material you use. For example, PTEG does not run the filter fan. Make sure the wires do not interfere with the build plate, which goes up and down nearby. Bundle with the other wires nearby.
To connect to the red/black fan wires, I used a T-tap. You need to separate the 2 fan wires about ¾” with a knife. Be careful not to slice into the wires. Fit the wires into the tap and close on the wires. The two wires from the LED strip are attached to the T, so be sure your polarity is right. Optionally, you can cut and solder the wires.
Option 2
To have the LEDs always on (and an easier connection point), connect it to the 24V power supply. Remove the power supply cover (two screws) and flip up the clear terminal cover. Attach power to the +V and -V unused terminals.
Recommend Parts List
24V Cob strip light, >16W/m, >12mm wide, CRI >90
Select RGB+2700K+6500K (6-wire) or White only 3500K (2-wire)
Option 1 only: Low Voltage T-Tap wire connector splice, 2 Pins, 20-24 AWG
Print the Kobra S1 Chute LED Brackets (not required if you use the LED adhesive)
Notes
You should be comfortable opening your printer, doing some simple mechanical work, and soldering wires to the LED strip. This small strip requires less than 10 mA at 24V (or .24W).
See our other project, “Kobra S1 Improved Lighting,” which may be handy to do at the same time, also using a light strip and some of the same electrical connections.
Links
- Disassembly guide (stop at Step 3-1): https://wiki.anycubic.com/en/fdm-3d-printer/kobra-s1-combo/power-supply-replace-guide
- Kobra S1 Lighting Upgrade – Multicolor: https://www.makeronline.com/en/model/Kobra%20S1%20Lighting%20Upgrade%20-%20Multicolor/161355.html
- ACE Pro LED Reel Lighting: https://www.makeronline.com/en/model/ACE%20Pro%20LED%20Reel%20Lighting/165308.html