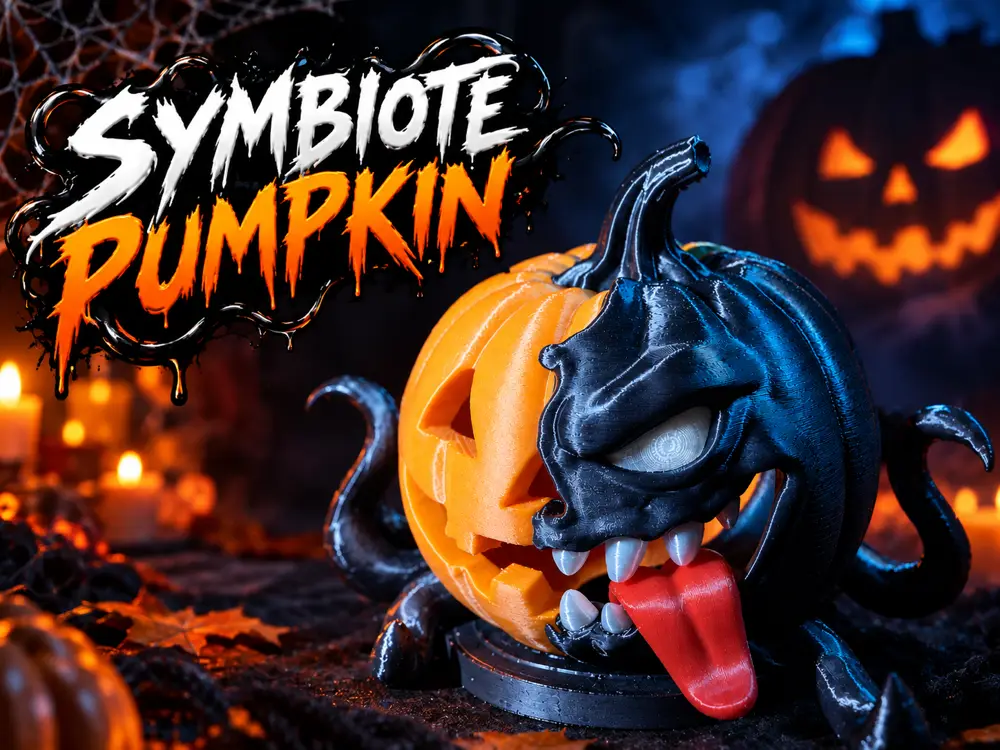
Symbiote Pumpkin Lantern – 4 Colours


Half a classic jack-o'-lantern, half taken over by a black symbiote: fangs, a long red tongue, one white eye and tentacles curling around the base. It is hollow, so an LED tealight underneath lights the carved face from inside.
Multicolour without AMS
- 12 parts in 4 colours: black, orange, white and red
- one plate per colour in the 3MF: no AMS, no filament changes, no purge waste
- every part has its own recess, and the teeth and tentacles carry engraved numbers that match their spots
- assembled size about 203 x 139 x 150 mm
- the black body is the base: the finished model stands on its own
Light it up
The pumpkin is hollow, with a round opening under the base. Switch on a standard 38 mm LED tealight, set it on the table and stand the pumpkin over it: the light comes out through the eyes, the mouth and between the teeth.
LED only, never a real candle: PLA softens from about 60 °C.
Printing
- PLA, 0.4 mm nozzle, 0.20 mm layers, 2 walls, 8% infill: the profile is in the 3MF
- Tree supports (auto), already set: the sculpture has overhangs that no orientation removes.
- 4 plates: white (6 teeth and the eye), black (body and 2 tentacles), orange (1 part), red (the tongue).
- Printing everything in one colour works too. The assembly is exactly the same.
What you need
- Glue for PLA: gel superglue (CA) is the easiest, model cement works too.
- One LED tealight, standard 38 mm size.
Assembly
The step-by-step guide with pictures is the PDF in the model files. In short:
1. Eye: press it into its socket above the mouth.
2. Upper teeth 1 to 4: each tooth has a number on the face that goes inside, and the same number sits at the bottom of its recess. Press each one up into the jaw.
3. Lower teeth 5 and 6: they go in from above.
4. Tongue: slide it in past the teeth and seat it on the floor of the mouth.
5. Orange half: lower it onto the black base and against the black half. Spread the glue thinly over the whole contact face and let it set on a flat table.
6. Tentacles 1 and 2 go on last, into the recesses numbered inside the orange half: with the tentacles in place the orange half could not go in.
Dry fit every part once, without glue, before gluing anything.
Tips
- Glue thinly: a thin film holds better than a thick bead and does not squeeze out onto the visible surface.
- If a part feels tight, sand the hidden mating face a little, never the visible edge.
- Wipe any squeeze-out right away: dried superglue leaves a white haze on black PLA.
You are prohibited from sharing, sub-licensing, selling, renting, hosting, transferring, or distributing the digital file or 3D printed versions of this object, as well as any other derivative work in either digital or physical form (including remixes).You are not allowed to use the objects in any manner that involves charging money or collecting fees without permission.