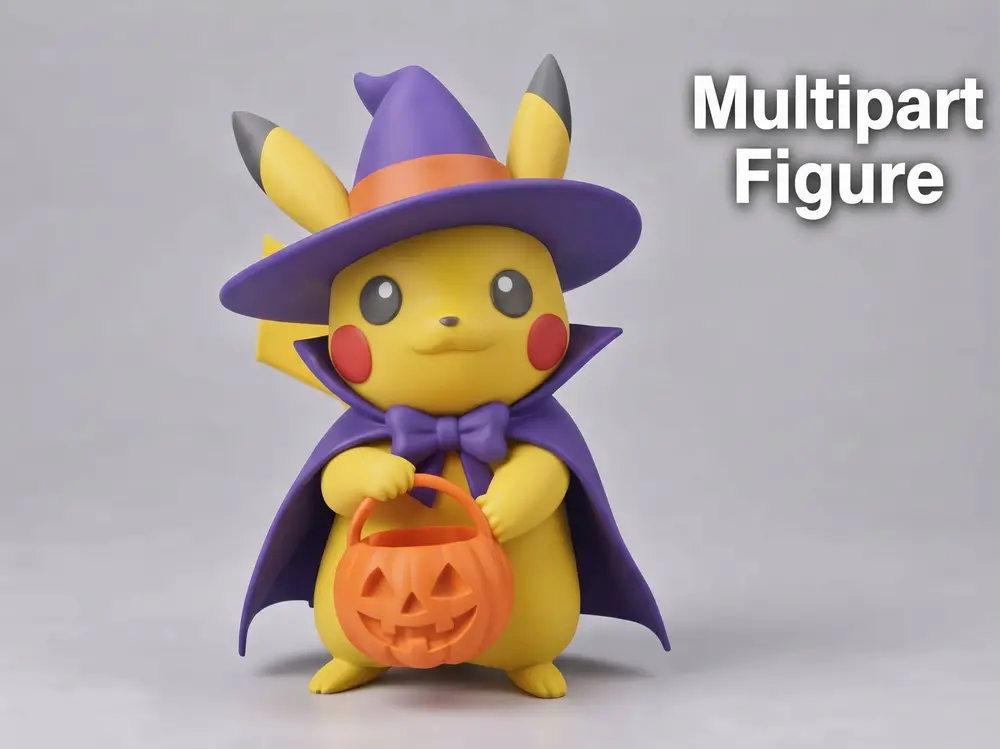
Pokemon Pikachu - Halloween Multipart Figure


Stepping slightly away from the usual dark and minimalist aesthetic, this is a special design created to celebrate the season of pumpkins and treats! Instead of focusing on gloomy themes, this version brings a festive and nostalgic vibe. Wearing a classic wizard hat, cloak, bow tie, and holding his Jack-o'-lantern bucket, this Pikachu delivers that iconic Halloween look without any fluff.
Engineering, Printing & Assembly (Multi-Parts) The big game-changer here: this is a multi-part project, designed with each color separated onto its own plate.
Scale & Sizing: Designed at a default height of 150 mm, offering a great balance between fine detail, stability, and reasonable print time. However, it is fully scalable — feel free to scale it up for a centerpiece display or scale it down (just keep an eye on joint tolerances if you reduce the size drastically).
Zero filament waste: Forget about gigantic prime towers and mountains of purged filament thrown in the trash.
Compatible with any printer: You don't need an automatic material system (like AMS) to get a clean full-color model. Just run each plate with the corresponding filament (Yellow, Purple, Orange, Black, and Red).
Surface quality: The parts were oriented to highlight the details. I recommend a low layer height (0.12 mm to 0.16 mm) to leave the hat and face with a smooth finish and nearly invisible layer lines.
Assembly is straightforward and intuitive. A quick dry-fit test and a few drops of CA glue (super glue) on the joints will have everything secured in minutes.
Display & Care The contrast of the purple cloak against the yellow body and orange pumpkin pops under any warm desk lighting. Some specific parts might require targeted supports (Tree/Organic supports in the slicer work best), which come off cleanly with needle-nose pliers without scarring visible surfaces.
Conclusion A smart, clean model designed for those who want a flawless multi-color piece without donating half a spool of filament to the slicer's purge bin. Practical to print, quick to assemble, and visually spot-on.
Quick tips: * Flow calibration: Keep your extrusion flow calibrated so joints fit snugly without excessive gaps or needing to be hammered into place.
Dry fit first: Always test-fit the parts before applying glue to ensure perfect alignment.
您不得分享、转授权、出售、出租、托管、转让或分发该数字文件或该对象的3D打印版本,以及以数字或物理形式存在的任何其他衍生作品(包括混音)。未经许可,您不得以任何方式使用这些物品进行费用收取。